


Follow along these easy to understand instructions for Ninja Foodi Yogurt. Making homemade plain yogurt is simpler than you could imagine and it produces a perfect consistency, mellow flavored yogurt that is ready to enjoy or be sweetened and flavored however you'd like.

We use plain yogurt a lot in our house. And not just for breakfast or snacks. We use yogurt to make dishes creamier, as a sour cream substitute, in tzatziki sauce and with other greek dishes. It is pretty much a staple in our household. It's also great in smoothies like this Blackberry Strawberry Banana Smoothie, with homemade granola or as part of a breakfast spread with silver dollar pancakes.
Learning to make it homemade is a great way to make yogurt inexpensively and in bulk. It is so easy to do and is largely hands off. I love using my Ninja Foodi Deluxe because it has a literal yogurt function, but yogurt can easily be made in a traditional Instant Pot as well.
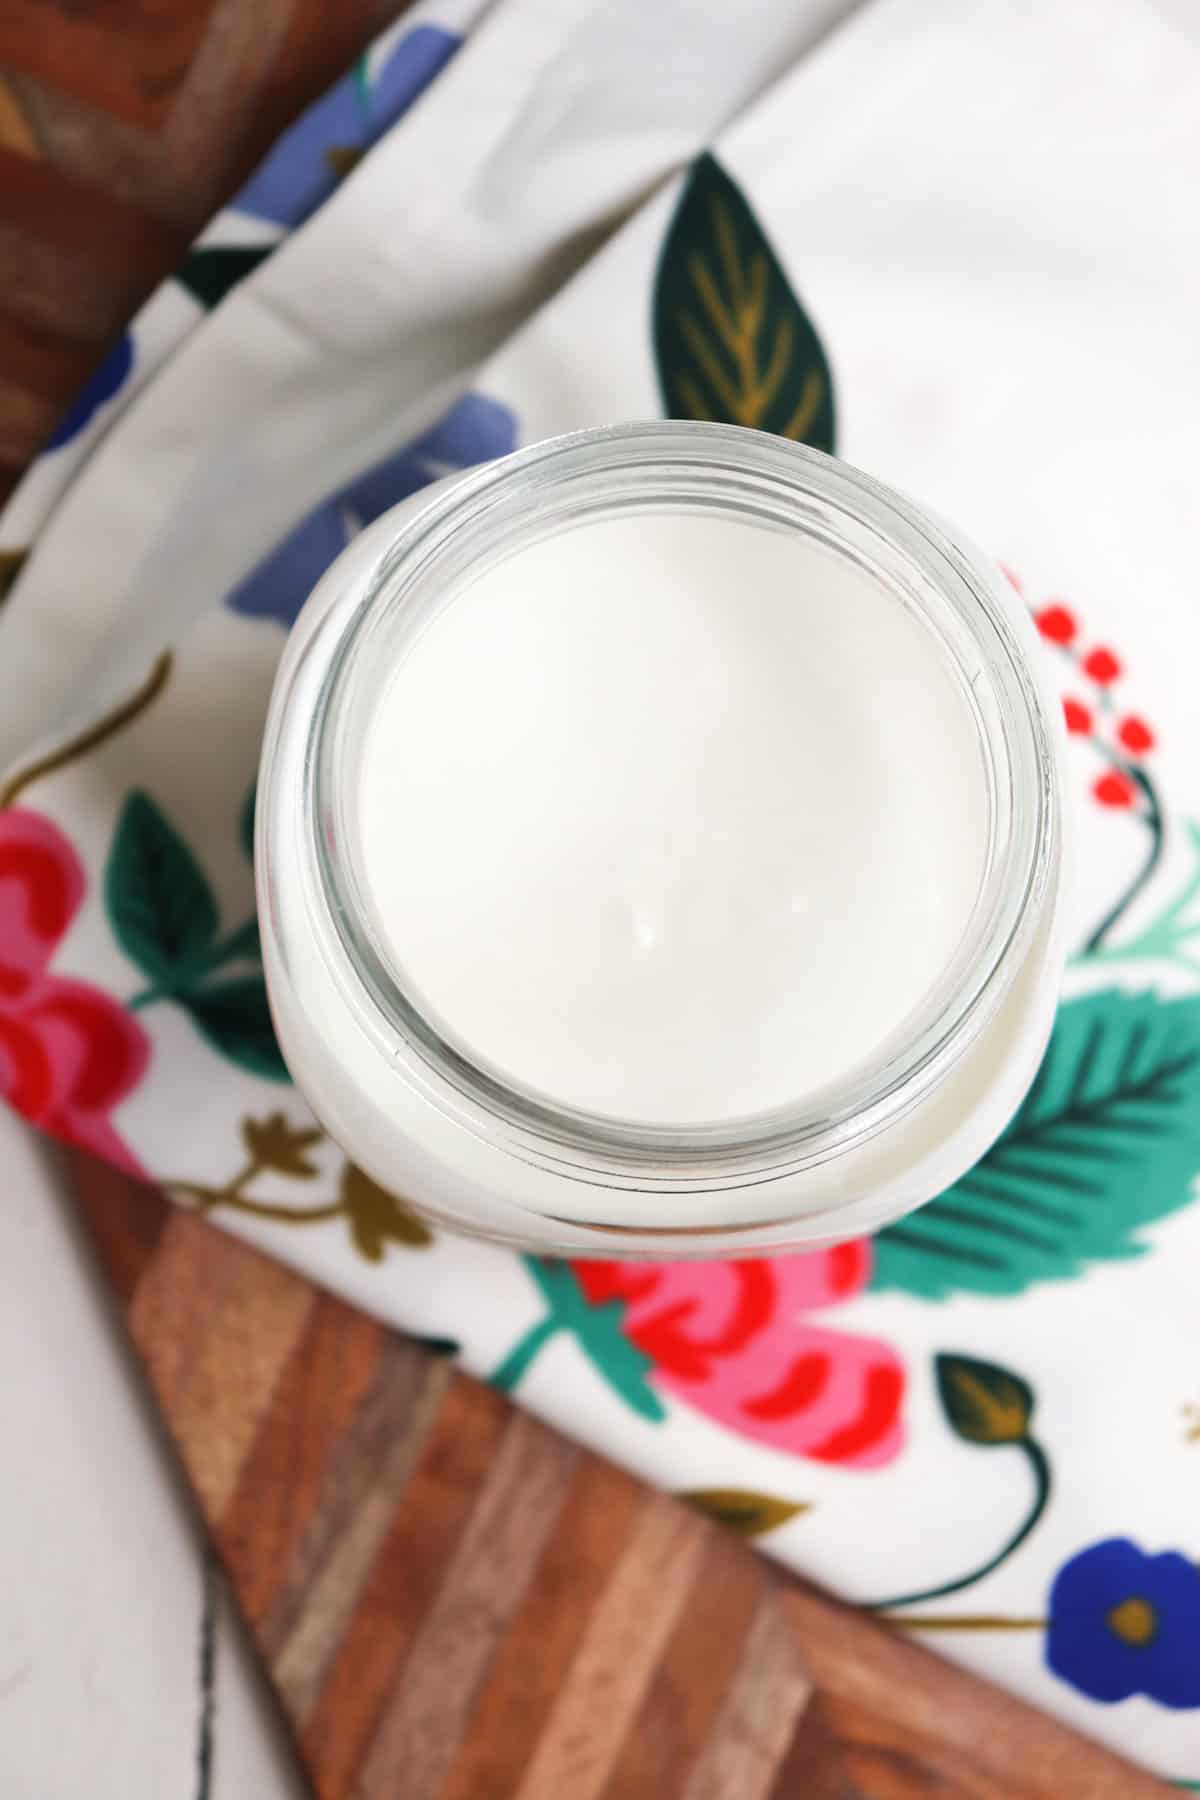
Homemade yogurt tastes SO GOOD! It's such a mild flavor and the perfect creaminess. I seriously don't even sweeten it, it is perfect as is!
Tips for making yogurt in the Ninja Foodi
- Use full fat milk and starter yogurt for a thicker and creamier finished product.
- Make sure that your Ninja Foodi pot is very clean before you get started. The yogurt incubates for a long time and you don't want anything growing that shouldn't be.
- Plan your start time around the time the yogurt will finish. The whole process will take close to ten hours with heating and cooling times included, so plan accordingly. You don't want your yogurt beeping at you that it's finished at 2 am.
- Don't sweeten until the end. Sweetening or flavoring the yogurt before incubating could mess with the process or halt it entirely.
Ingredients
Full fat milk. I strongly advise you to use whole milk or full fat milk here and not skim. The whole milk will produce a much thicker and richer yogurt than nonfat ever could.
Yogurt Starter. It may seem counterintuitive that you need yogurt to make yogurt, but it's true! Think of it like sourdough starter, where a small amount can be fed and keep growing and growing. Just a few tablespoons of yogurt (I use whole milk greek yogurt) with active cultures is all you need to create a ½ gallon batch of fresh yogurt!
Instructions for homemade yogurt (Ninja Foodi)
These instructions are specific to making yogurt in the Ninja Foodi Deluxe, which has a yogurt button.
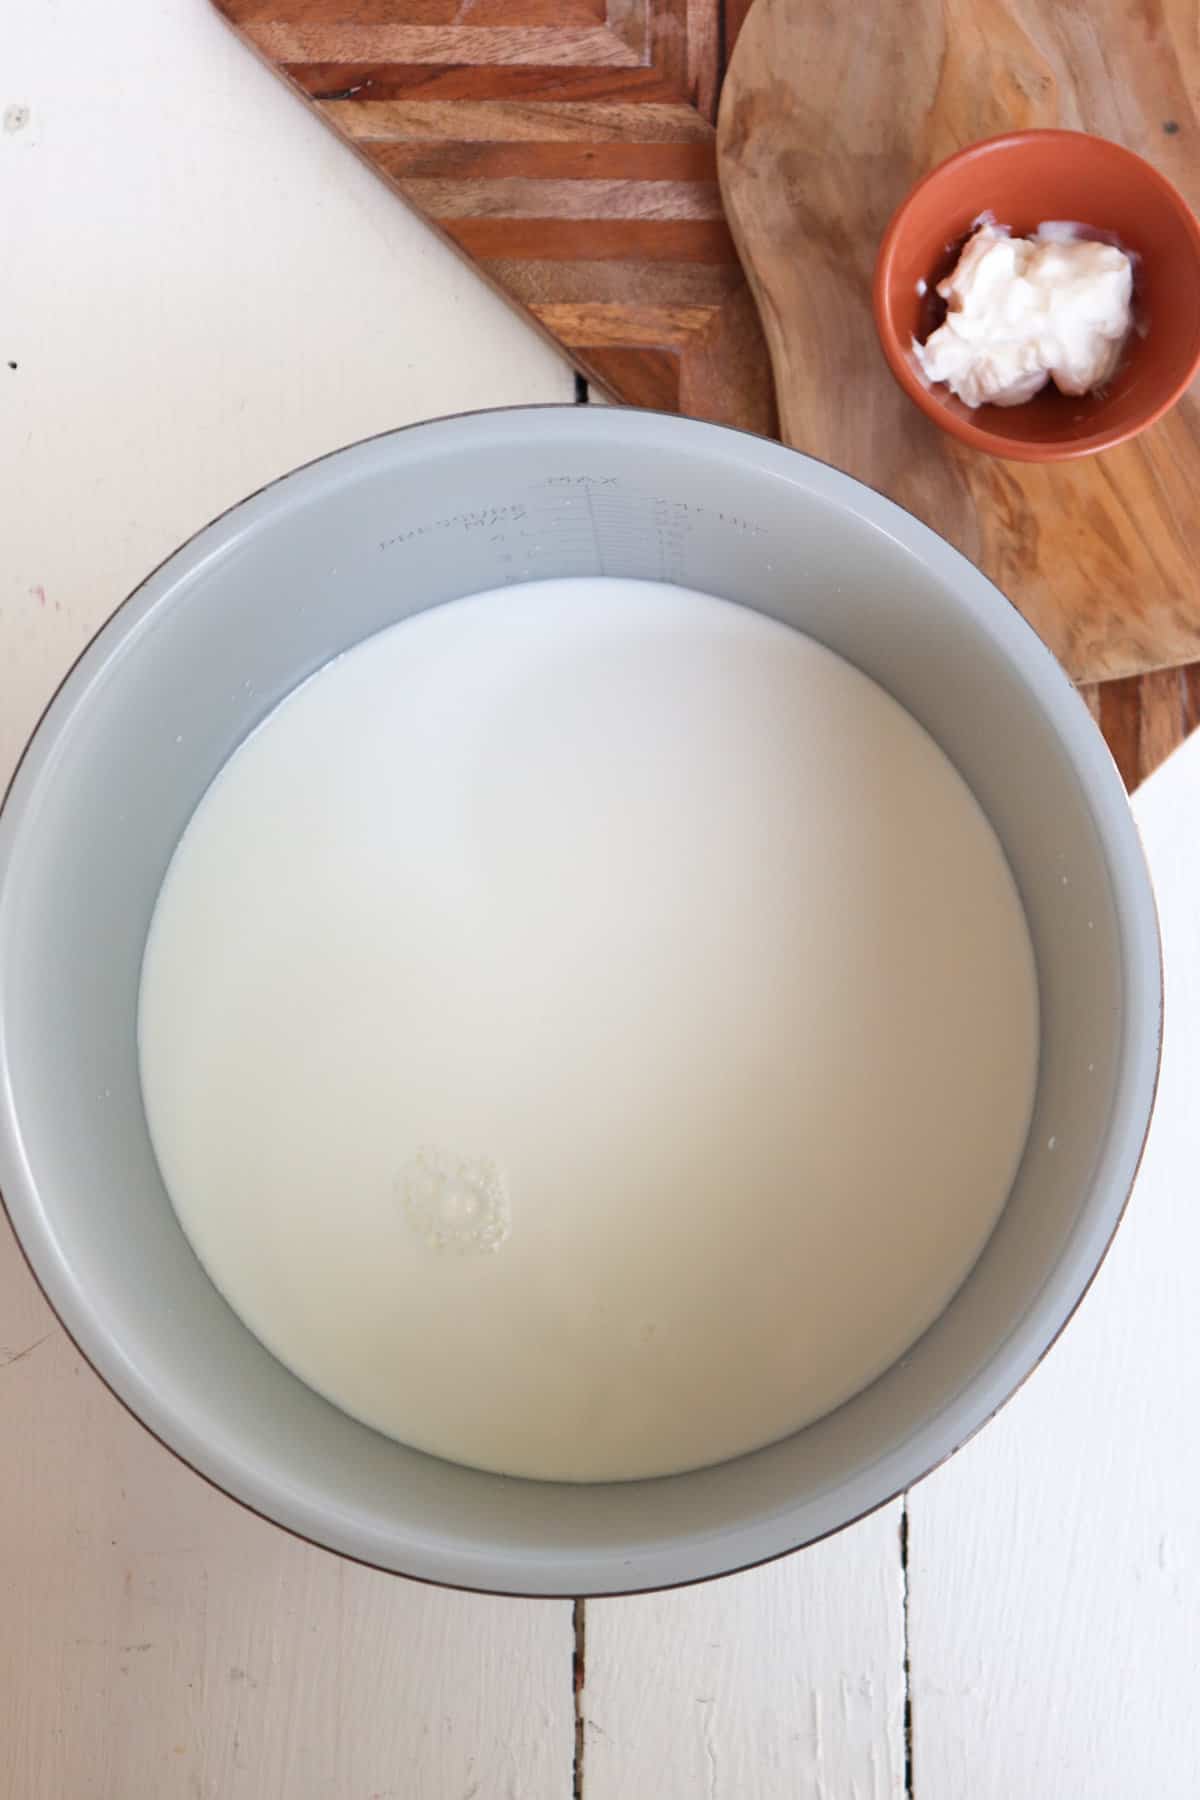
Begin by making sure the inner pot is thoroughly clean.
Add milk to the pot and press the yogurt button. You may have to turn the dial from to ensure it says "yogurt" and not "hi."
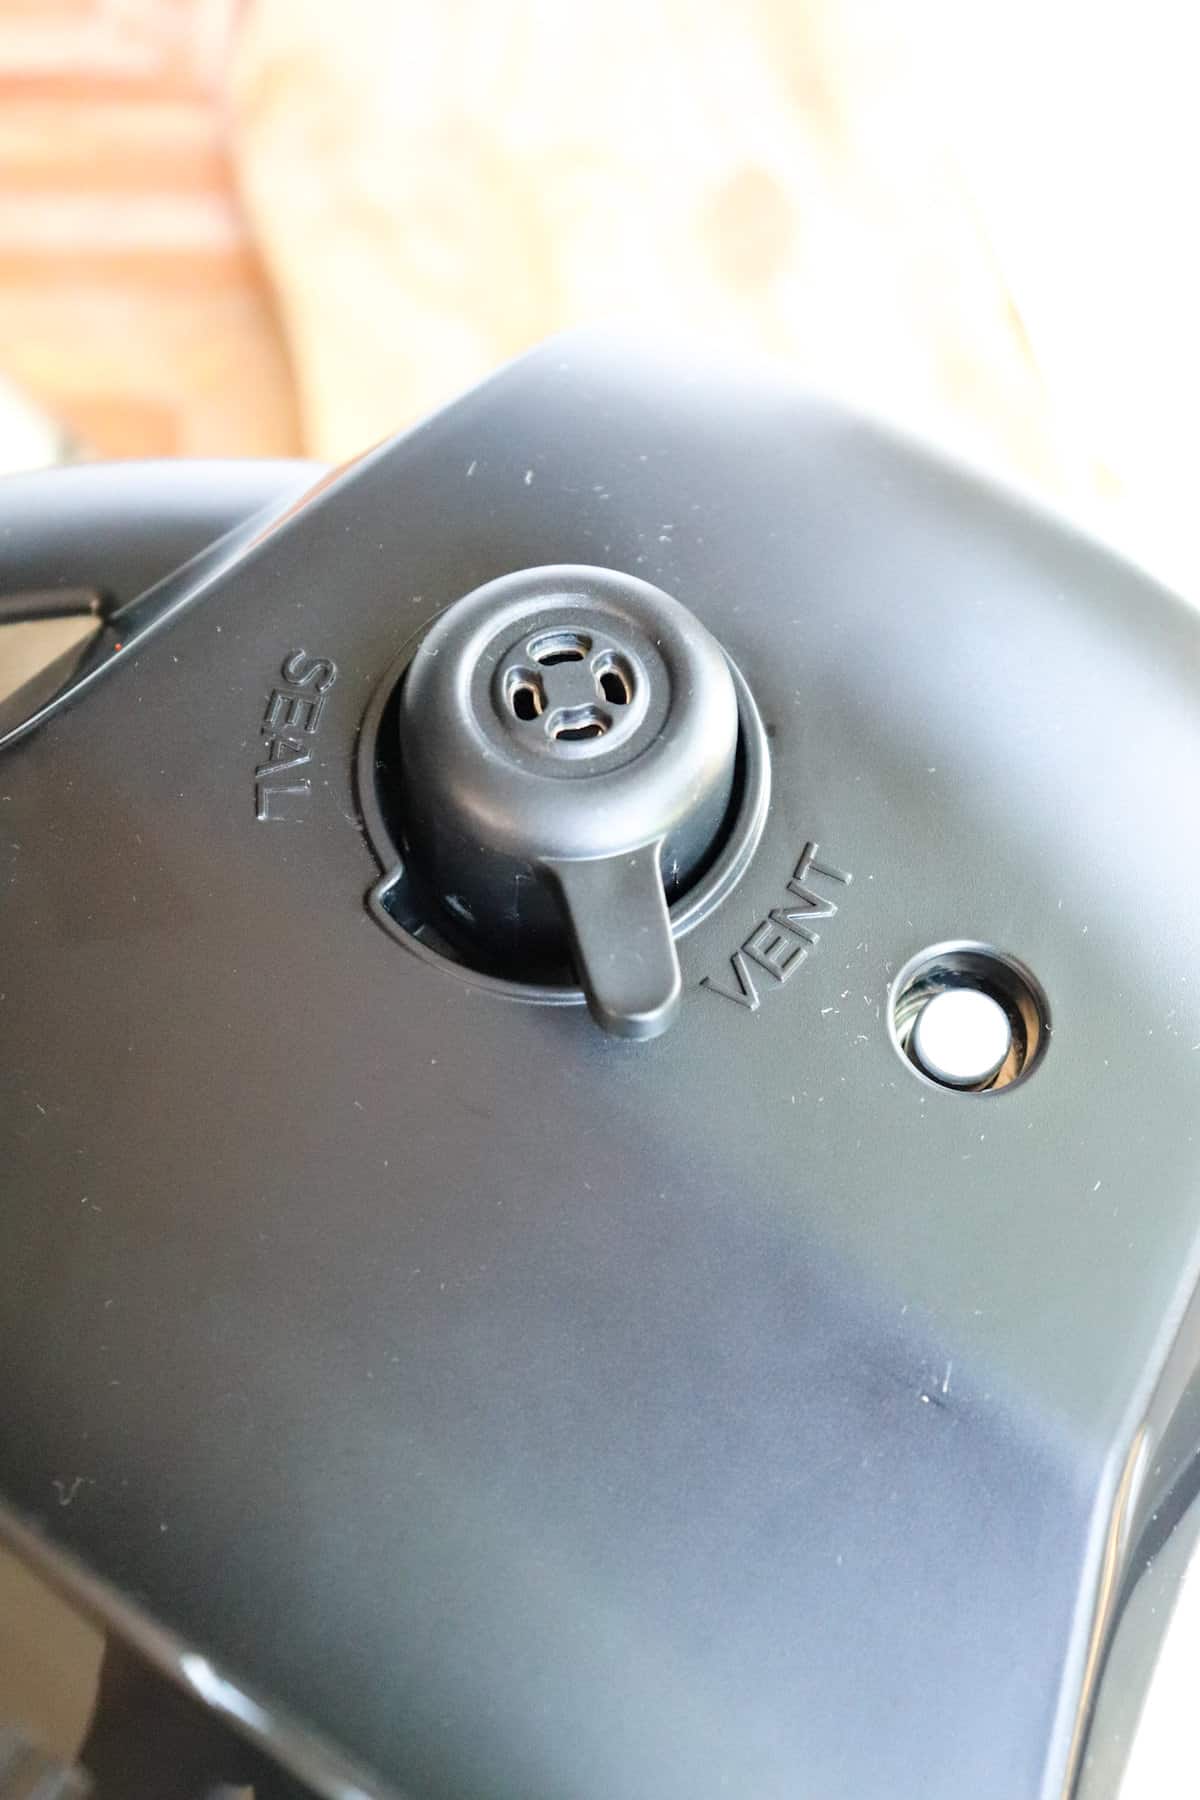
Place the pressure cooker lid on top and secure, but make sure that it is in the venting position.
Press "start." The device should say yogurt and a time of 8 hours.
The first step the Ninja Foodi goes through is the boiling step. When complete, the machine will beep and say "boil." It can take about an hour for the milk to boil, depending on the amount of liquid.
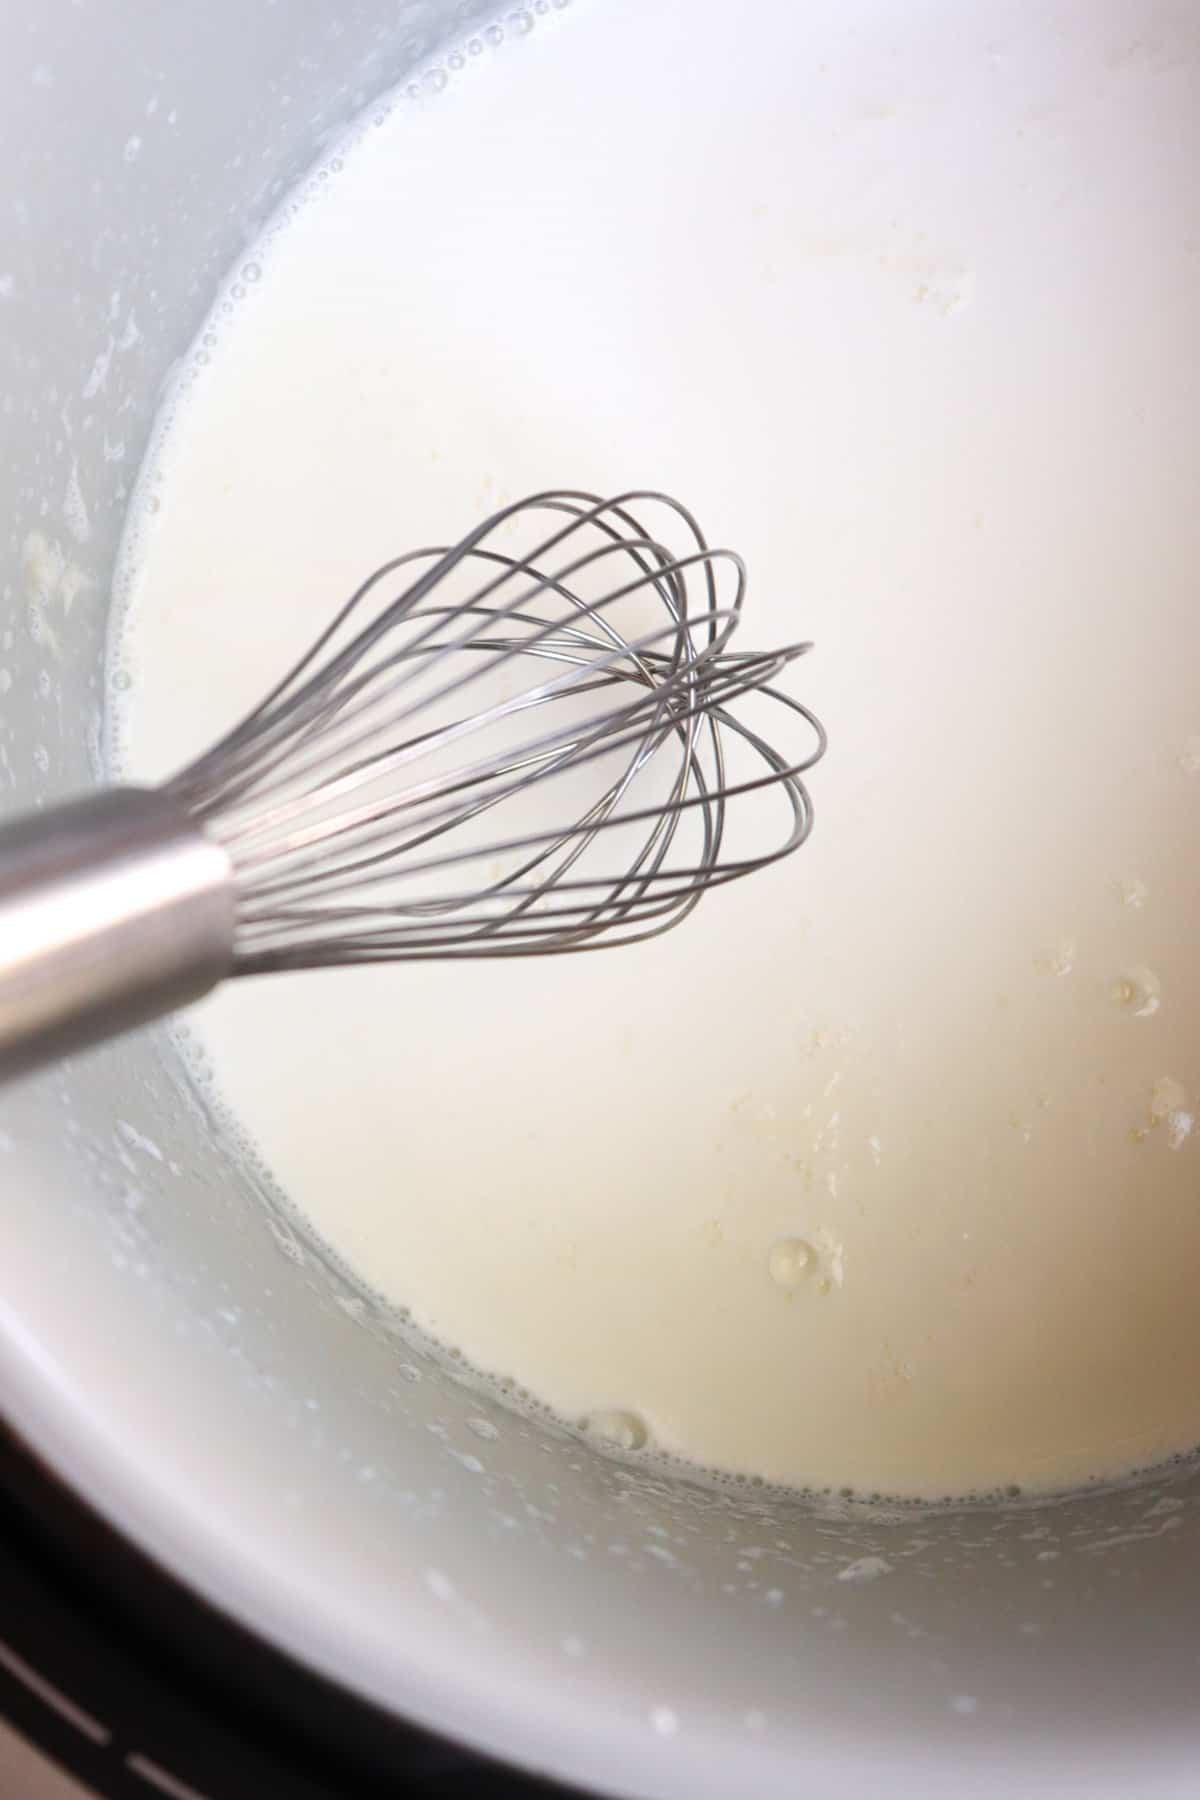
The machine will then switch to the "cool" function. It can take anywhere from an hour to several hours for it to cool. Once the milk has cooled and is the correct temperature, the machine will beep again. The screen will read "add and stir." This means it is time to add in the yogurt with active cultures.
Open the lid and add the yogurt and whisk.
Place the lid back on (make sure the pressure release valve is still in the venting position) and press the start button again.
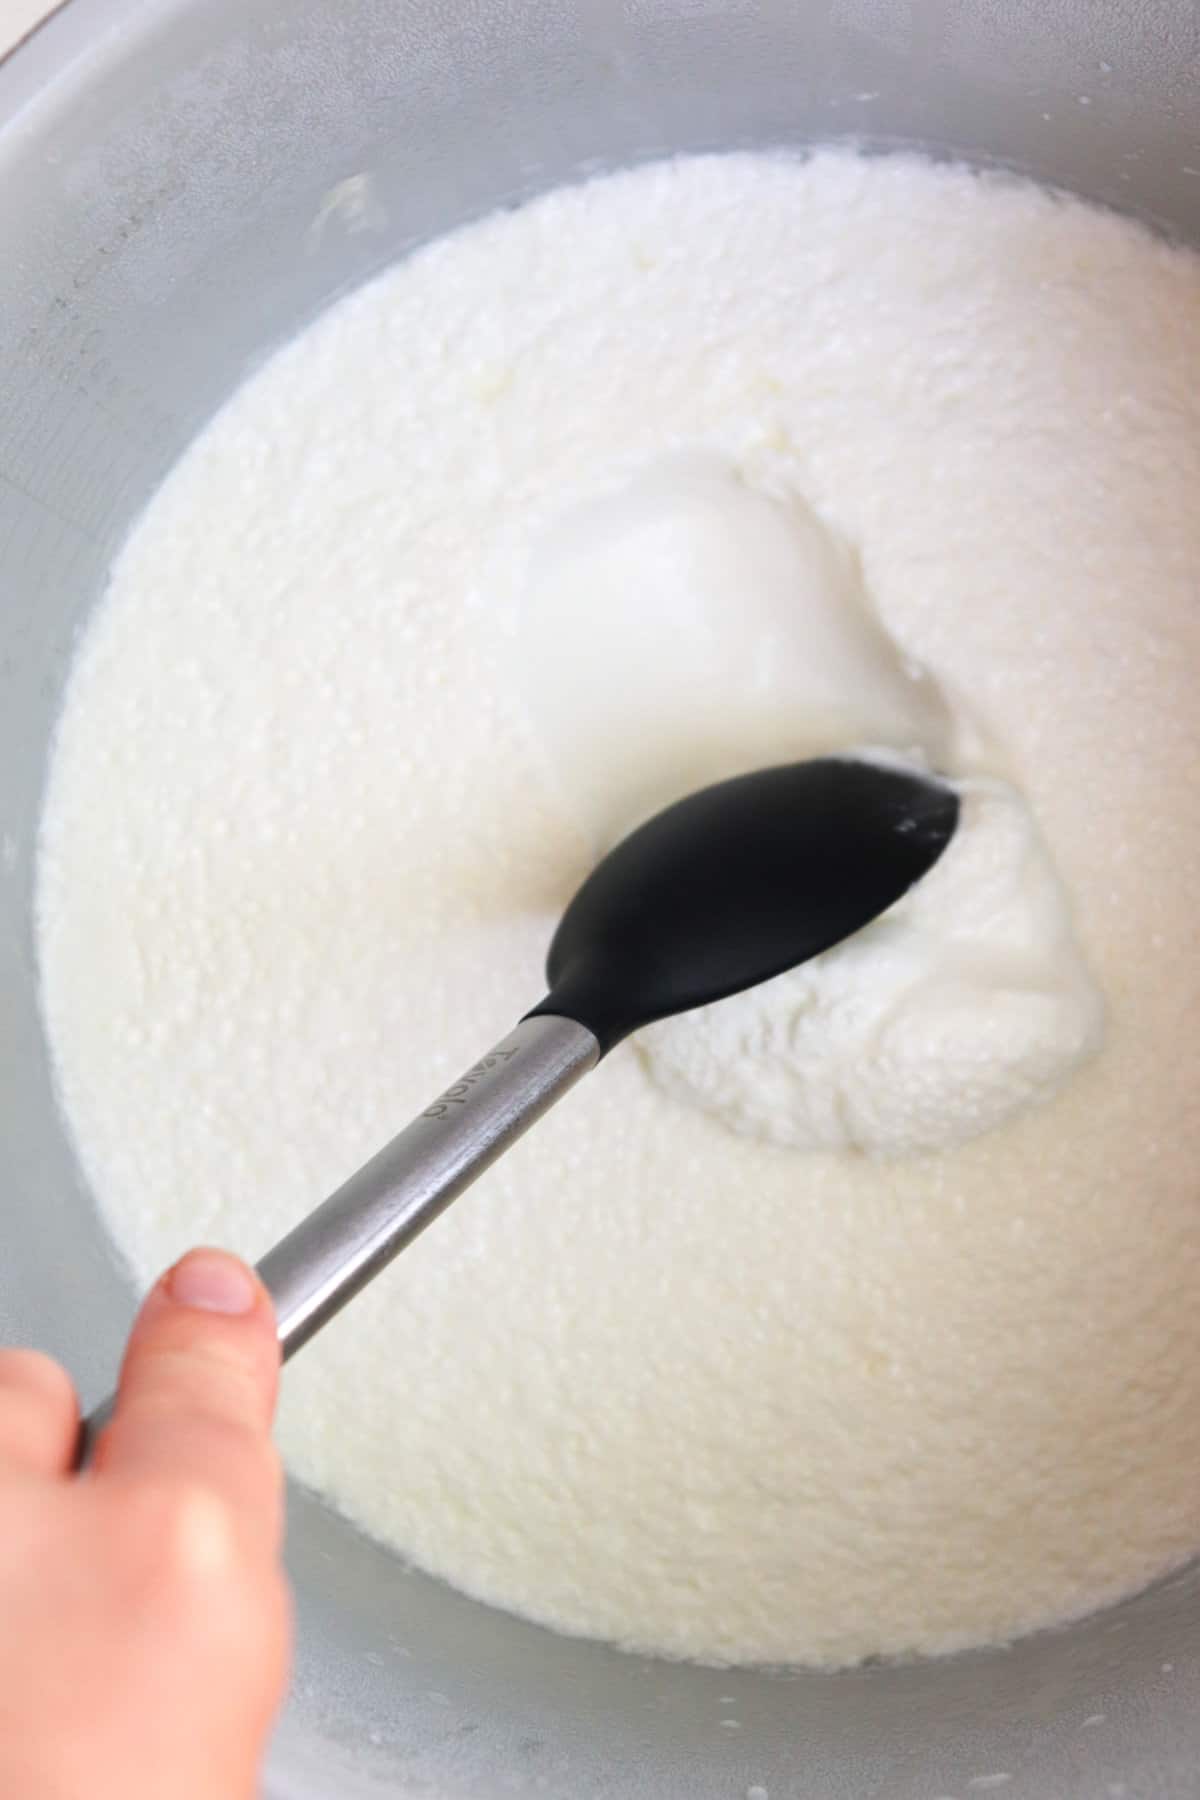
The screen should now say "incubate" and 8:00 hours time. Allow the yogurt to ferment in the Ninja Foodi for the full time. It will beep again when it is finished.
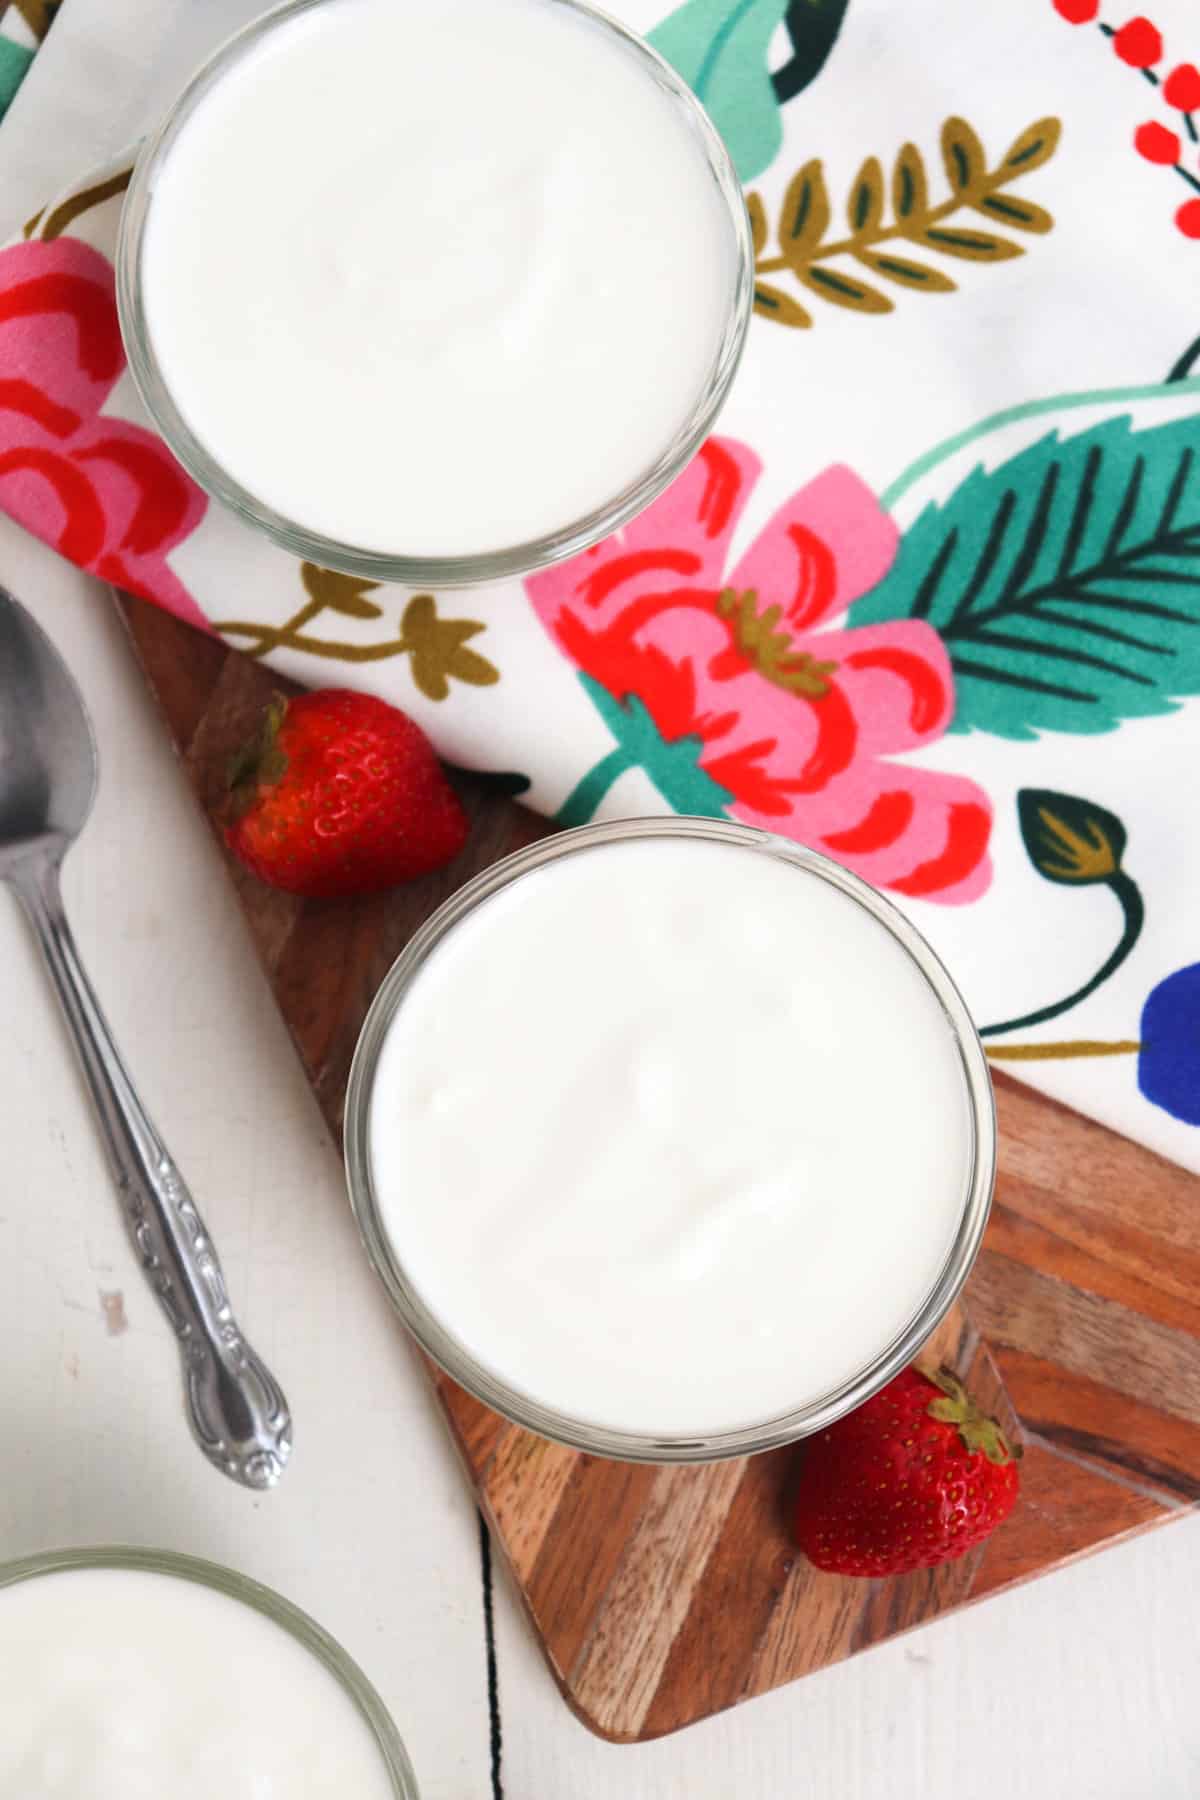
Remove the lid and check that the yogurt is firm. Place in the fridge to cool for at least 2 hours, but ideally longer.
How to flavor homemade yogurt
When flavoring yogurt, my advice would always be to wait until the incubation process is done. Certain ingredients, such as honey, can stop the incubation process. It is best to wait until the end and sweeten or flavor as desired. Some tasty flavoring options could be:
- honey
- maple syrup
- vanilla extract
- berries (such as raspberries, blueberries, or strawberries)
- brown sugar
- apples
Storage
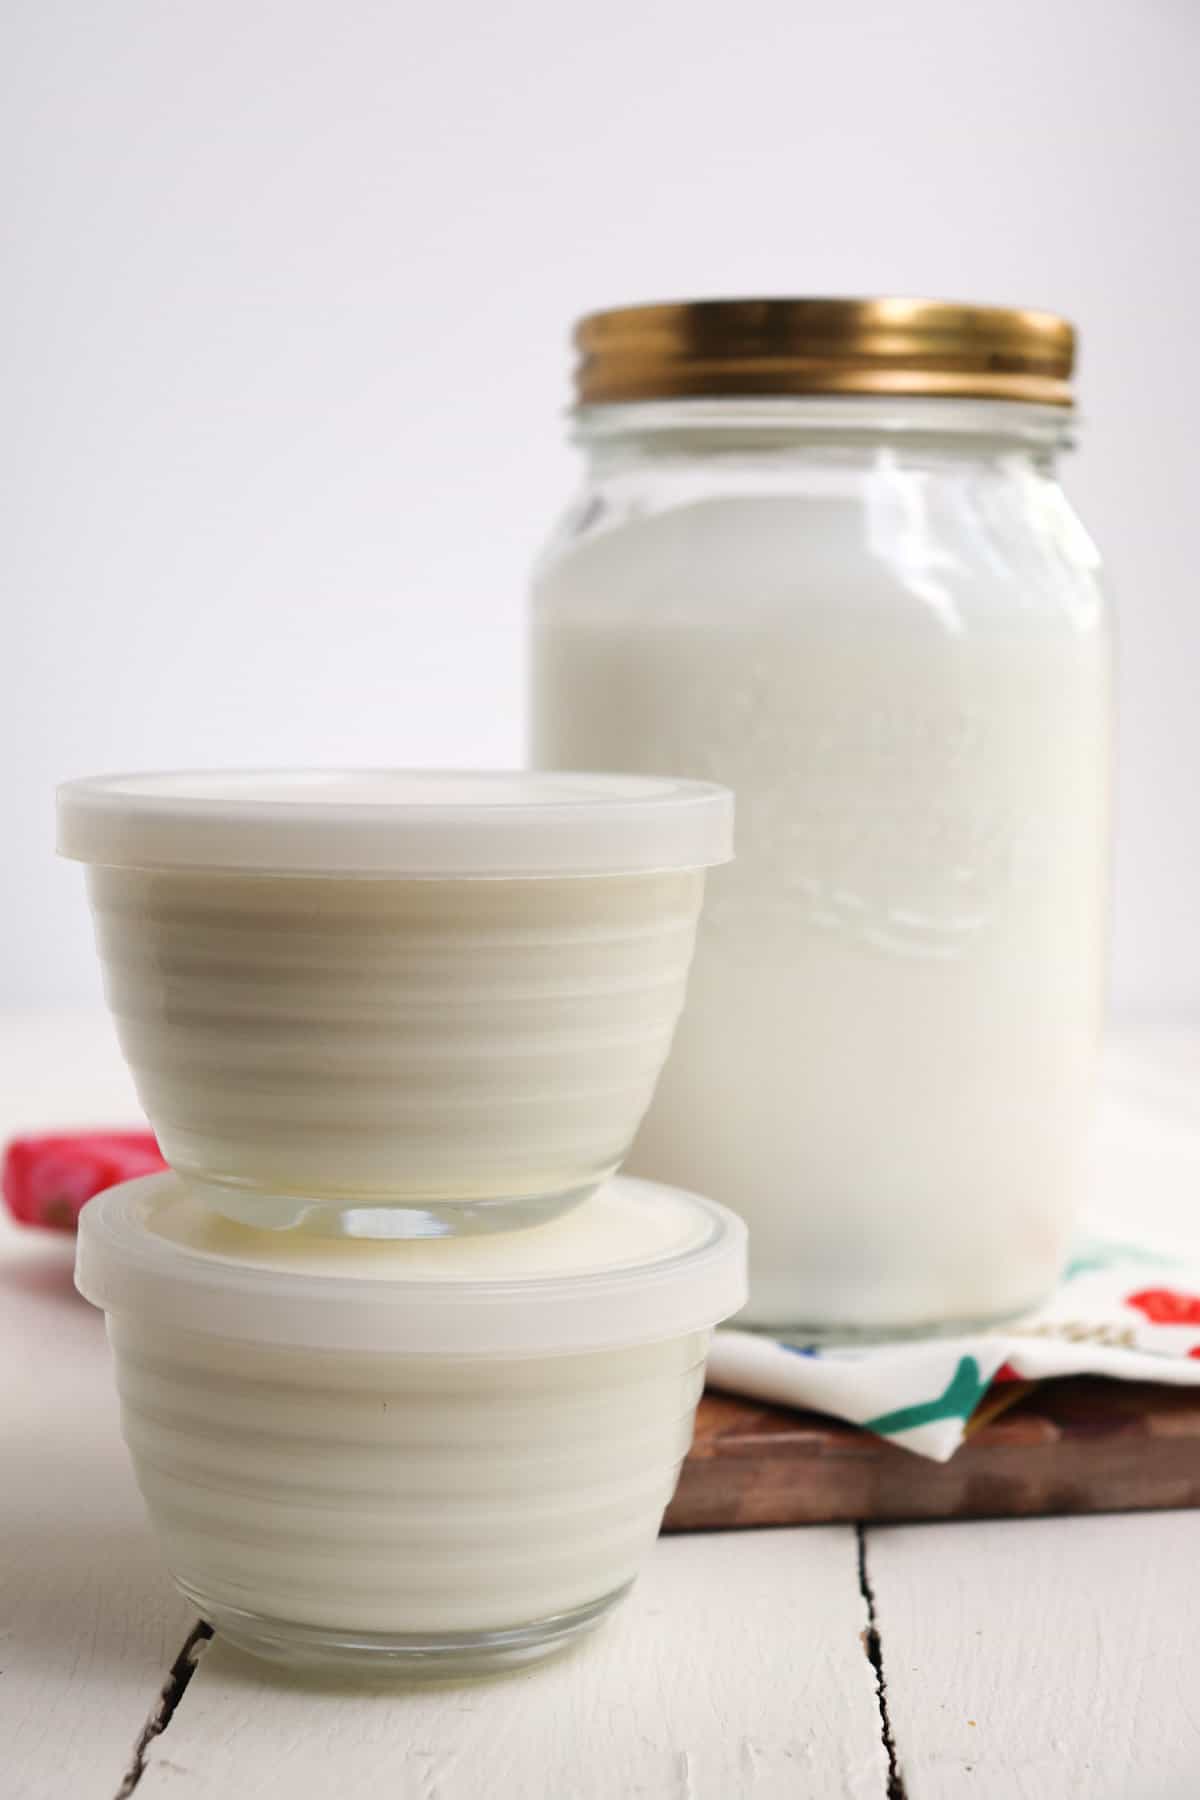
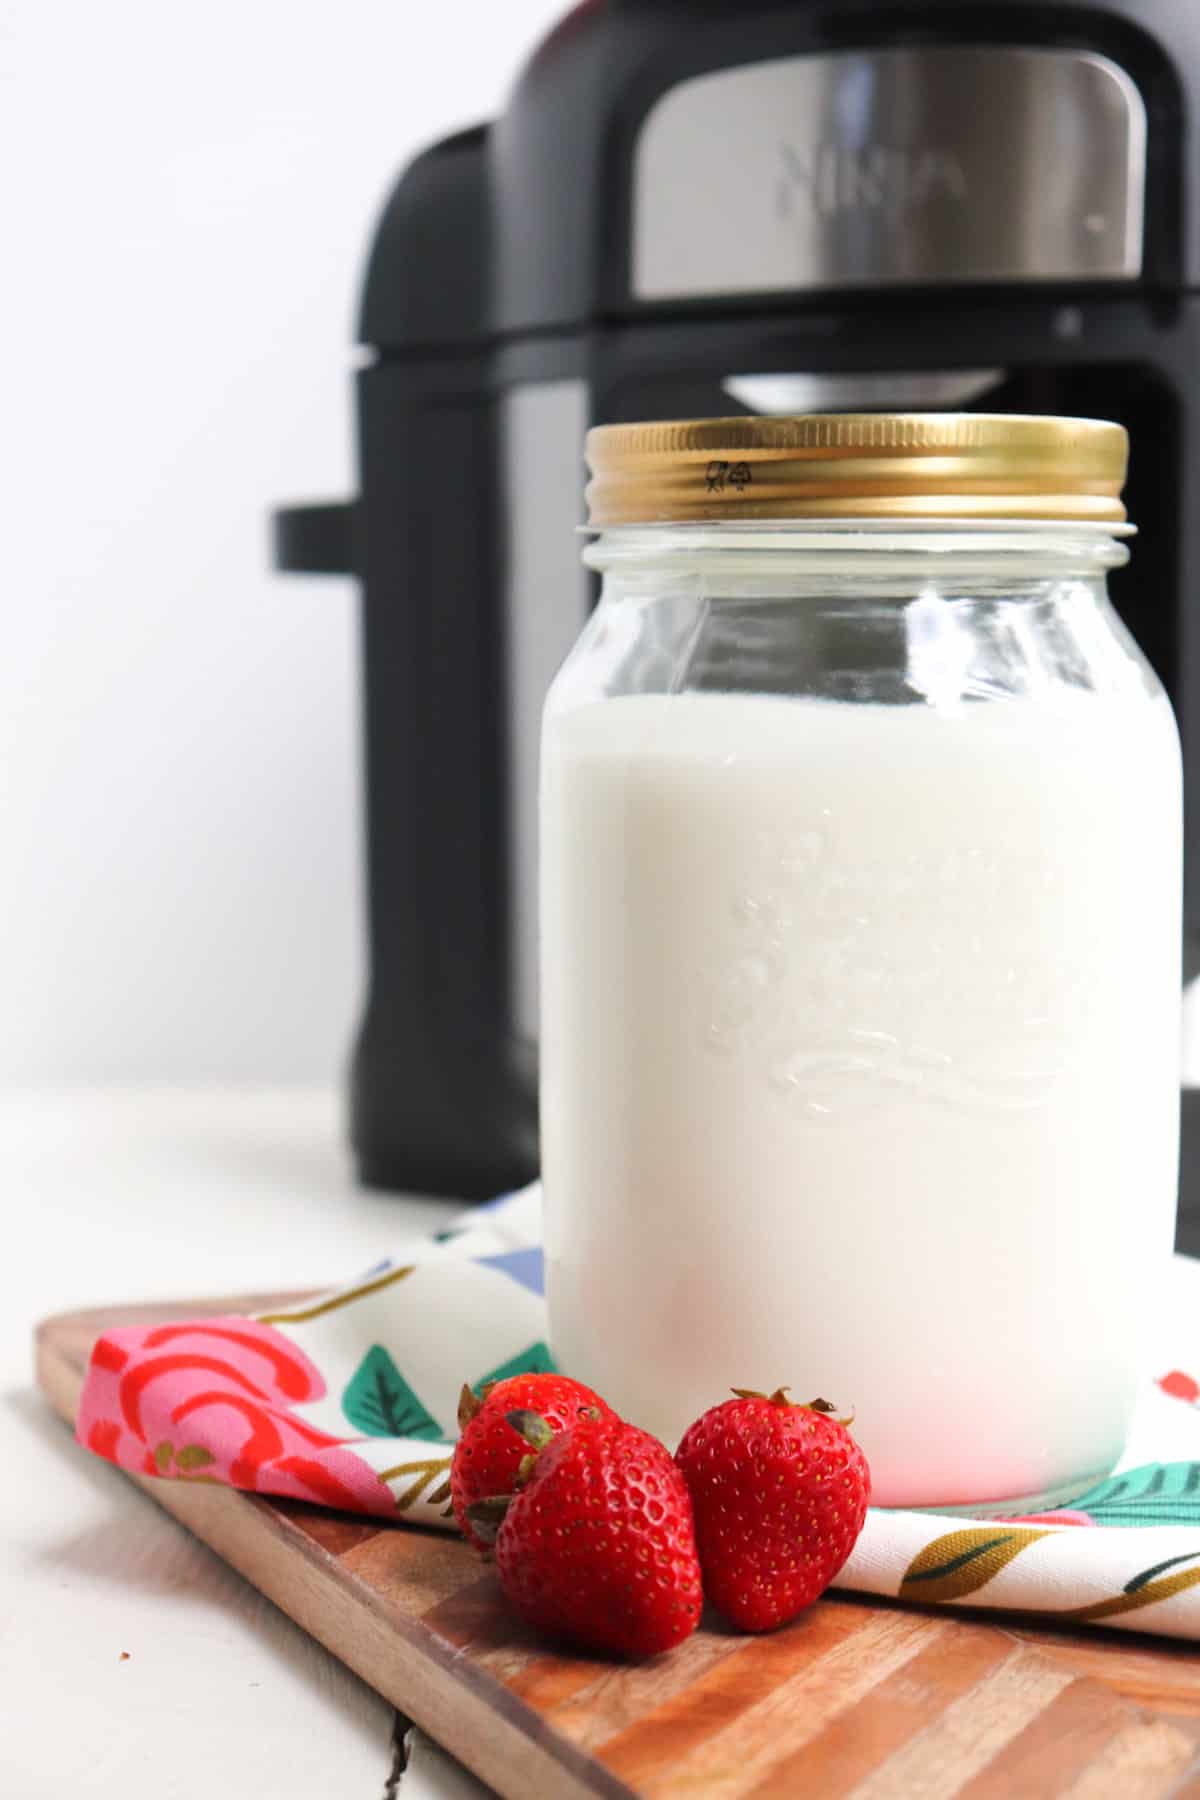
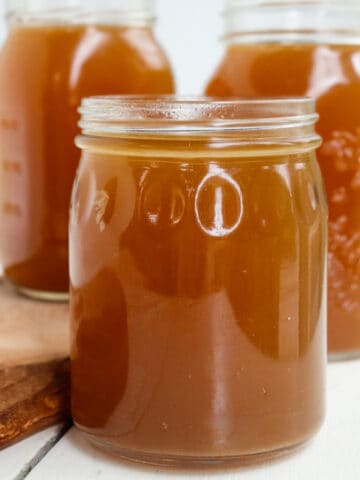
Store yogurt in airtight containers in the fridge. I like to use mason jars with lids or weck jars. This is a great recipe for repurposing small jars that you may have washed and stored from other things. This way, you can have individual serving sizes of yogurt.
Homemade yogurt should stay fresh in the refrigerator for up to 2 weeks.
More Ninja Foodi recipes
- Ninja Foodi Mashed Potatoes
- Ninja Foodi Turkey Tenderloin
- Ninja Foodi Whole Sweet Potatoes
- Ninja Foodi Frozen Burgers (in the Air Fryer)
- How to Dehydrate Peppers in the Ninja Foodi

Ninja Foodi Yogurt (Homemade Plain Yogurt)
Ingredients
- ½ gallon whole milk
- 2 tbsp. whole milk greek yogurt
Instructions
- Begin by making sure the inner pot is thoroughly clean.
- Add milk to the pot and press the yogurt button. You may have to turn the dial from to ensure it says "yogurt" and not "hi."
- Place the pressure cooker lid on top and secure, but make sure that it is in the venting position.
- Press "start." The device should say yogurt and a time of 8 hours.
- The first step the Ninja Foodi goes through is the boiling step. When complete, the machine will beep and say "boil." It can take about an hour for the milk to boil, depending on the amount of liquid.
- The machine will then switch to the "cool" function. It can take anywhere from an hour to several hours for it to cool. Once the milk has cooled and is the correct temperature, the machine will beep again. The screen will read "add and stir." This means it is time to add in the yogurt with active cultures.
- Open the lid and add the yogurt and whisk.
- Place the lid back on (make sure the pressure release valve is still in the venting position) and press the start button again.
- The screen should now say "incubate" and 8:00 hours time. Allow the yogurt to ferment in the Ninja Foodi for the full time. It will beep again when it is finished.
- Remove the lid and check that the yogurt is firm. Place in the fridge to cool for at least 2 hours, but ideally longer.


Roxanne
Thank you so much for sharing, I can't wait to eat homemade yogurt!!! I've got my milk & yogurt on the incubate stage. Would you place the yogurt in jars after this stage is complete, before putting it in the fridge or would you place the whole foodi insert into the fridge?
Sarah Baumeister
Either would work! I generally place the whole insert in the fridge to cool and firm up and then place into jars. -Sarah
Kay
I am making this recipe now. I'm using an 8 qt ninja foodie pressure cooker. Towards the end of the boil cycle, the milk boiled over thru the vent. Made a lovely mess. Is this normal? The vent was open and I'm using a 1/2 gallon of milk on the yogurt setting as listed in the recipe.
s reeder
I will be making my 4th attempt in new foodi in making yogurt and so far I am not one bit happy with the results. I have been making yogurt 2 times every week for about 3 years in a large slow cooker and it turned out great and thick. The slow cooker stopped working and then purchased foodi----not happy at all, and have not even cooked anything else in it
Sarah Baumeister
Hi there! I'm sorry to hear that the Ninja Foodi isn't working for you in terms of yogurt making. What issues are you having?
Rebecca
I know you commented a very long time ago but I have also tried 3 times with my Ninja Foodi with the yogurt button and I get milk. The machine goes through the process by itself and it’s done everything this blog says and yet it hasn’t worked. Just wondering if you ever figured it out? Thanks.
Karla
Why are you giving her a one star because you can’t make the yogurt? It’s not her fault that you can’t seem to get it right in your new machine. Maybe the issue is the machine (or you) and not the recipe.
Sandy Drew
The foodi makes the yogurt. With the exception of adding yogurt, leave it alone and it will complete the process. After 8 hrs I had two 32 oz containers of firm yogurt.
Shannon
Wonderfully simple easy tasty recipe. Follow the directions the yogurt setting does its job. Half gallon of whole milk and I had four tablespoons of starter from the last batch. . . made it a little thicker and richer. I left it in the fridge overnight and added honey and vanilla paste the next morning. It's so much better than the stuff from the store.
Sarah Baumeister
What a thoughtful comment. Thank you. I'm so glad that you enjoyed the recipe!