


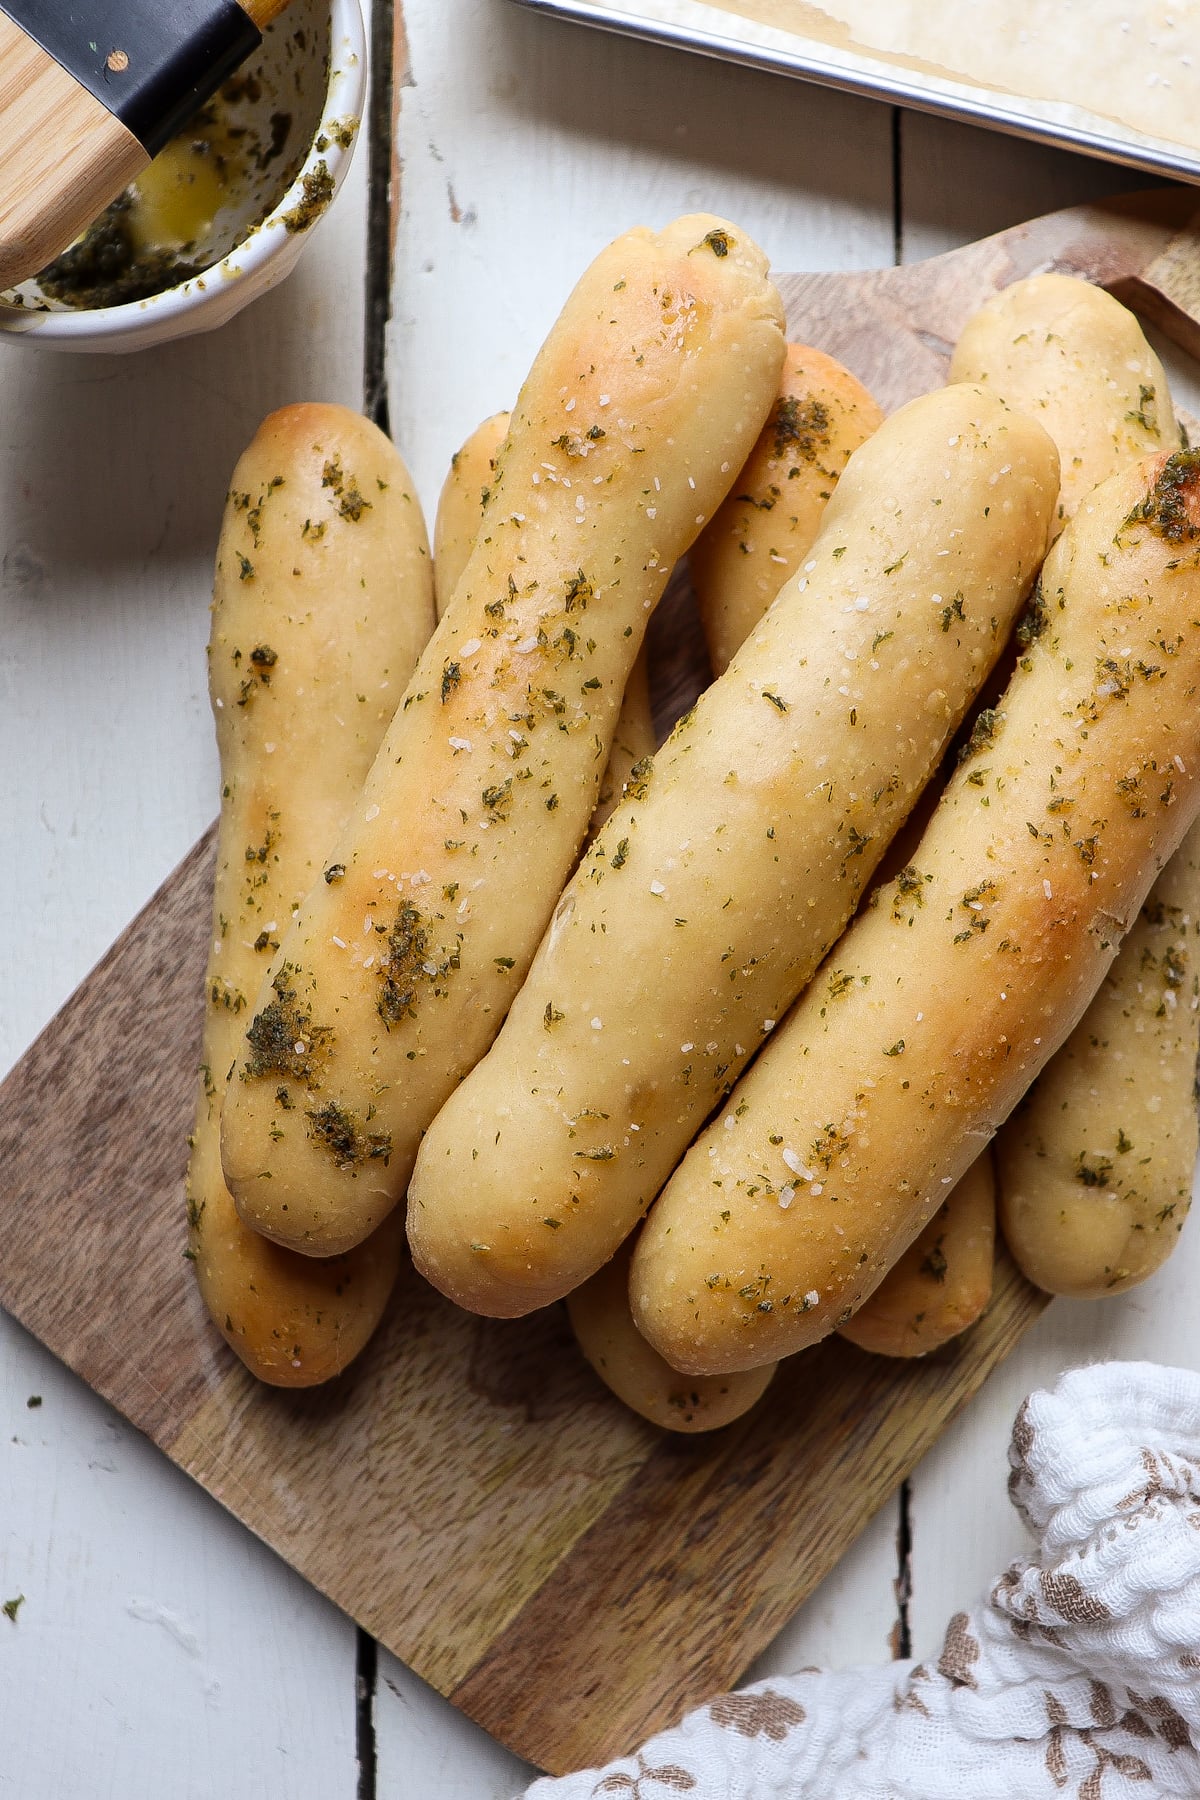
These Sourdough Breadsticks are chewy yet fluffy, and covered with a delicious garlic butter. They work great as a side to pasta or as an easy grab and go snack.
Whether you are a new to the sourdough world or a seasoned breadmaker, this breadstick recipe is for you. I have tried to make it easy to follow and it gives consistent results. These breadsticks are chewy from bread flour, but a strong starter still gives a great rise to them, ensuring they are not dense or heavy.
If you are new to sourdough baking and need a starter, my absolute favorite way to obtain sourdough starter, is to simply to get it from a friend. Similar to receiving a plant cutting, you are receiving a living thing and I love the idea that one starter can span countless homes and be shared time and time again. PLUS, it will already be strong and developed and ready for all the recipe creation you can manage.
Check out this Rustic Honey Sourdough Bread, next!
Ingredients
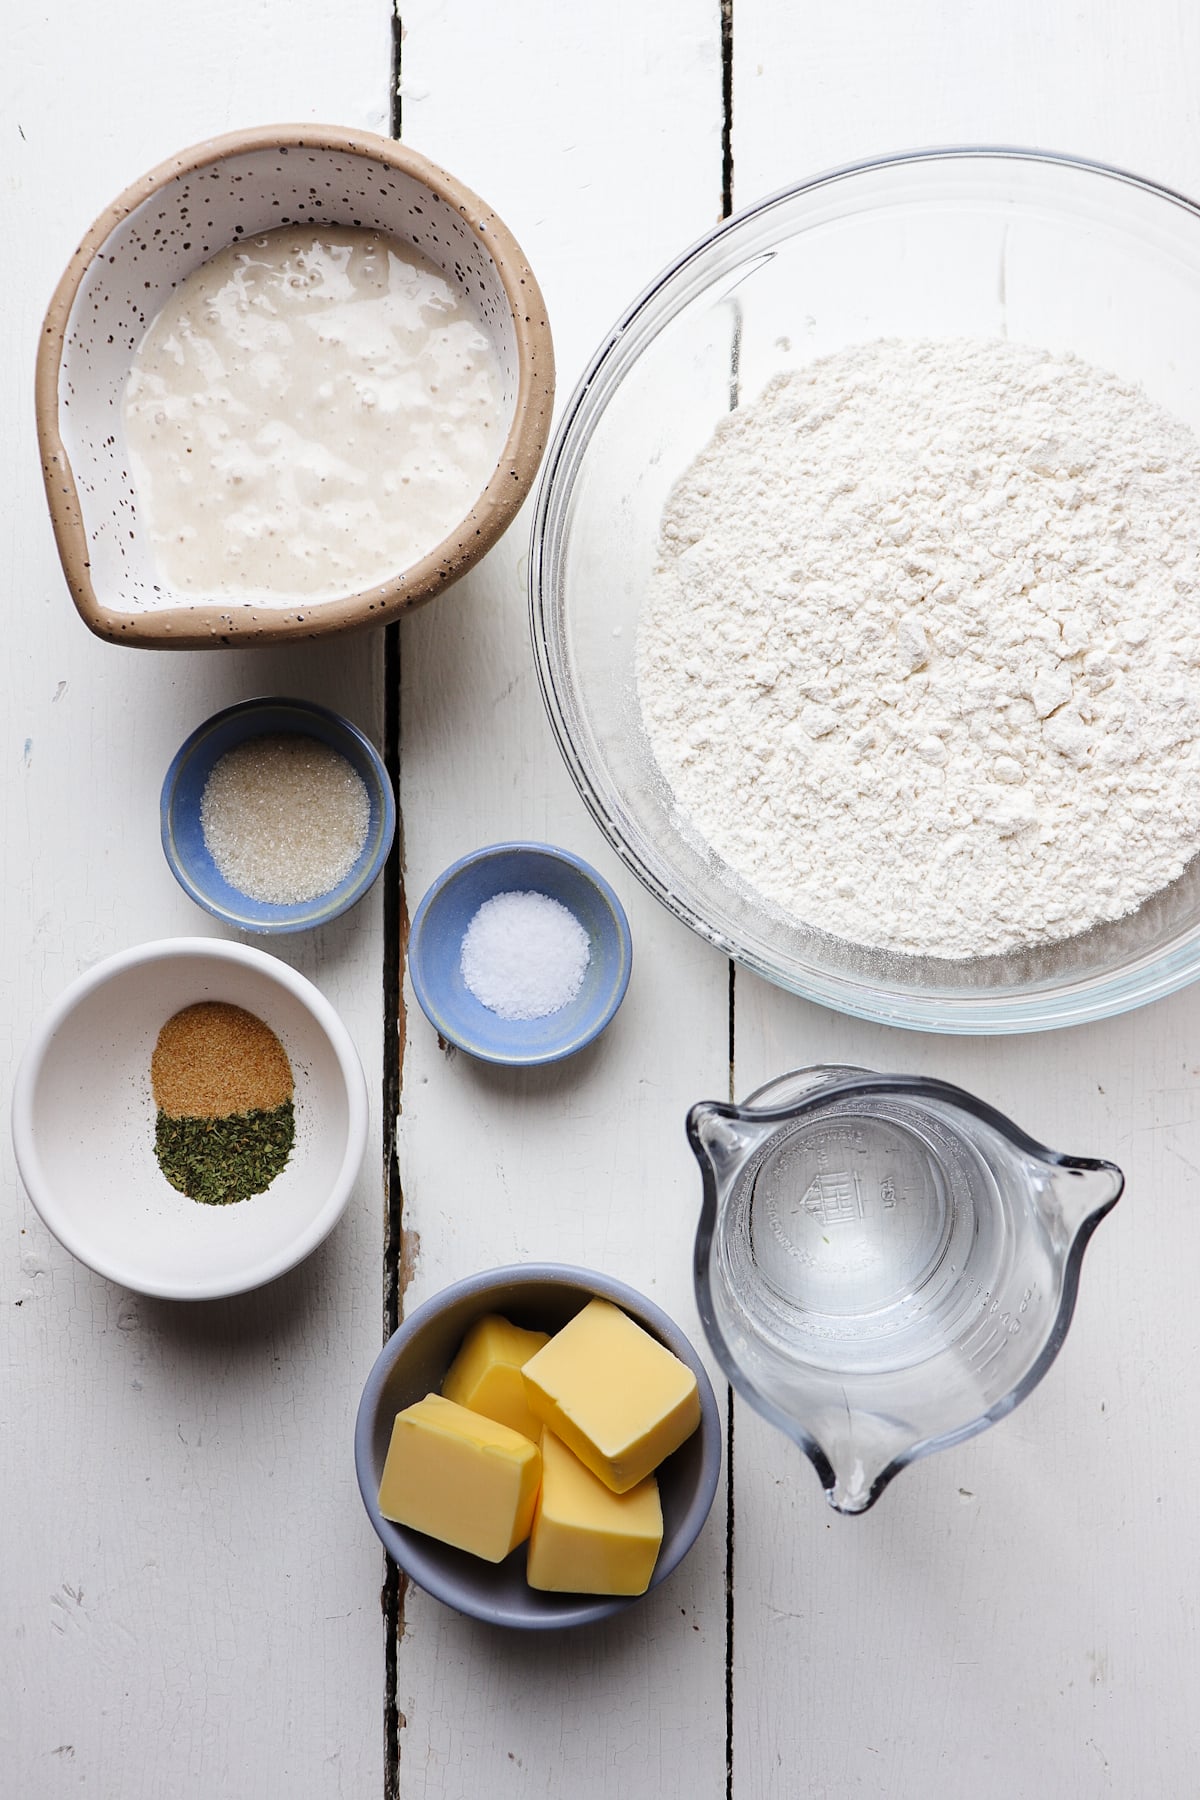
- Active sourdough starter
- Flour
- Sugar
- Warm water
- Butter
- Garlic Powder
- Italian Seasoning
- Salt
How to Make Sourdough Breadsticks
Step 1. To begin, make sure your starter is in the active, bubbly phase. Depending on the strength of your starter and the time of year (temperature makes a big difference), you most likely will want to feed your starter 6-12 hours before you start this recipe. I generally do it the night before and then start the dough in the morning.
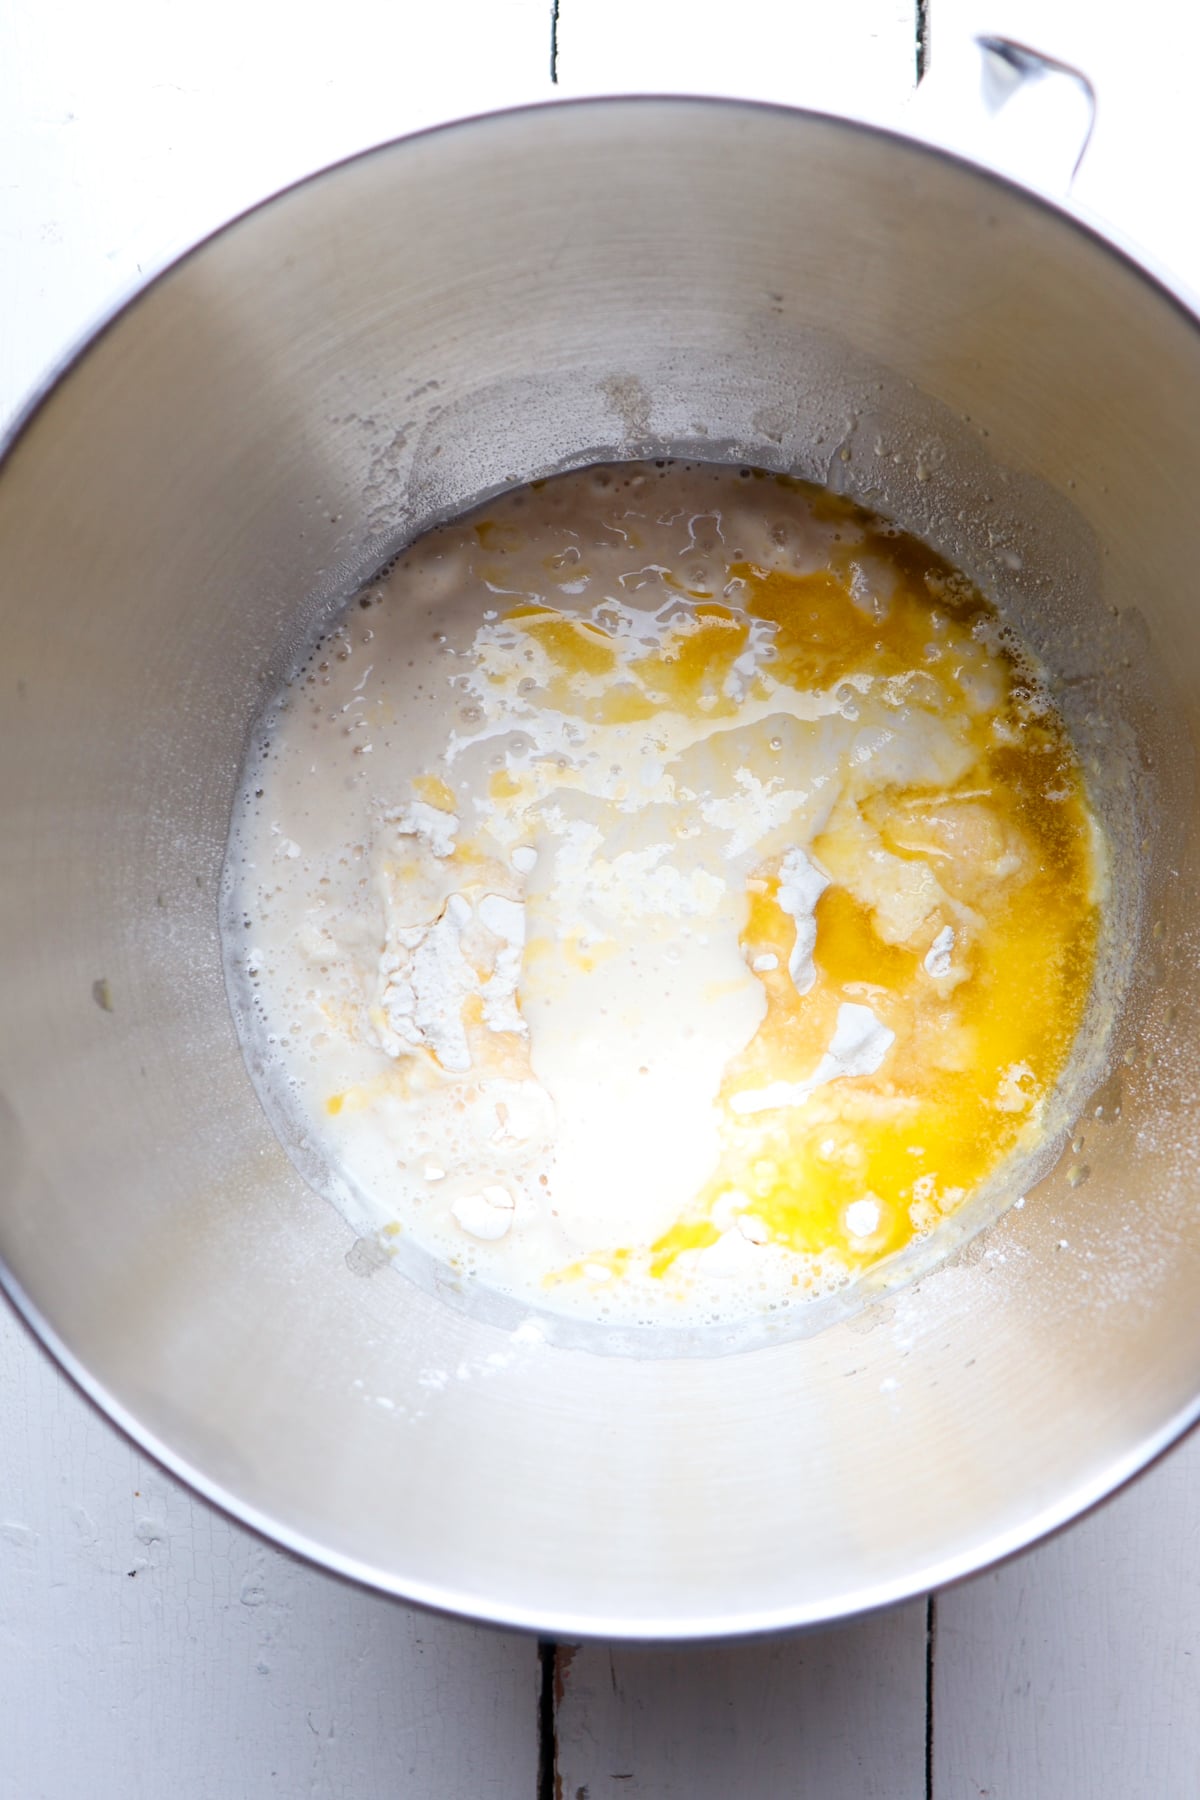
To the bowl of your stand mixer, add flour, sugar, and salt, active sourdough starter, ½ stick of butter (melted) and water.
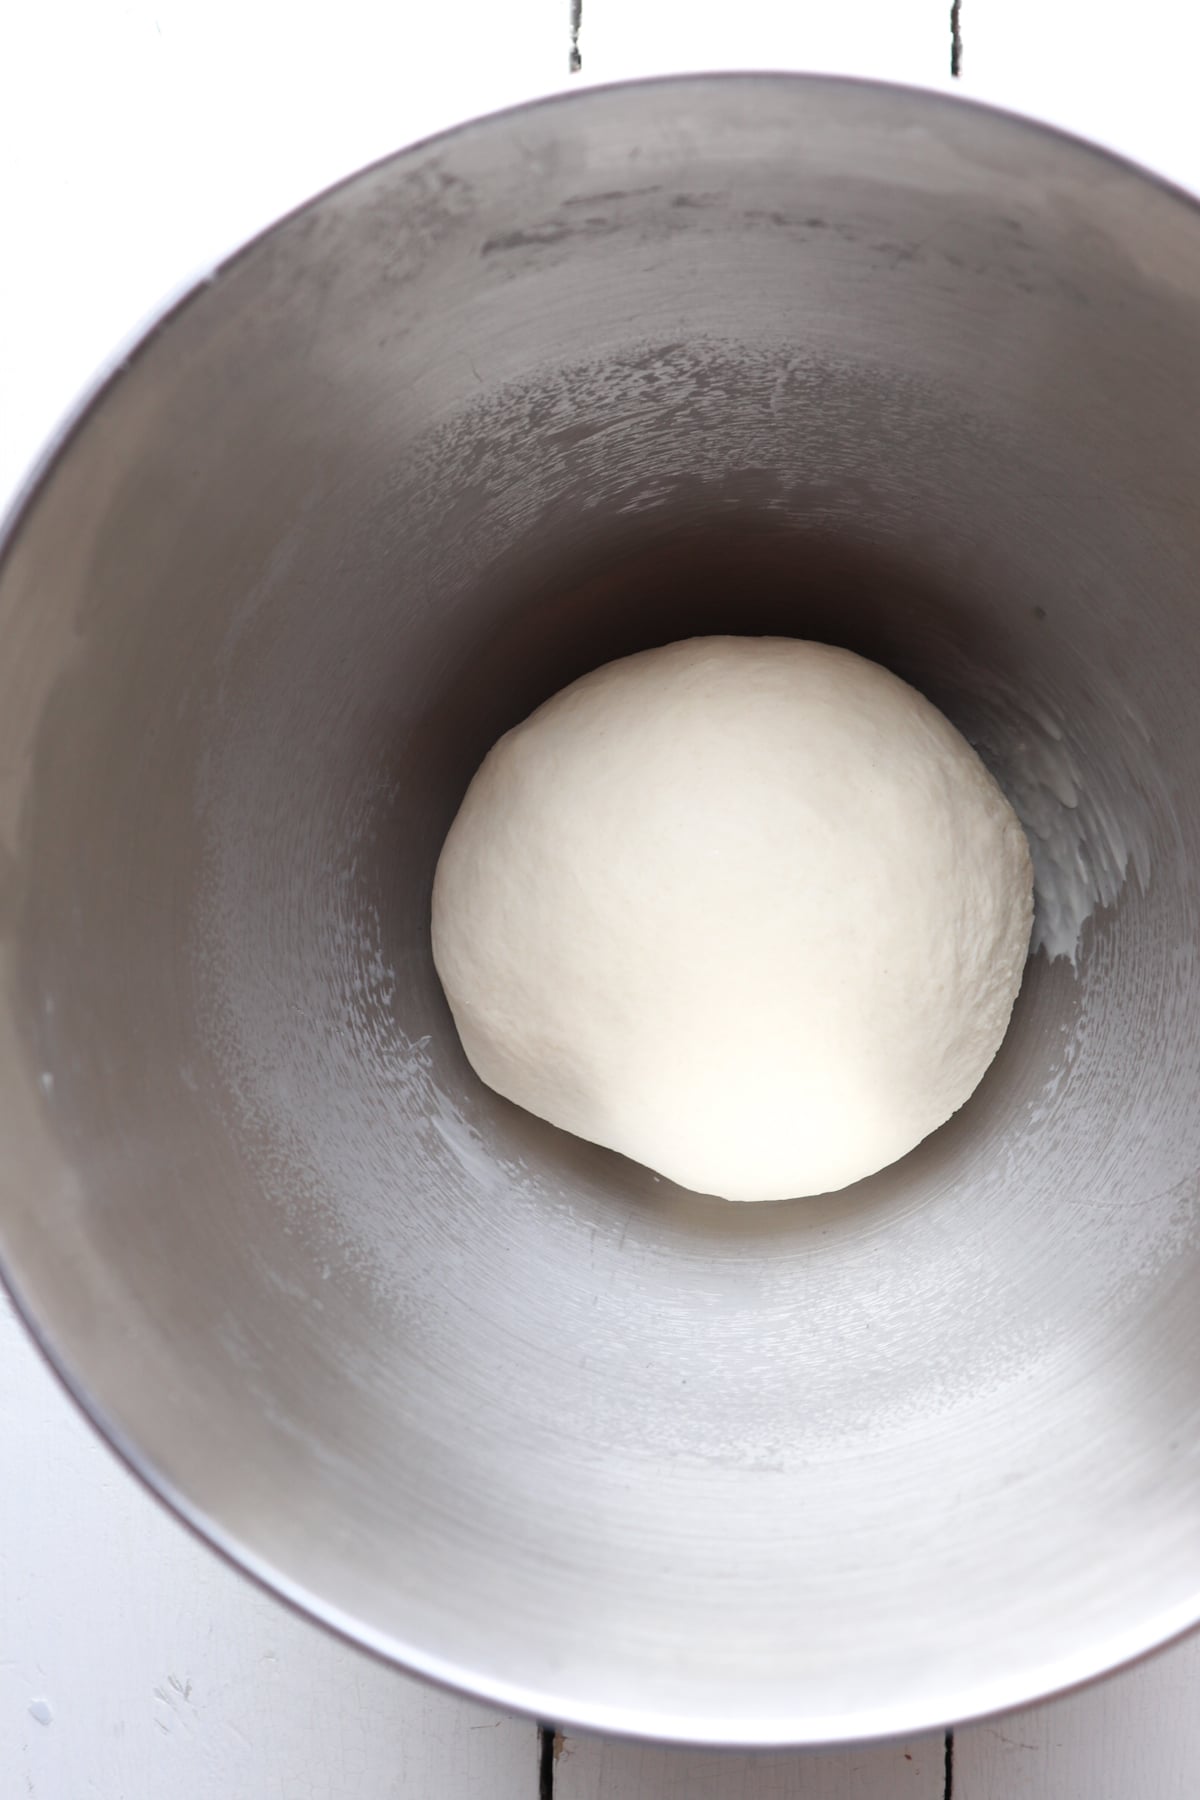
Step 2. Use the dough hook attachment and mix on medium speed until it forms a smooth elastic ball. This can take up to 10 minutes.
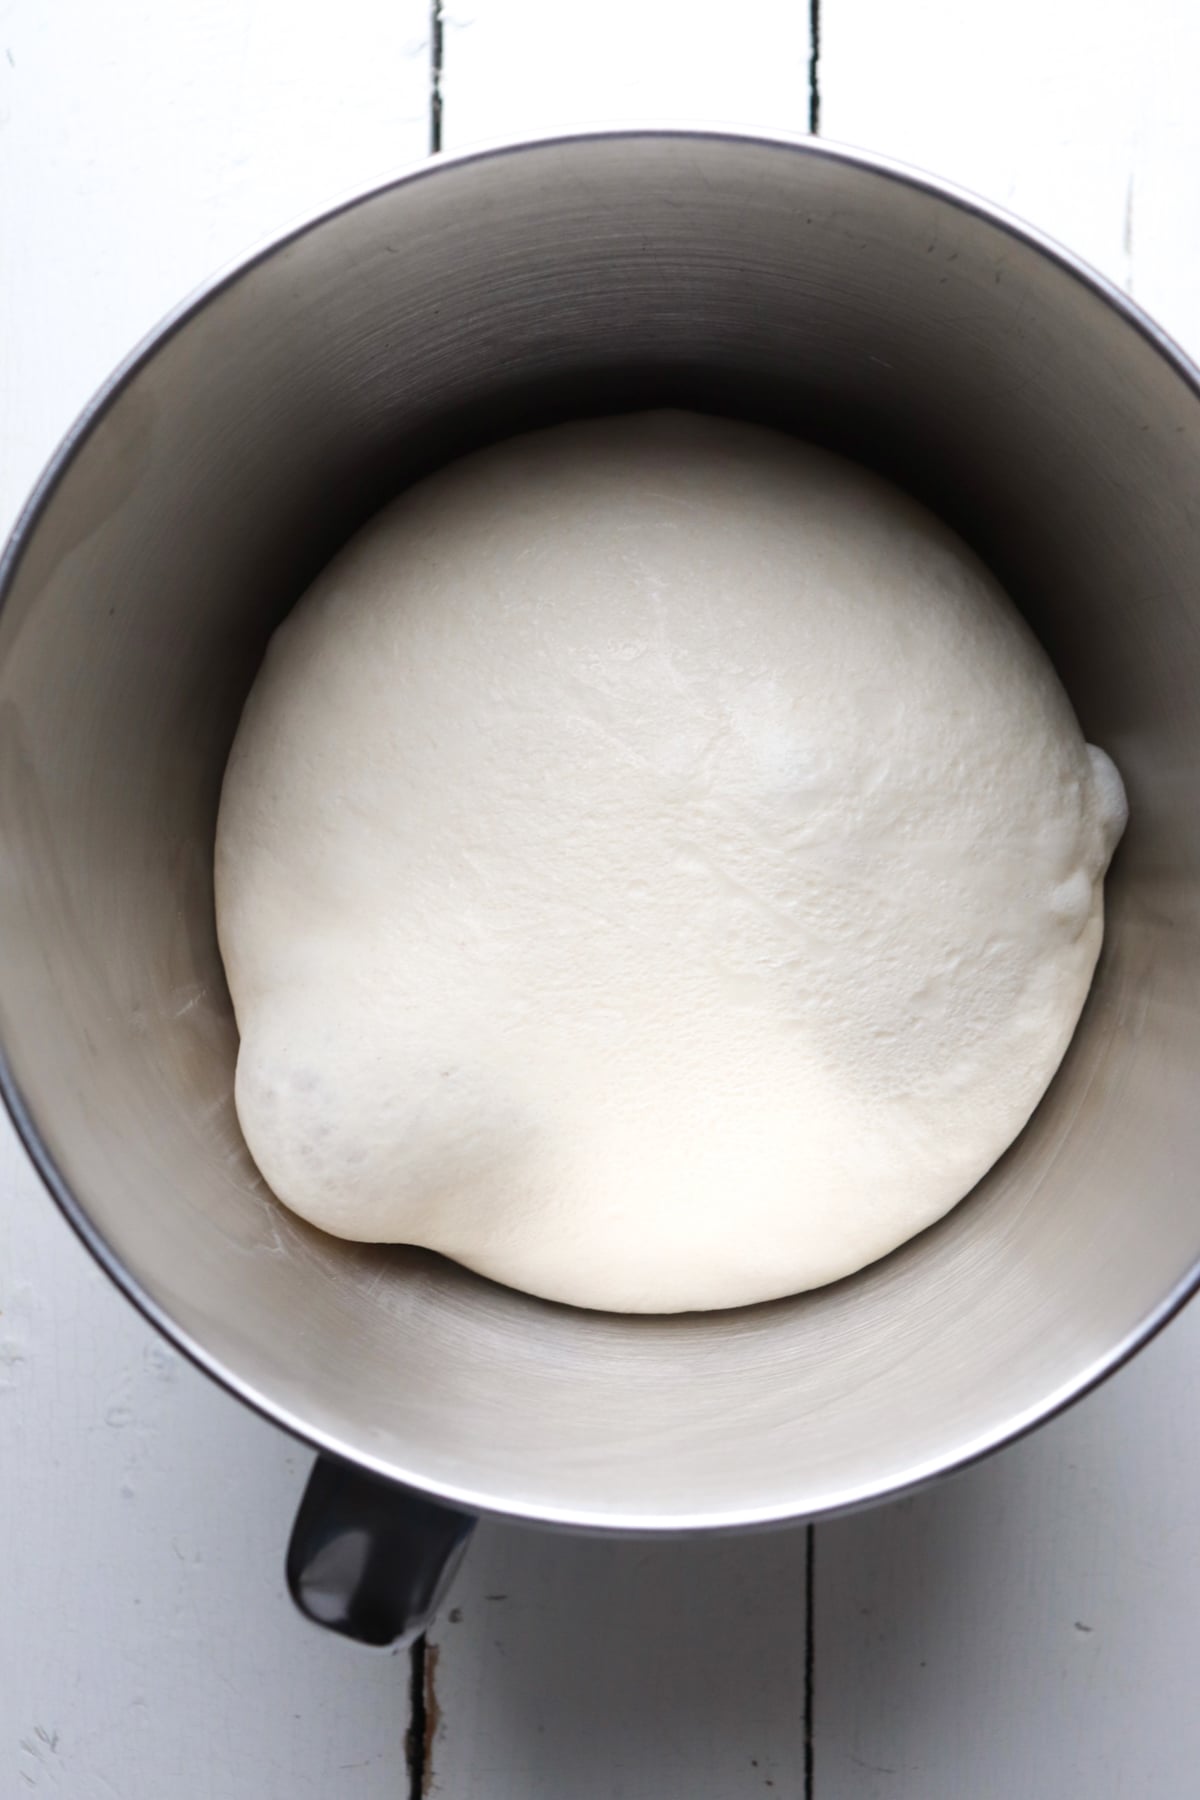
Step 3. Cover with a damp towel or plastic wrap and allow to sit at room temperature for about 8-10 hours, the dough should double in size.
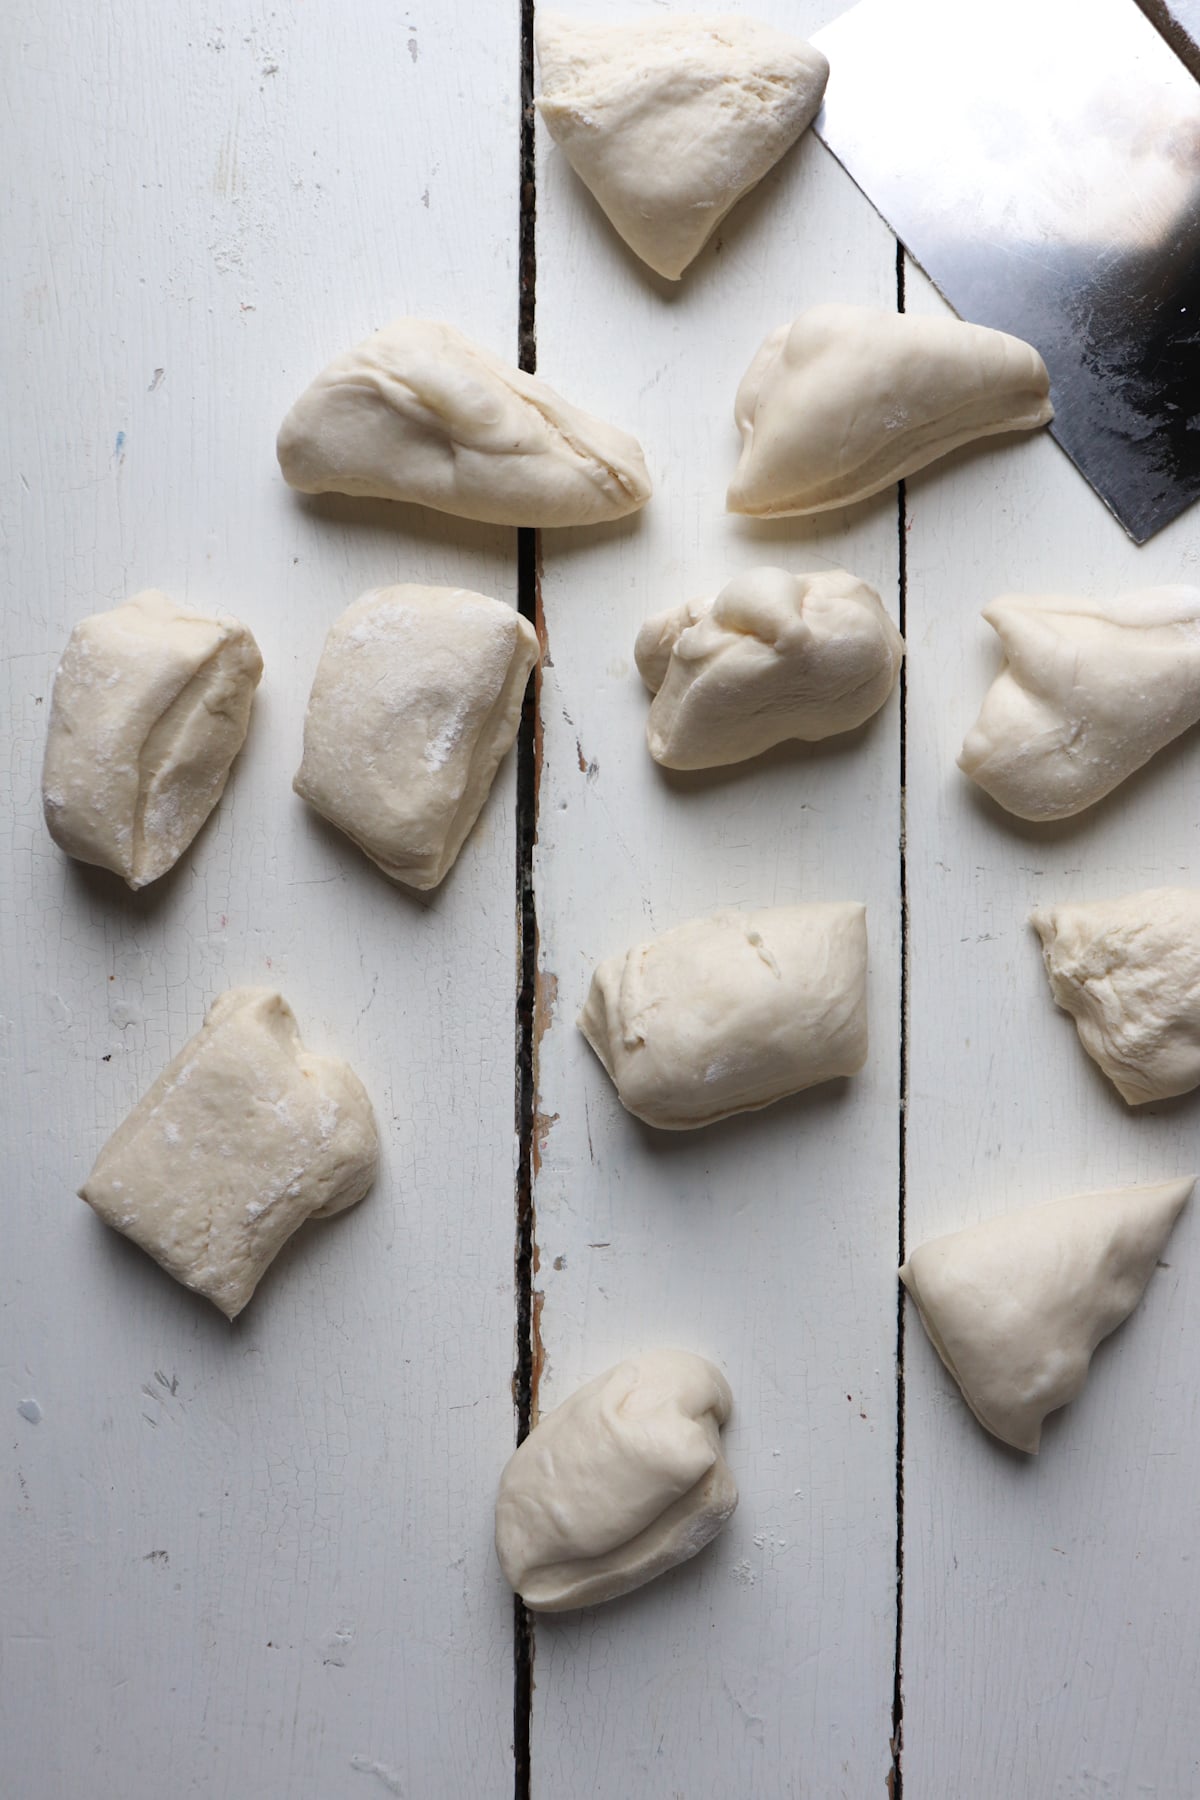
Step 4. Once the dough has finished the first rise, cut into 12 equal pieces.
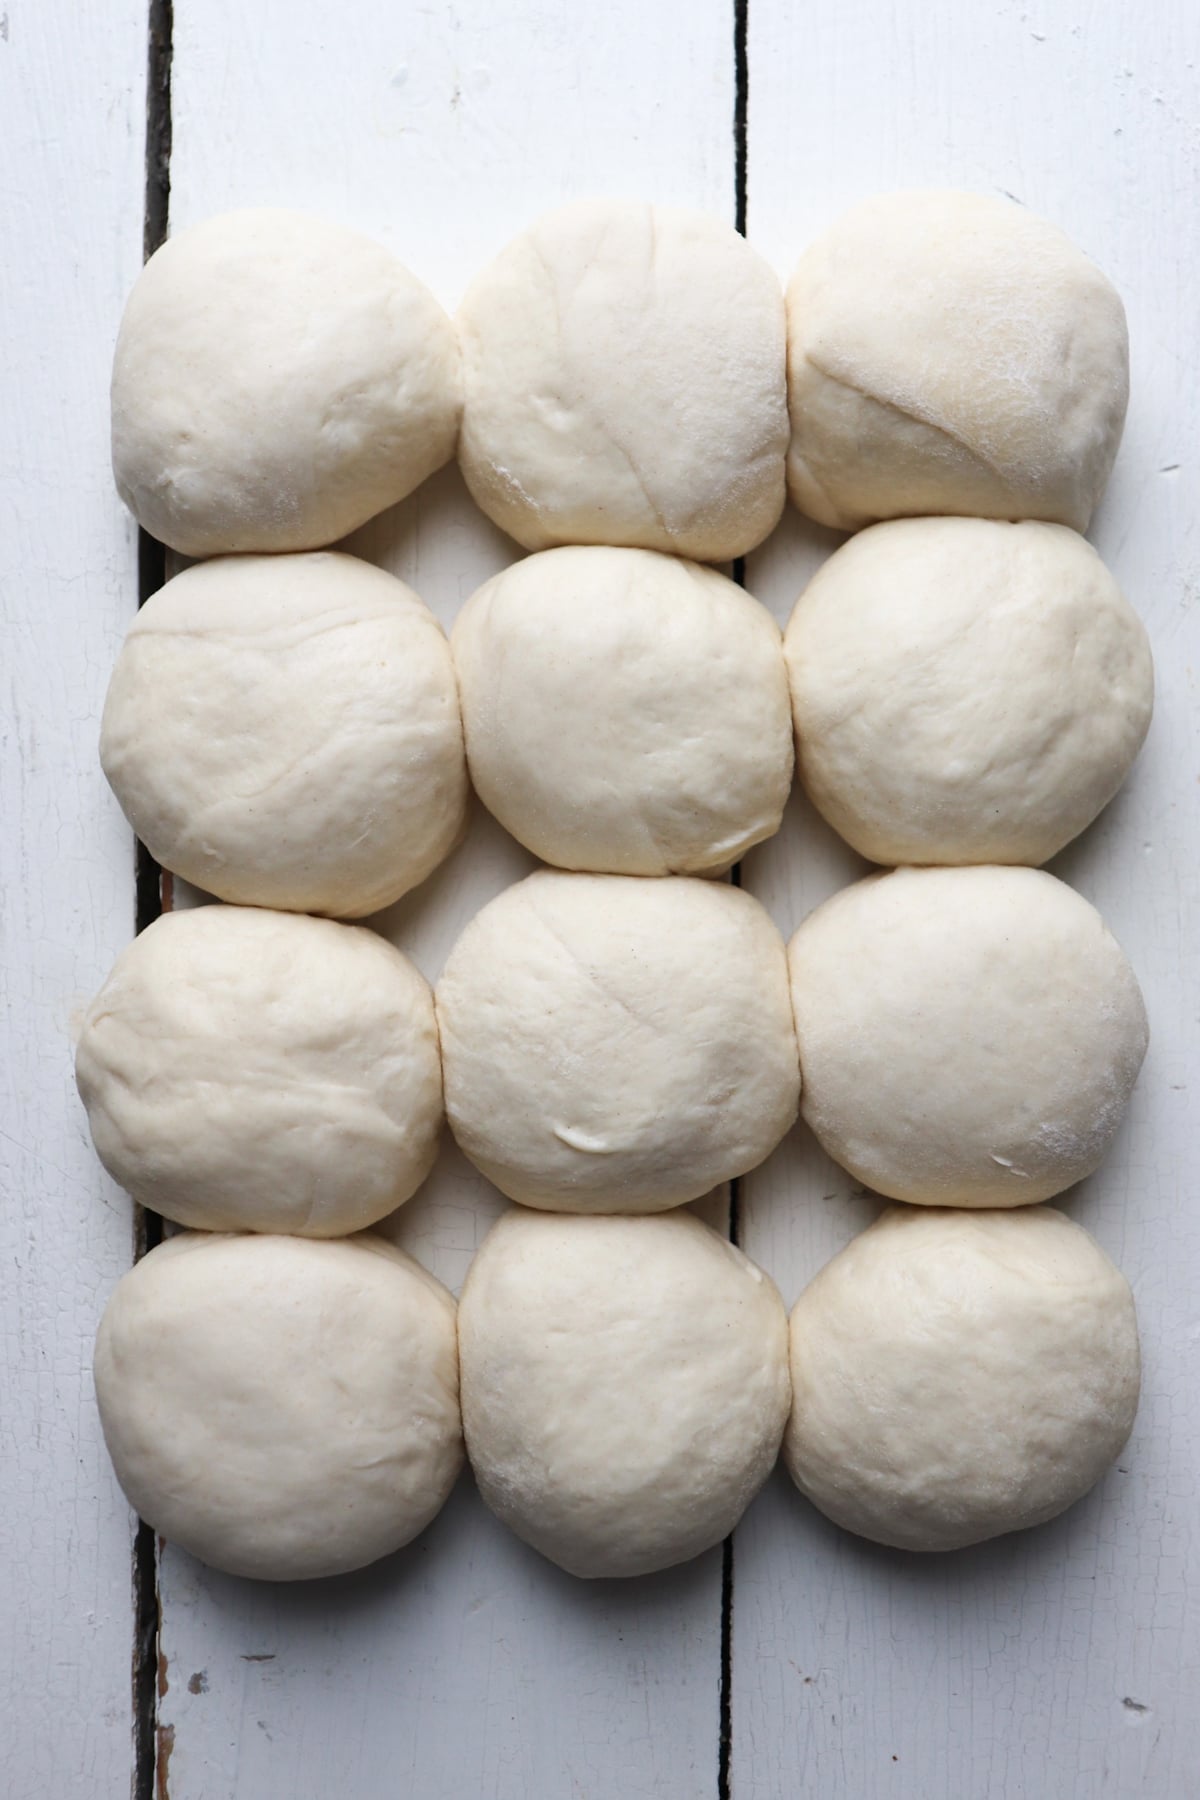
Step 5. You can eyeball it, but mine averaged about 60 grams a pieces.
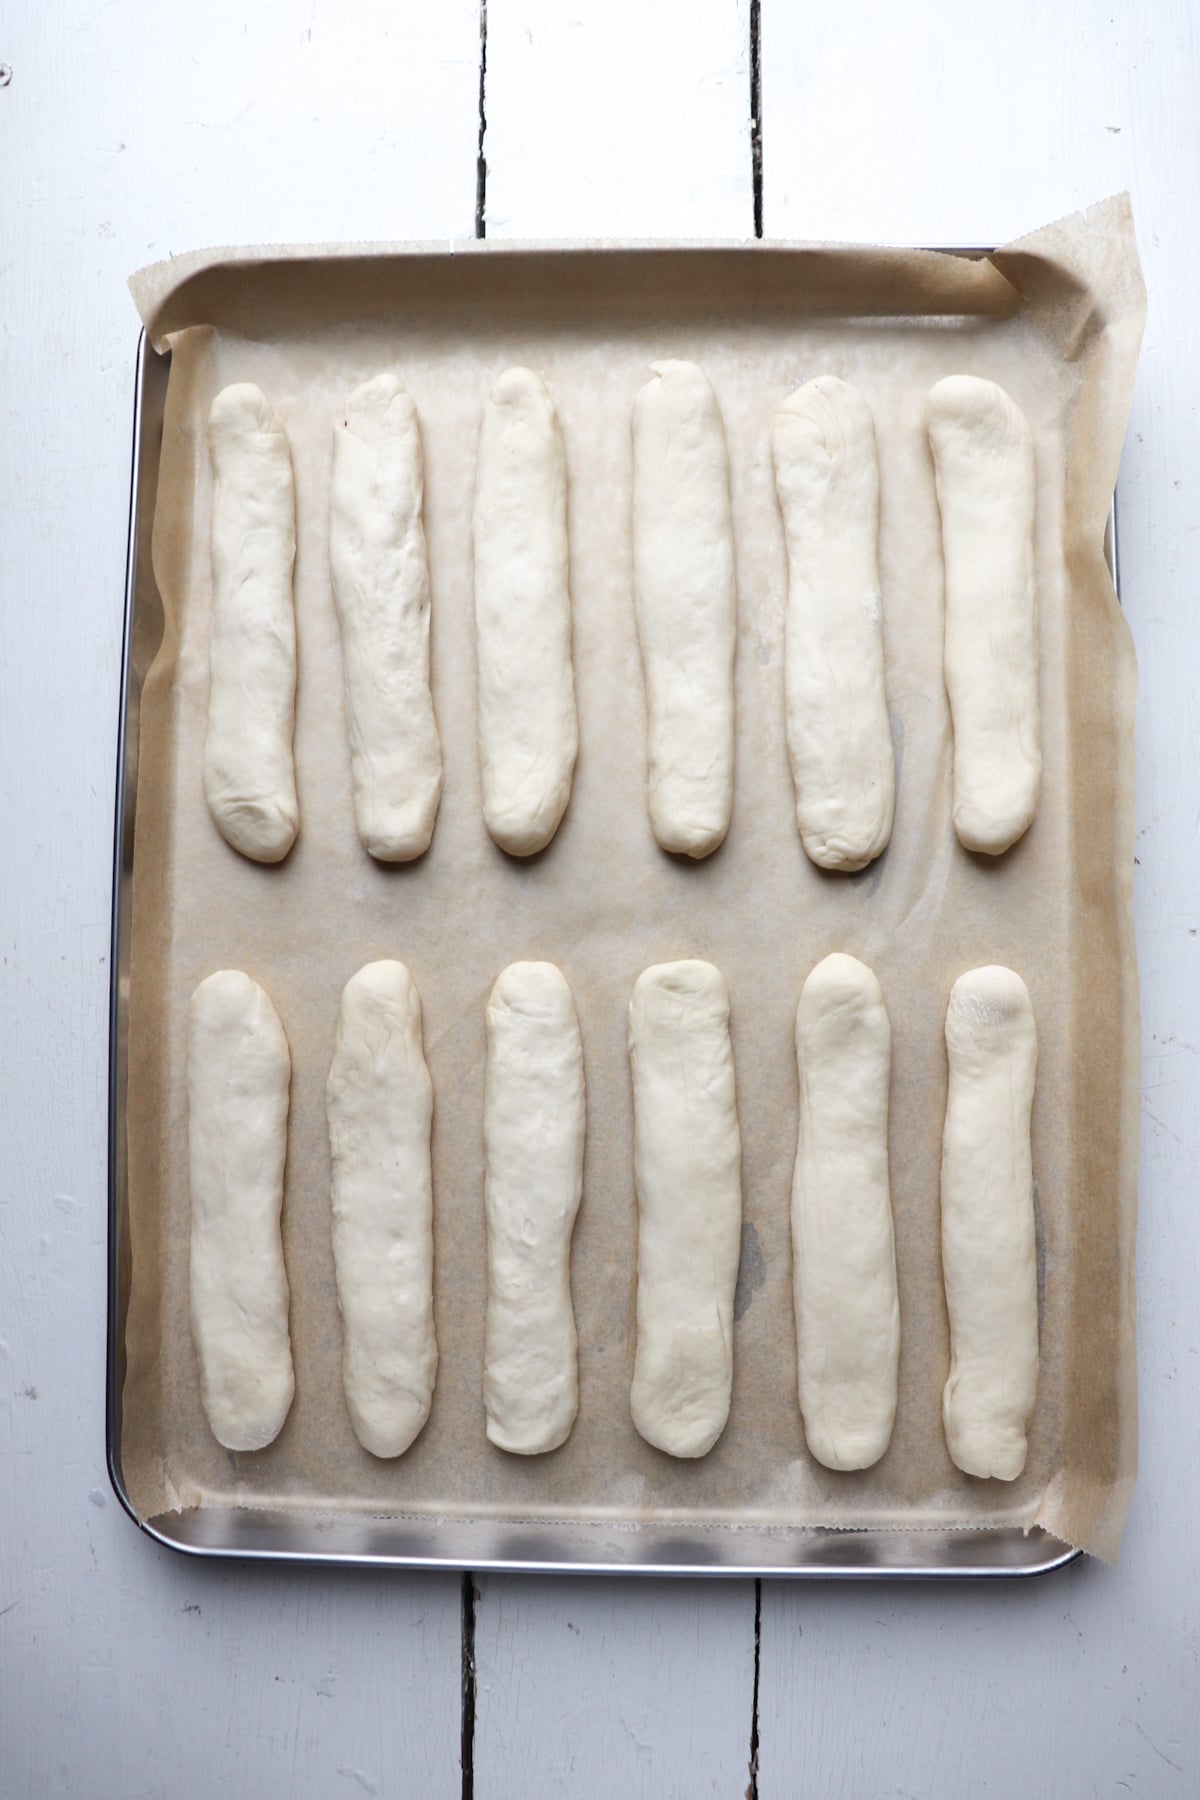
Step 6. Using your hands, roll each piece into a cylinder that is around 6 inches long. Place on a parchment paper lined baking sheet.
Allow to rise for 1-2 more hours, until fluffy.
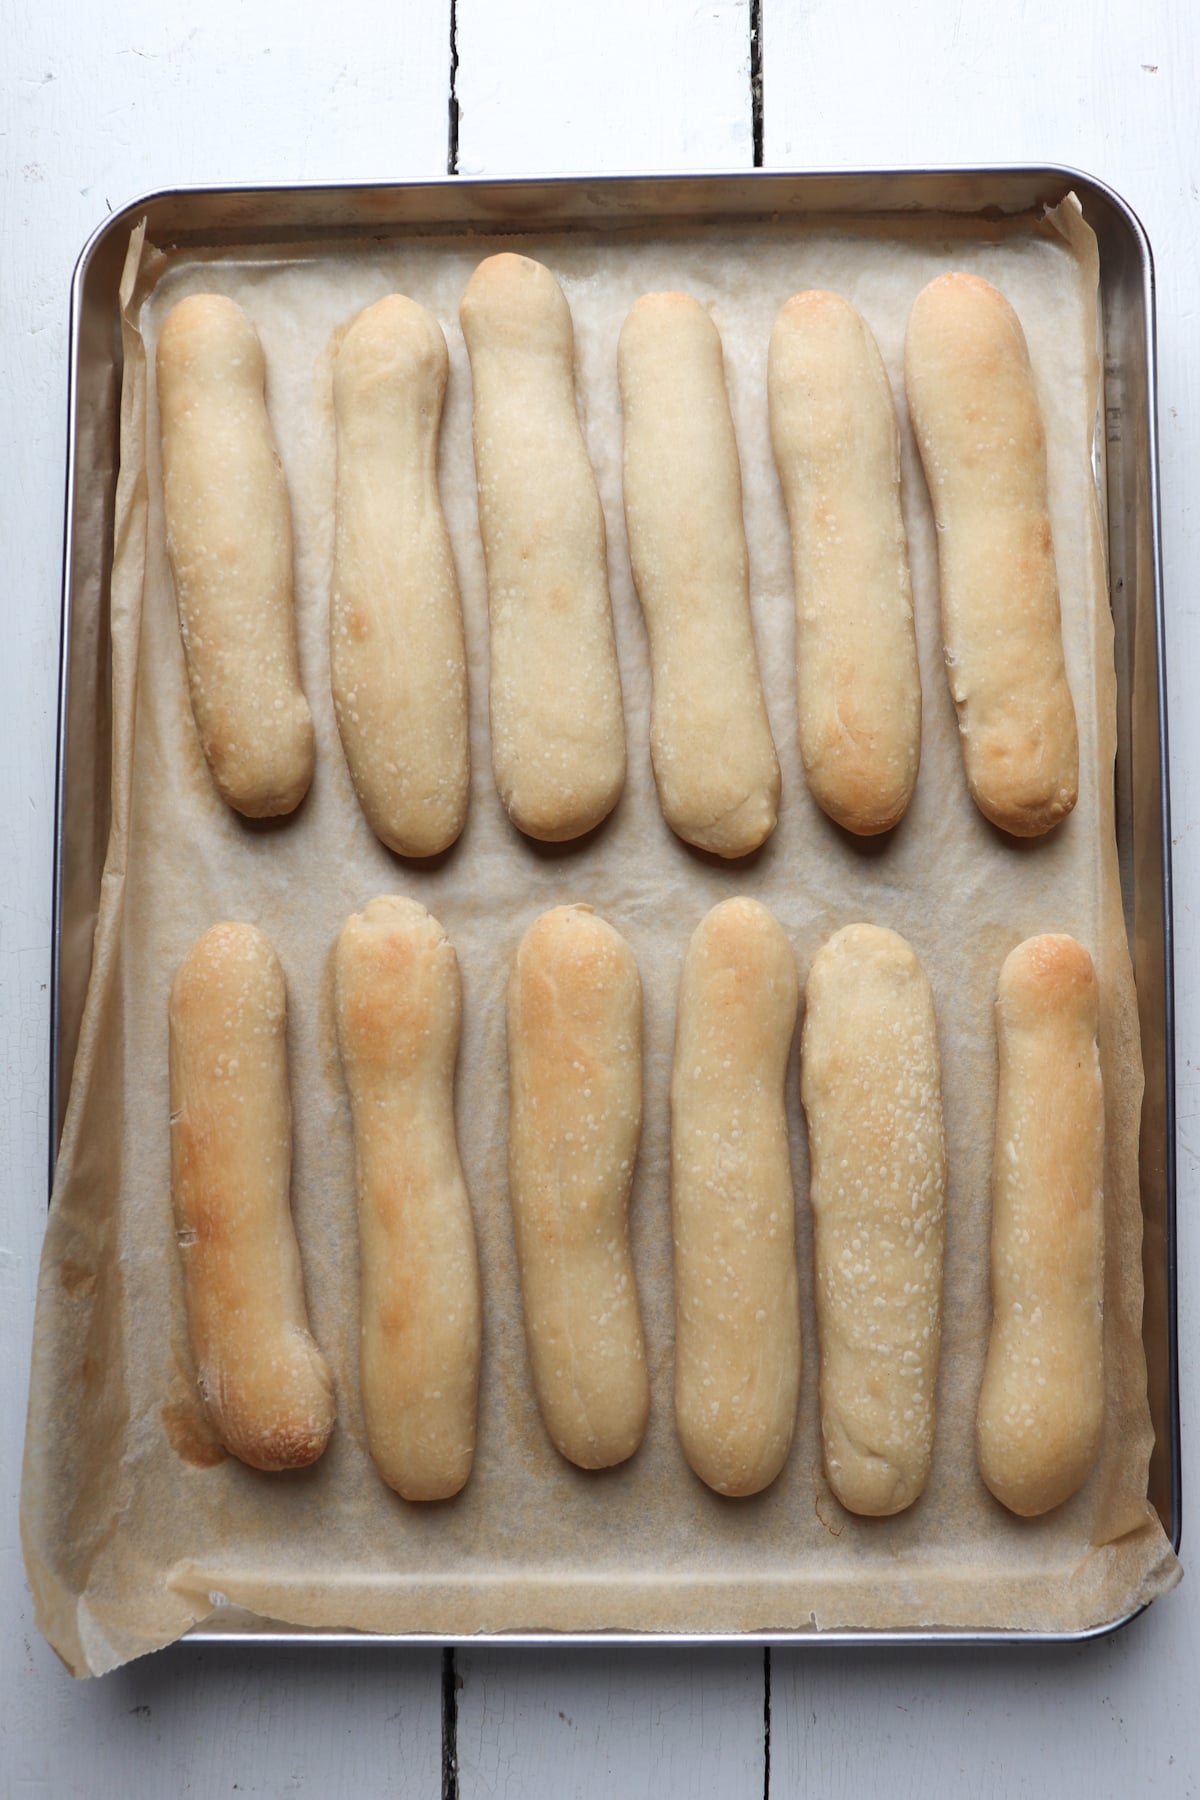
Step 7. Preheat oven to 400 degrees. Bake breadsticks for approximately 15 minutes.
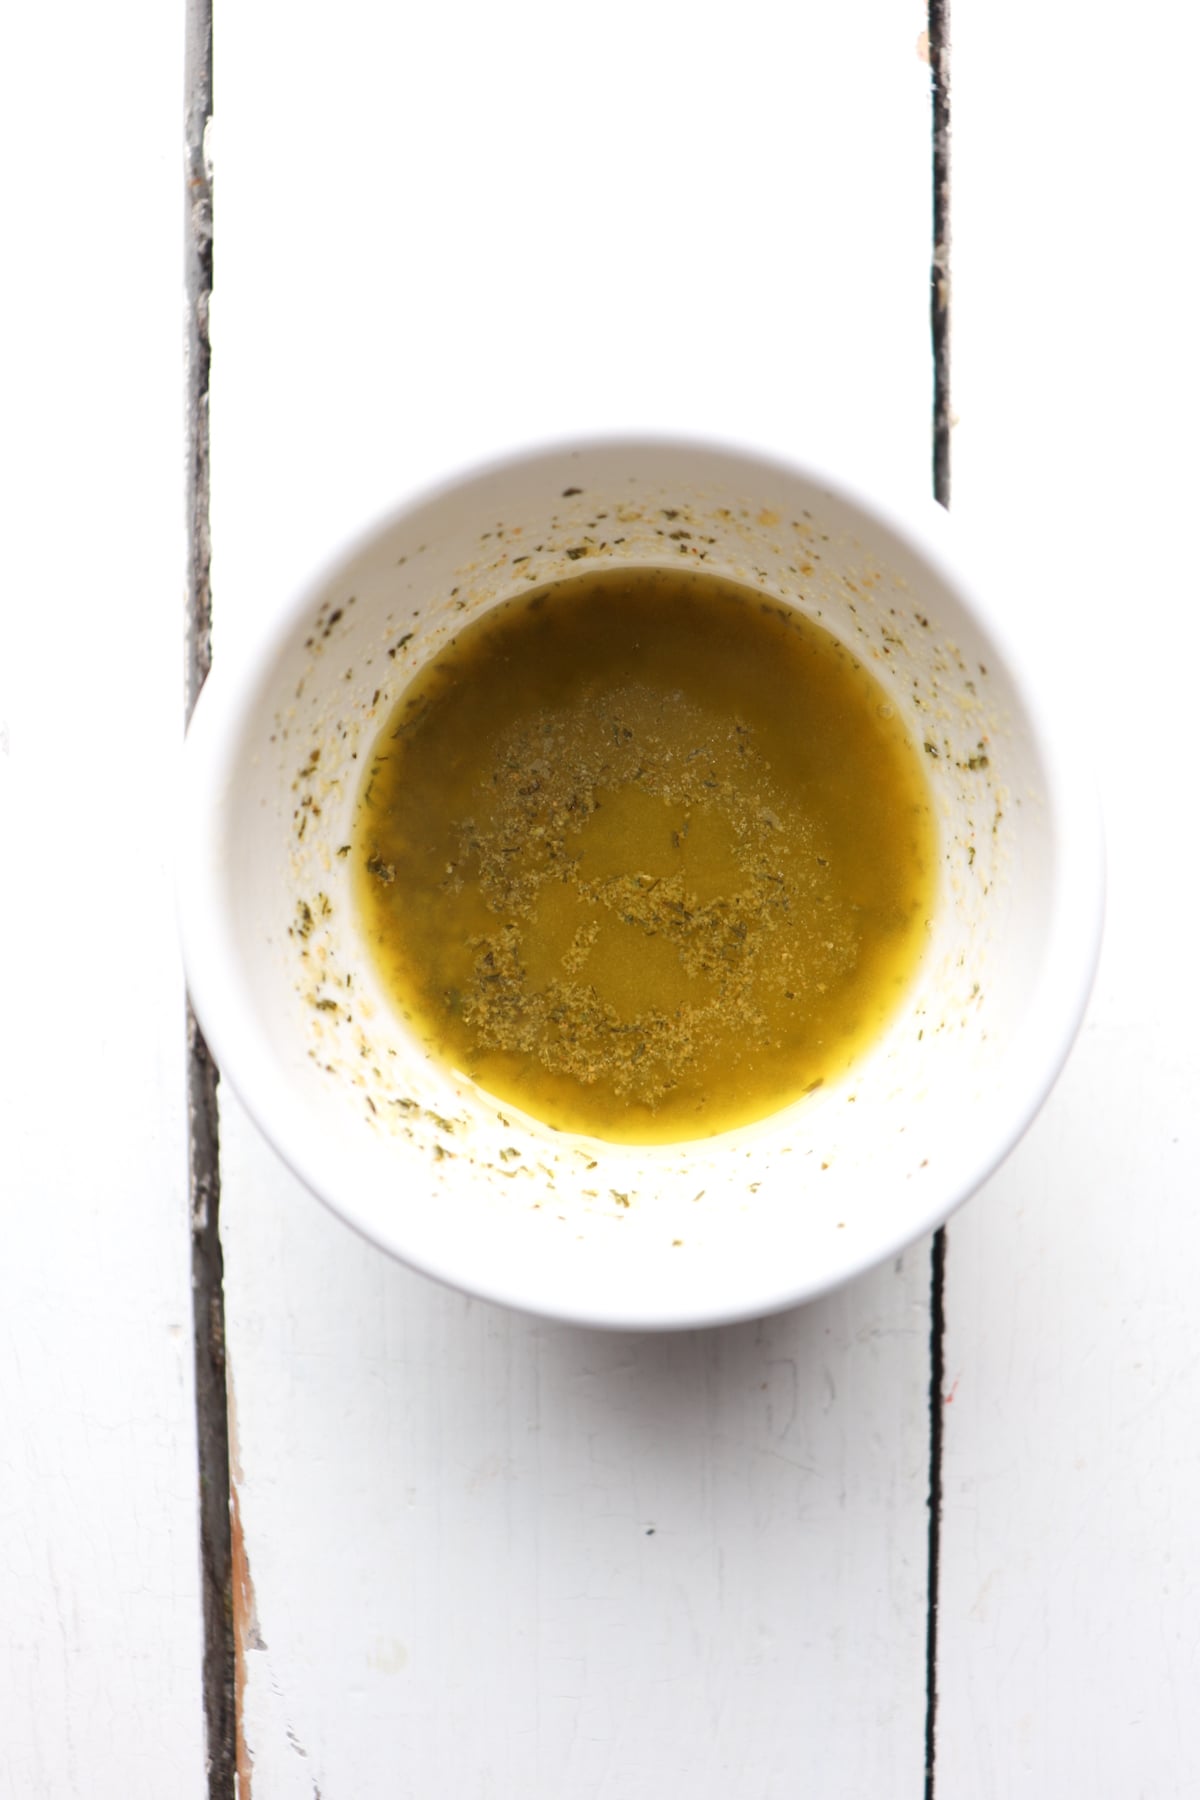
Step 8. Combine melted butter, salt, italian seasoning, and garlic powder in a small bowl.
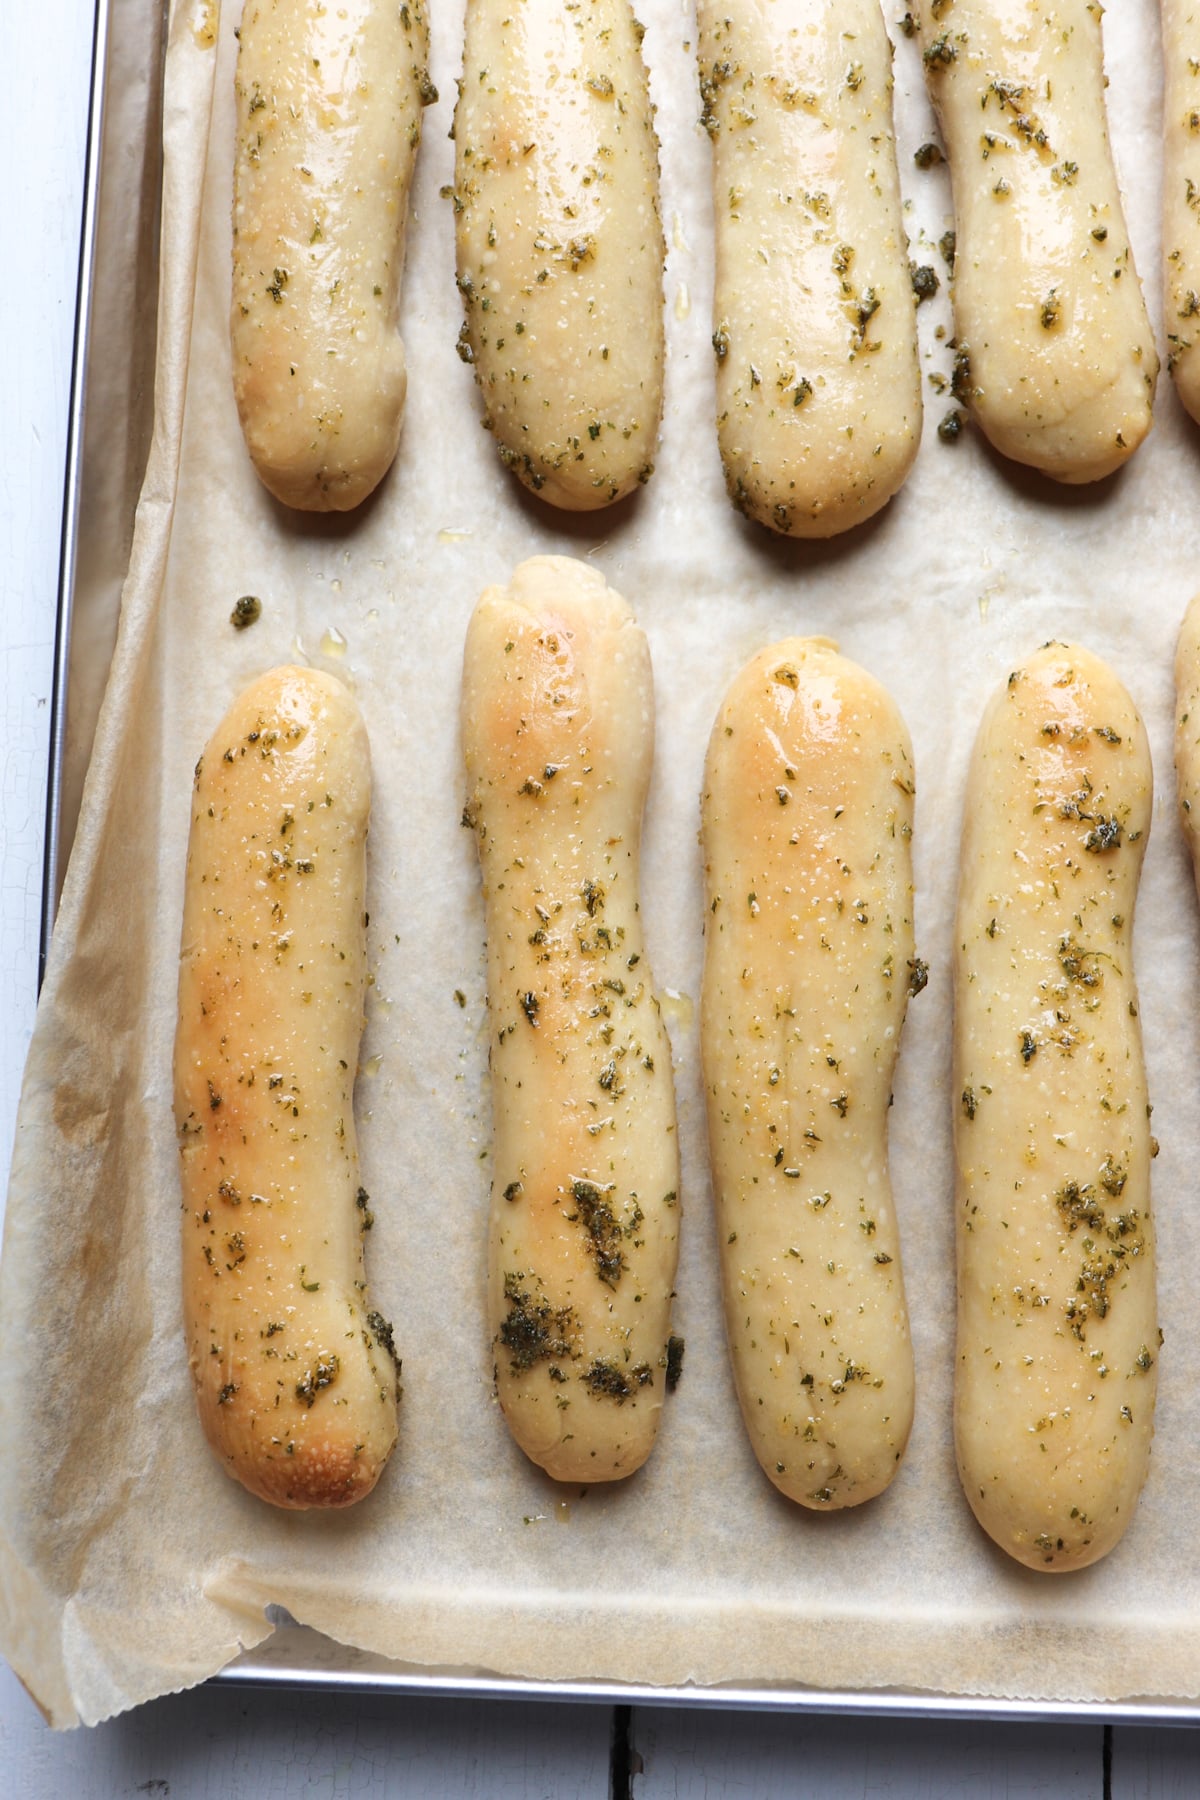
Step 9. Remove from the oven and immediately brush on flavored butter. They are best served warm.
Recipe Tips
- Less is more with the flour here. The less flour you use, the lighter and more soft these sourdough breadsticks will be! Trust me-- the first time I made these, they were pretty dense and not very appetizing. The finished dough will be soft, smooth, and elastic. It shouldn't feel too heavy.
- If you happen to have any breadstick leftovers, these freeze really well in an airtight container. Reheat in the oven for a few minutes or microwave if you prefer.
- Don't overcook these breadsticks or they will become tough.
- This breadstick dough can be kept in the fridge (covered in plastic wrap or beeswax wrap to ensure it doesn't dry out) for up to 48 hours after it has been made. Simply take out of the refrigerator and allow the dough to come up to room temperature for 45 minutes before baking.
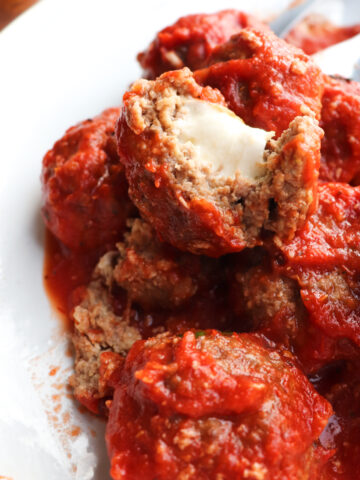
What to serve with sourdough breadsticks


If you try this Sourdough Breadstick Recipe please leave a star rating and let me know how it goes in the comments below. I love to hear from you.

Garlic Butter Sourdough Breadsticks
Ingredients
- ½ cup active sourdough starter 100 g
- 3 cups AP flour 350 g
- 1 teaspoon salt 6 g
- ⅔ cup water 158 g
- 1 tbsp. sugar 13 g
- ½ stick melted butter ~56 g
Garlic Butter
- ½ tsp. salt
- 1 tsp. garlic powder
- 1 tsp. italian seasoning
- 2 tbsp. butter melted
Instructions
- To begin, make sure your starter is in the active, bubbly phase. Depending on the strength of your starter and the time of year (temperature makes a big difference), you most likely will want to feed your starter 6-12 hours before you start this recipe. I generally do it the night before and then start the dough in the morning.
- To the bowl of your stand mixer, add flour, sugar, and salt, active sourdough starter, ½ stick of butter (melted) and water. Use the dough hook attachment and mix on medium speed until it forms a smooth elastic ball. This can take up to 10 minutes.
- Cover with a damp towel or plastic wrap and allow to sit at room temperature for about 8-10 hours, the dough should double in size.
- Once the dough has finished the first rise, cut into 12 equal pieces. You can eyeball it, but mine averaged about 60 grams a pieces. Using your hands, roll each piece into a cylander that is around 6 inches long. Place on a parchment paper lined baking sheet.
- Allow to rise for 1-2 more hours, until fluffy.
- Preheat oven to 400 degrees. Bake breadsticks for approximately 15 minutes.
- Combine melted butter, salt, italian seasoning, and garlic powder in a small bowl.
- Remove from the oven and immediately brush on flavored butter. They are best served warm.


Leave a Reply