This Rustic Honey Sourdough Bread is made with all purpose flour, eggs, and honey to make a delicious and lightly sweetened loaf of sourdough bread ready for sandwiches or simply to be slathered with butter (or this air fryer roasted garlic!).

This sourdough bread recipe is a favorite in our house. I love a traditional sourdough loaf, but I wanted to make a loaf that was a little softer and less sour. This lightly sweetened sourdough sandwich bread is exactly what I was hoping to create! I hope you enjoy it as much as my family does.
For more sourdough recipes, try Sourdough Discard Donuts or Garlic Butter Sourdough Breadsticks.
How to make sourdough bread softer
One of the best and easiest ways to create a softer loaf of sourdough bread is by adding eggs to the dough. This adds a slightly deeper color from the egg yolks and it also helps make the bread more soft and tender.
Ingredients
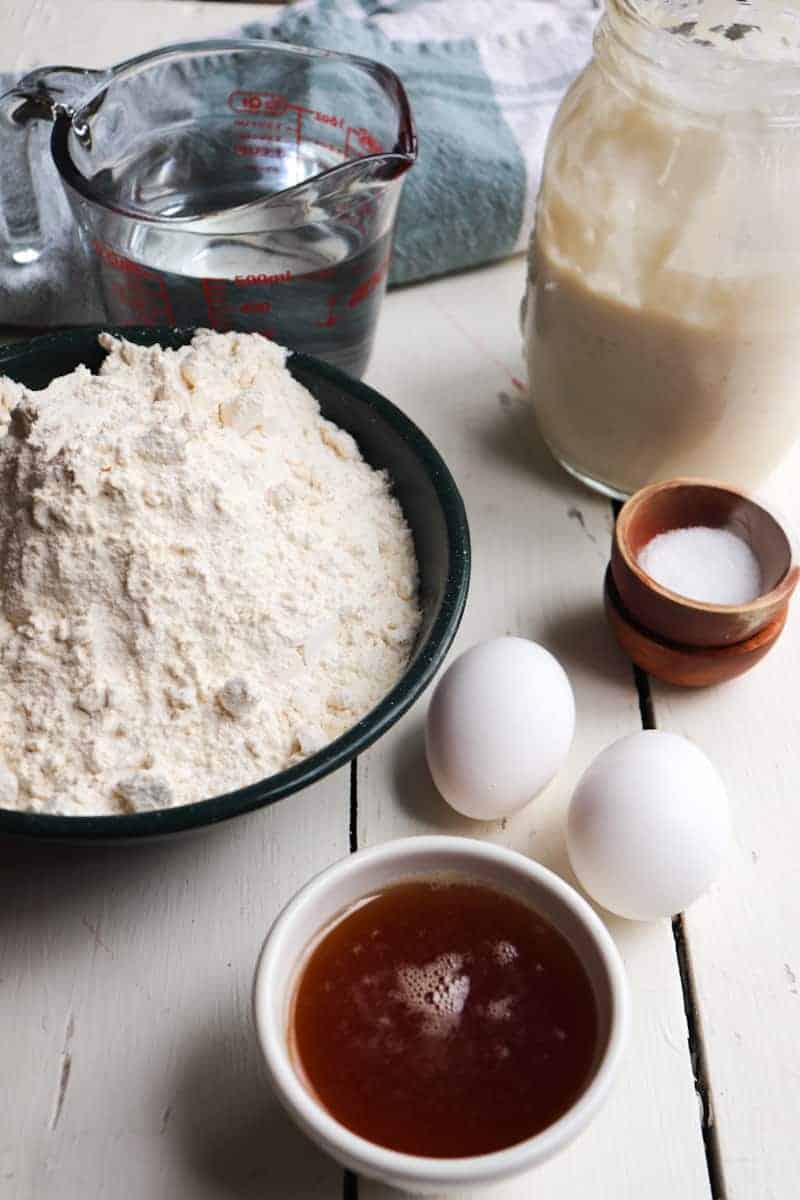
- Bread flour: This has a higher gluten content, which makes for a better rise and a chewier texture. I have also made this recipe with all purpose flour, and it turns out great.
- Sourdough starter: Every starter is different, but make sure yours' is nice and strong to ensure it leavens the dough.
- Honey: This adds a hint of sweetness to the dough, but it's not overpowering and remains a great sandwich bread.
- Eggs: Eggs aren't in regular sourdough but when added to bread they add moisture.
- Salt: Just enough to bring out the flavors.
- Warm water: Warm water helps the starter work it's magic more quickly. This is especially important if you are baking in the winter.
How to make sourdough bread with honey
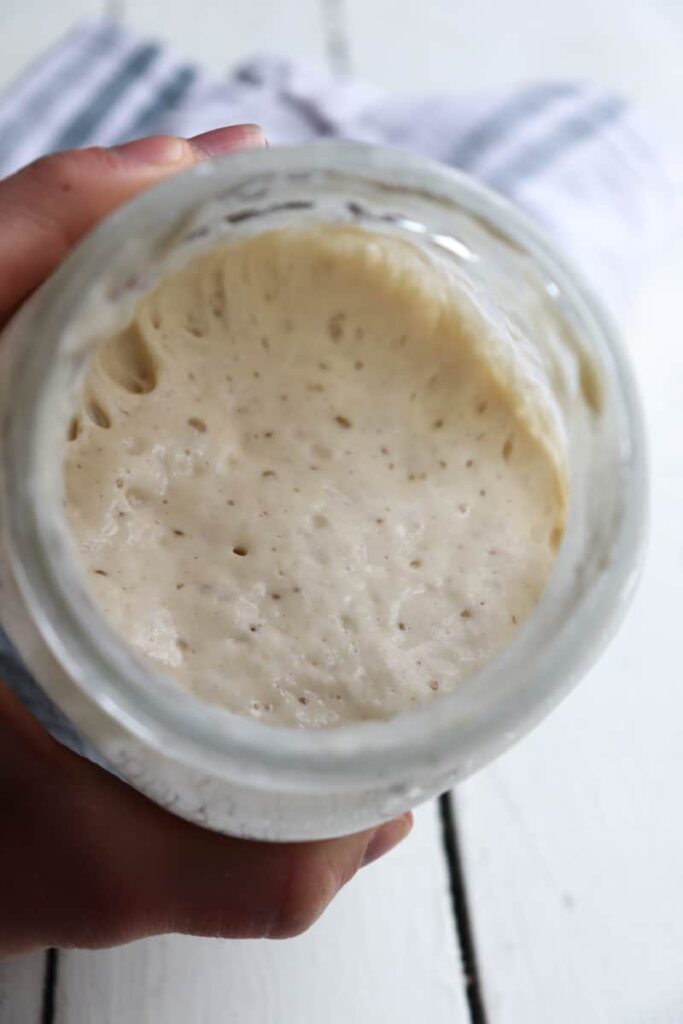
Start by feeding your sourdough starter so that it is active and bubbly. The time frame for this will vary from starter to starter, but for me, it takes about 6 hours (this is how long it takes to double in size after having part of it discarded and then fed at 100% hydration).
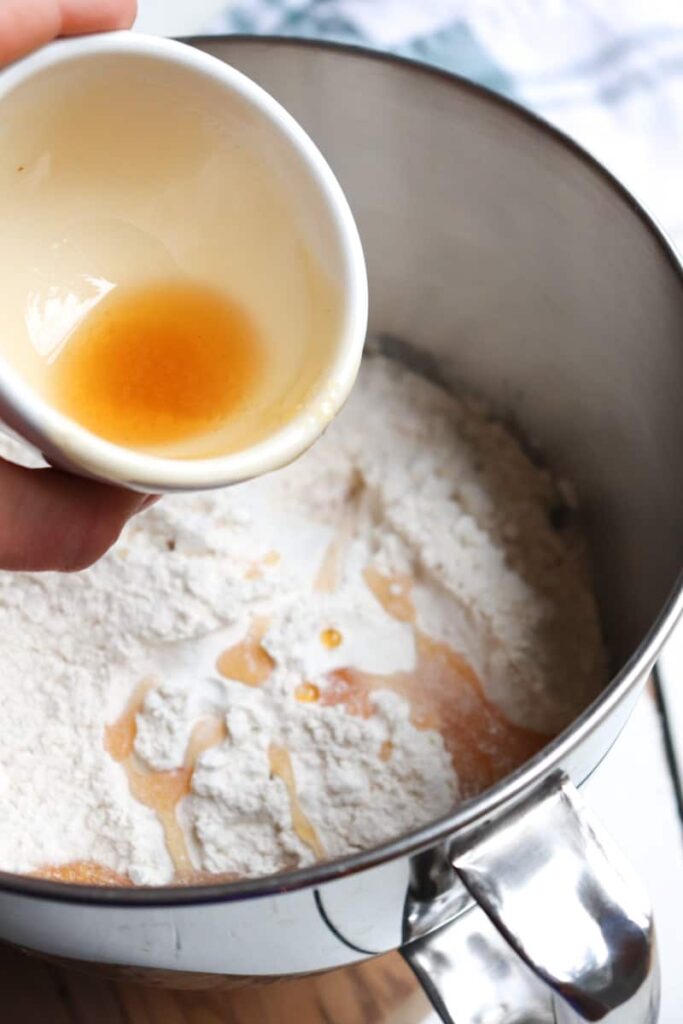
In the bowl of your stand mixer, add flour, water, and honey. Mix using the dough hook attachment for 5 minutes.
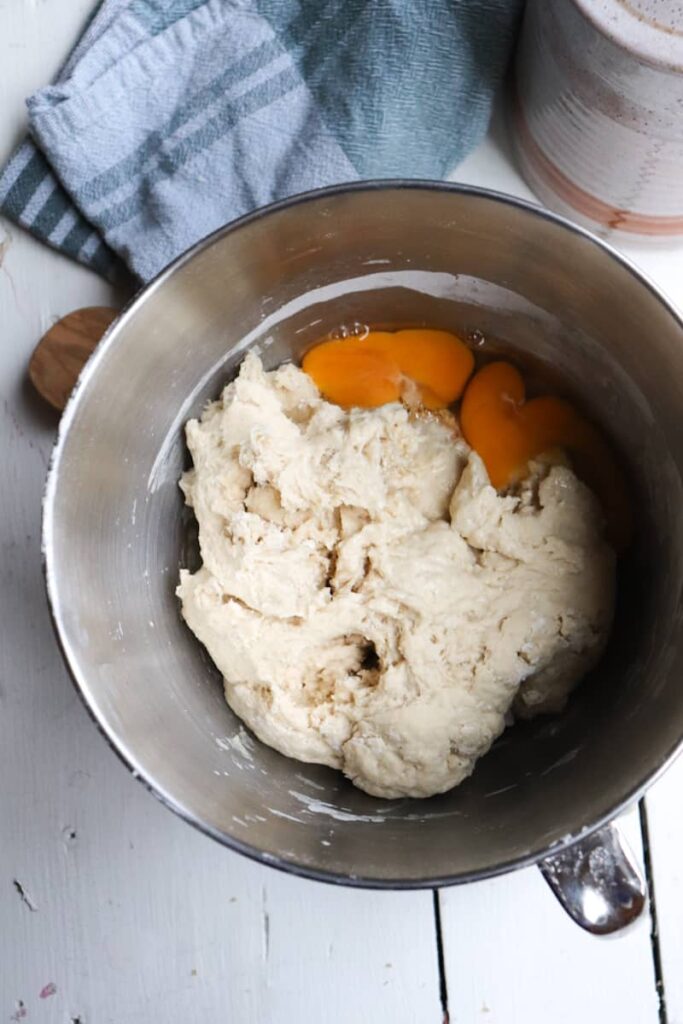
Add in 2 eggs and mix for another 5 minutes. Don't worry if the eggs are not completely incorporated. Allow to sit for 1 hour.
Once the dough has rested, add active sourdough starter and salt and mix for a full 10 minutes. The dough will be very soft and elastic by the end.
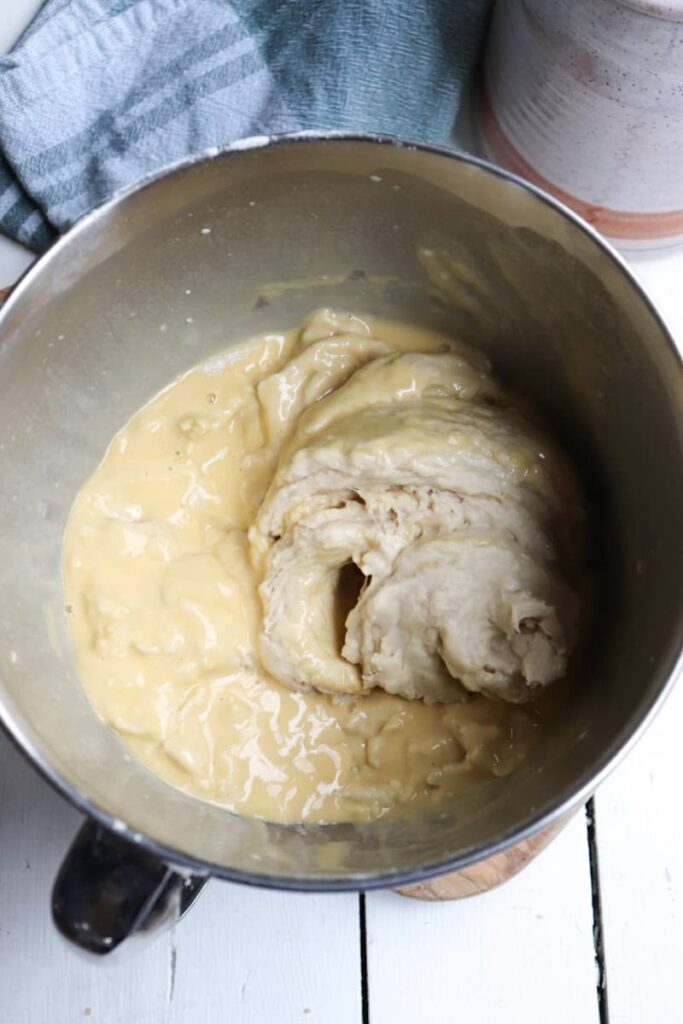
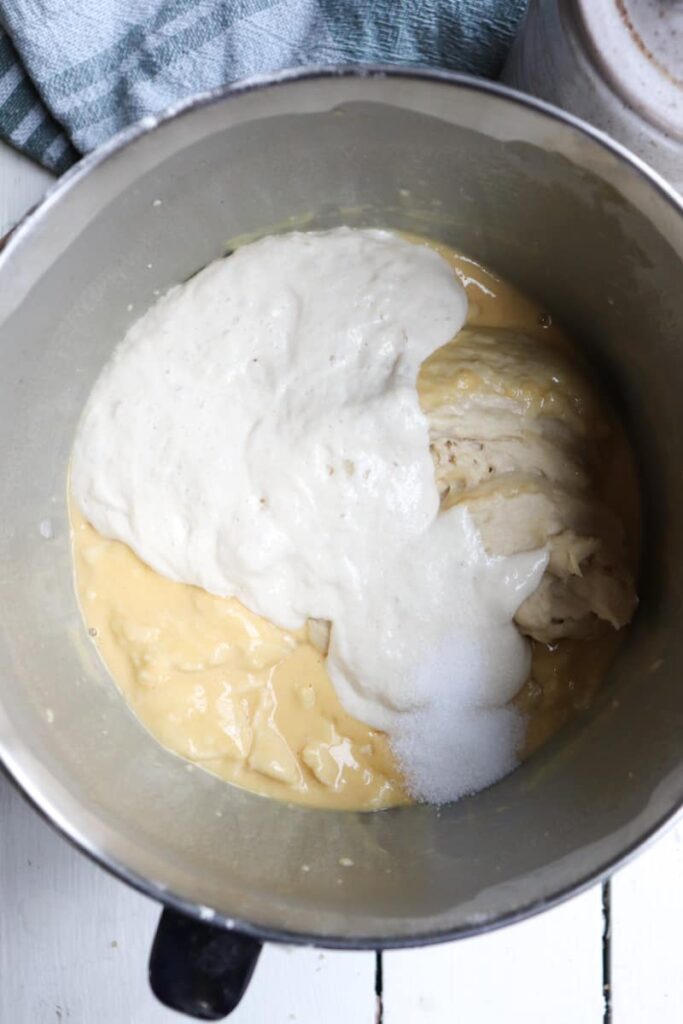
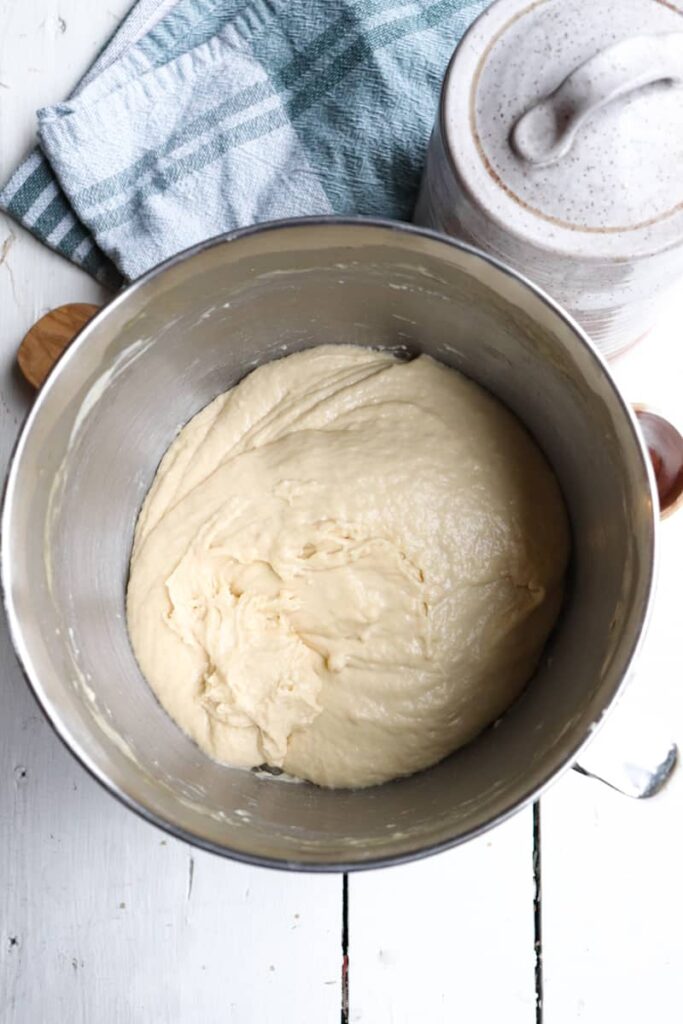
Pull dough up and stretch and then fold it back down on itself. This process is known as the stretch and fold. Repeat 8x, turning the bowl a quarter turn each time. Cover will a damp towel. Repeat every 30 minutes, 3 more times (4x total).
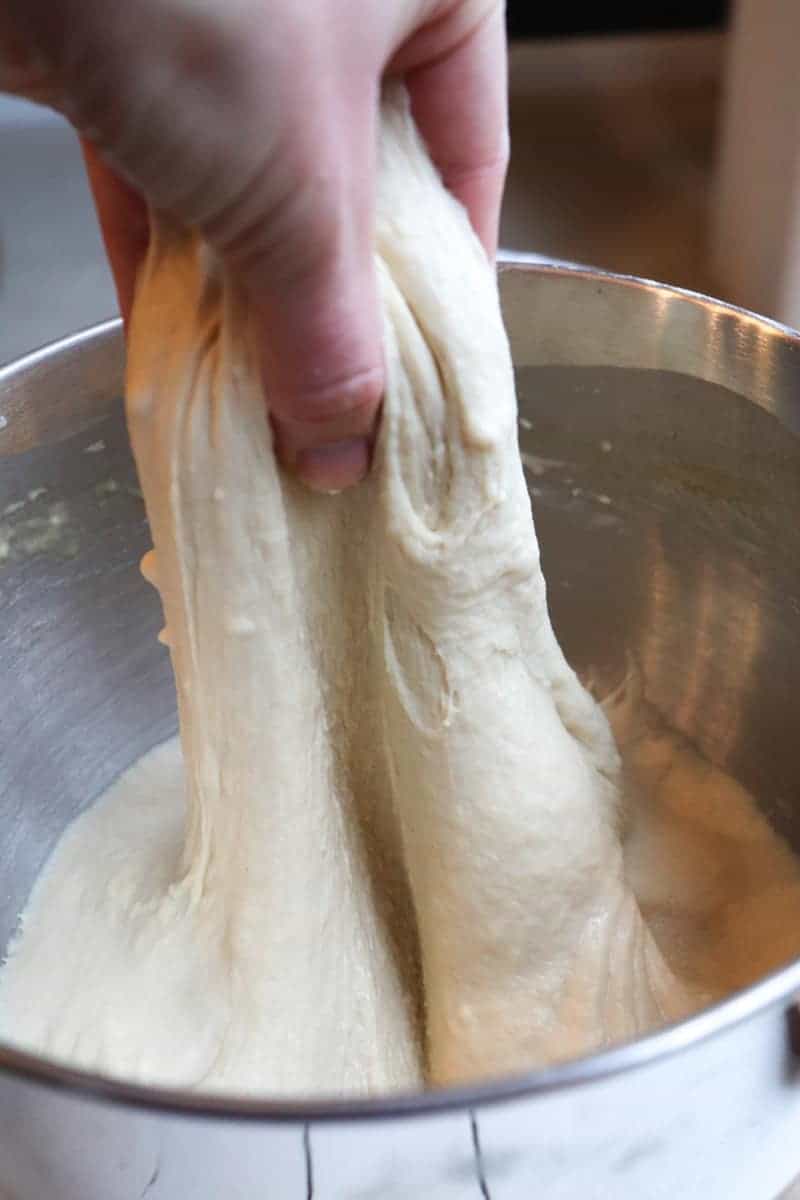
Allow dough to sit at room temperature for 6 hours.
Shape dough into a loaf.
Place in lined proofing basket that has been floured and complete second rise in the fridge for 8 hours.
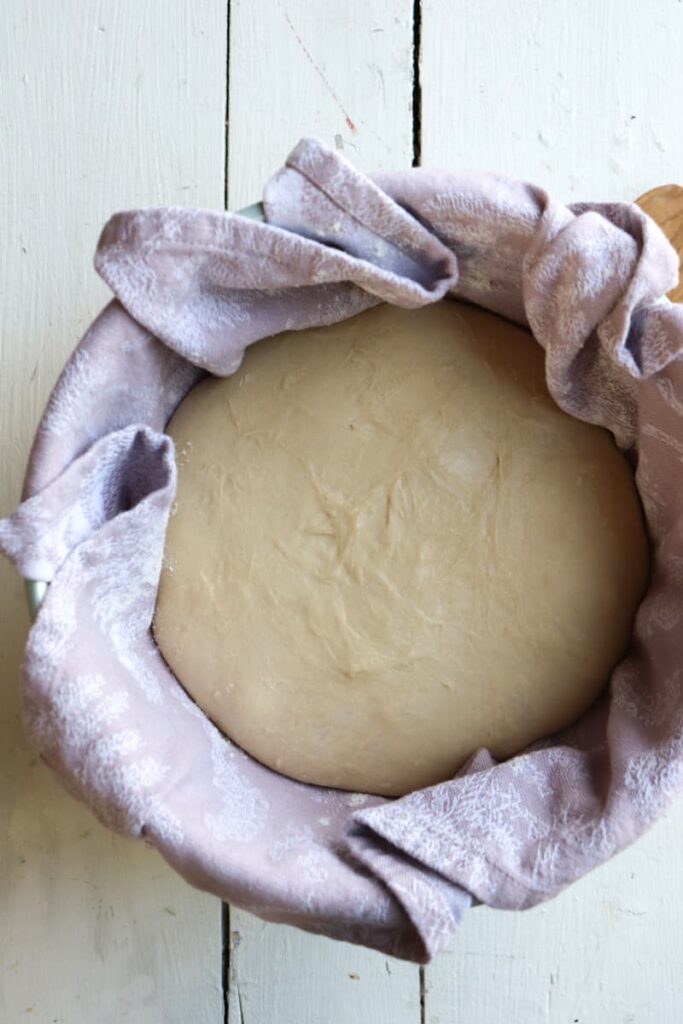
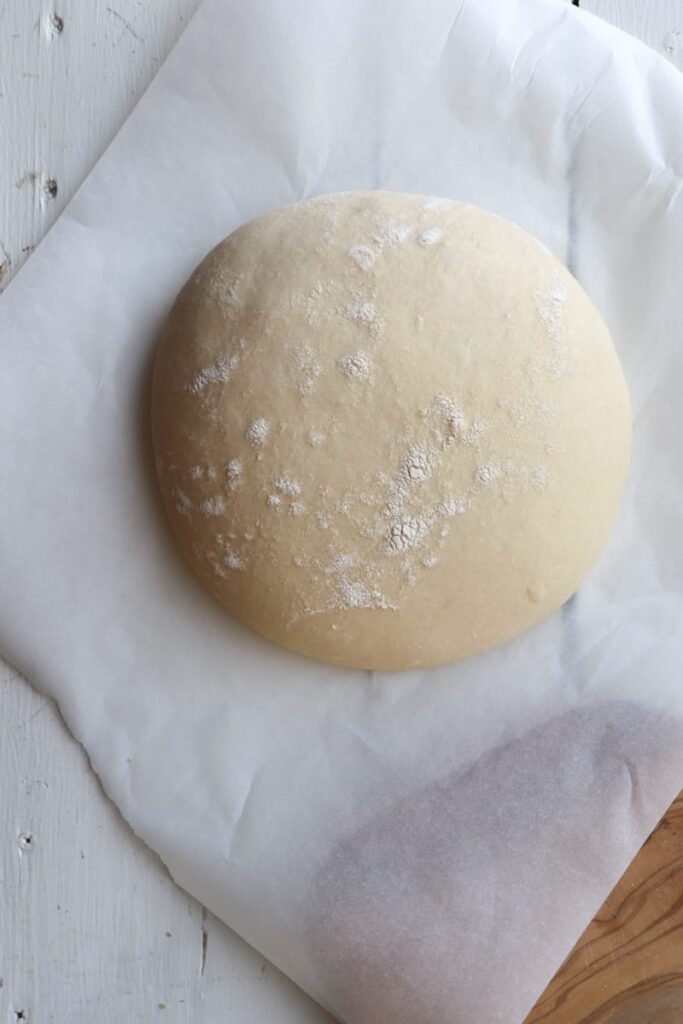
Place empty dutch oven with lid in oven and preheat oven to 450 degrees.
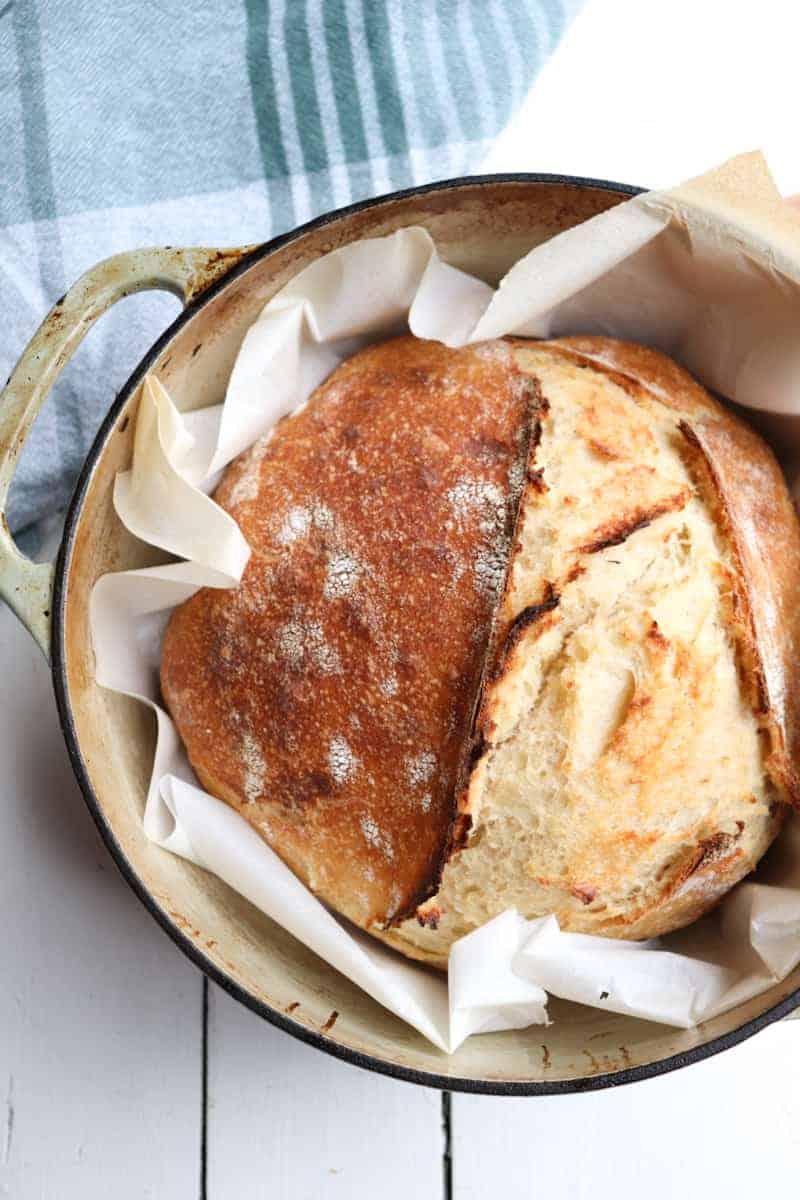
Once the oven is hot, flip raw sourdough loaf on to a piece of parchment paper. Score one quick cut with a sharp knife. Remove the preheated dutch oven from the oven and remove the lid. Quickly lower the sourdough loaf on parchment paper and replace the lid. Bake covered for 50 minutes, until loaf is fully cooked and a deep golden brown on the outside.
Place finished loaf on a cooling rack and completely cool (at least one hour) before slicing. Enjoy!
Sample schedule for baking loaf of sourdough bread
8 a.m. Feed sourdough starter
2 p.m. Combine first ingredients
2:05 p.m. Add eggs
3:05 p.m. Add starter
3:15 p.m. Stretch and fold
3:45 p.m. Stretch and fold
4:15 p.m. Stretch and fold
4:45 p.m. Stretch and fold
4:45-10:45 p.m. First Rise
10:45-6:45 p.m. Second Rise
7 a.m. Bake Bread
Why do you need to allow sourdough bread to cool before cutting?
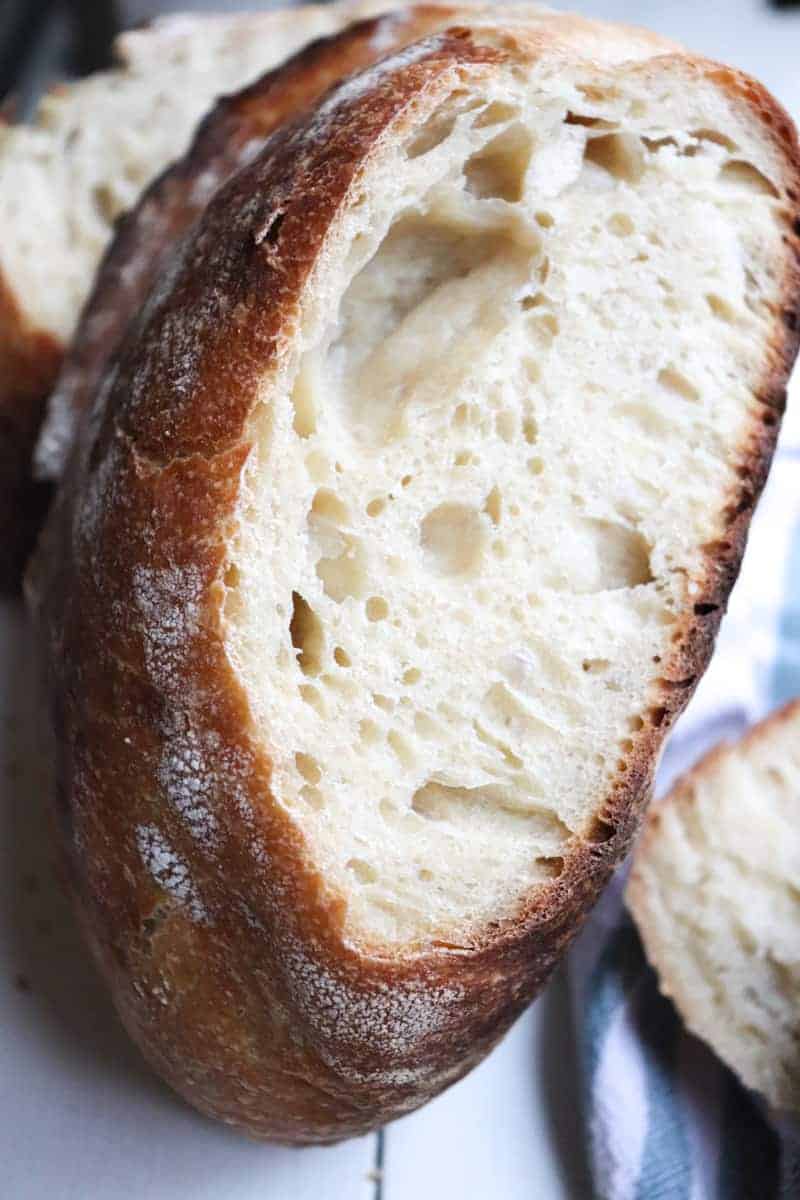
You will see in many recipes it specificies to wait until the bread is completely cooled before slicing into it. That feels like torture! You just spend the better part of 24 hours making a loaf and now you have to wait longer?!
There's a reason behind the madness. The loaf continues to cook inside when removed from the oven. And if you cut it too early, the inside of the bread may be gummy and undercooked. So resist the urge to slice too early and wait to enjoy your perfectly cooked sourdough bread loaf-- with just a bit of patience.
Storage
After your loaf of bread has completely cooled, it can be wrapped and kept at room temperature for a week. I find the best way to store a sourdough loaf is by leaving it whole and cutting off a slice as needed. This helps prevent it from drying out. Sourdough bread can be frozen and kept for several months that way as well.
More Baked Goods
- Baci di Dama Cookies
- Homemade Mini Blueberry Muffins
- Chocolate Muffins with Spinach
- Sourdough Discard Pizza Dough (No Yeast)
Did you enjoy this Rustic Honey Sourdough Bread? I would love for you to let me know by leaving a comment and star rating. I can't wait to hear from you!

Rustic Honey Sourdough Bread
Ingredients
- 5 cups all purpose flour or bread flour or 600 grams by weight (Please note, you may need up to 120 additional grams of flour depending on your particular starter and flour brand. The dough should be soft but hold its form when shaped.)
- 1 cup Sourdough starter
- ½ cup honey
- 2 eggs
- 1 tbsp. salt
- 2 cups warm water
Instructions
- Start by feeding your sourdough starter so that it is active and bubbly. The time frame for this will vary from starter to starter, but for me, it takes about 6 hours (this is how long it takes to double in size after having part of it discarded and then fed at 100% hydration).
- In the bowl of your stand mixer, add flour, water, and honey. Mix using the dough hook attachment for 5 minutes.
- Add in 2 eggs and mix for another 5 minutes. Don't worry if the eggs are not completely incorporated. Allow to sit for 1 hour.
- Once the dough has rested, add active sourdough starter and salt and mix for a full 10 minutes. The dough will be very soft and elastic by the end.
- Pull dough up and stretch and then fold it back down on itself. This process is known as the stretch and fold. Repeat 8x, turning the bowl a quarter turn each time. Cover will a damp towel. Repeat every 30 minutes, 3 more times (4x total).
- Allow dough to sit at room temperature for 6 hours.
- Shape dough into a loaf.
- Place in lined proofing basket that has been floured and complete second rise in the fridge for 8 hours.
- Place empty dutch oven with lid in oven and preheat oven to 450 degrees.
- Once the oven is hot, flip raw sourdough loaf on to a piece of parchment paper. Score one quick cut with a sharp knife. Remove the preheated dutch oven from the oven and remove the lid. Quickly lower the sourdough loaf on parchment paper and replace the lid. Bake covered for 50 minutes, until loaf is fully cooked and a deep golden brown on the outside.
- Place finished loaf on a cooling rack and completely cool (at least one hour) before slicing. Enjoy!






Jacob
Your recipe has salt in the ingredient list but doesn't say when to put it in. Looks like it's mixed in with the starter. Just an observation. Also, the mixture seems very wet after initial mix. The hydration is probably near the 80% and will require a higher protein flour to help build the dough structure.
Sarah
That's exactly when I mixed it in, thank you for catching that! I have adjusted the instructions to reflect. And the dough is a wet one for sure. But after several stretches and folds, tension does form and it has enough structure for a decent rise. I'm sure a higher protein flour would work as well. -Sarah
PJ
Beautiful recipe, my oven did require a bit longer baking time to get the golden brown colour, but I followed the recipe exactly and it was amazing.
Savanaah
Do you have a recipe for the starter?
Sarah
I'm sorry, I do not. I was gifted this starter. If you would like to create a starter from scratch, there are some great resources on the blogs the Clever Carrot and Little Spoon Farm.
-Sarah
Adrian
Can you use traditional whole wheat flour instead of all purpose? Or a mix of? I'm new and am not quite sure how that would change the density/hydration of the dough.
Sarah
Whole wheat flour is great and gives a rich, nutty flavor to breads. The concern would be that the bread would be overly dense or too dry, but I do believe that this recipe would still work well with whole wheat flour or a combination. Add a tbsp. at a time of warm water if the dough feels too dry, but I don't think you'll notice much of a difference in the bread making process.
-Sarah
Adrian
I made this with half traditional whole wheat and half all-purpose and it turned out so good!! I think any more would have made it too dry but this ratio was perfect. Thank you!
Sarah
Wonderful!! I'm so glad it worked and thanks for letting us know!
-Sarah
BreadClub20 (Jon)
Just been looking at the recipe a little more closely. Total flour (50% of the starter + the flour) = 715 gms. Total water (50% of the starter, the water and 75% of the eggs) = 671 gms. Hydration = 93% Wow! Leave the eggs unaccounted for and the hydration drops to 77%....I'd hazard a guess you've never allowed for your eggs. or, is this deliberately a high hydration bake?
Sarah
Deliberately high hydration. The bread is very soft and has a smaller crumb than most sourdough.
-Sarah
Amanda J Albrecht
When I went to remove my dough from the refrigerator it did not stay in the loaf form. It spread. What did I do wrong?
Sarah
What type of bowl or basket was it in? This is a high hydration dough so it isn't as tense as some sourdoughs are. That being said, it should hold its form pretty well after forming into a tight ball.
Sarah
LT
This recipe is delicious! A couple of notes from my experience:
- the dough is super sticky so I couldn’t shape it before the second bulk ferment. I ended up stretching and pinching the dough into a very loose ball while it was in the basket, just before turning out and popping into the oven.
- 50 minutes was not long enough bake time for me. The middle of the bread loaf was raw so we had to pop it back into the oven and bake a while longer.
Thank you for sharing this recipe!
Sarah
Thank you Leah!
I am glad you enjoyed the recipe and I appreciate the feedback, both for myself and others making it.
-Sarah
Jimena H
I tried this and it came out delicious! I did end up adding more flour (prob 1/2 cup) to get a consistency I could work with.
I'm curious about the final rise. What is the benefit of doing it in the fridge? If I choose to do it at room temperature, should I cut the rising time?
Sarah Baumeister
The fridge slows down the fermentation process considerably. So if you decide to do the final rise at room temperature, definitely less time is needed. The benefit of the fridge is a more rich flavor as it ferments more slowly, but room temperature is fine too! Scheduling times can also play a role.
-Sarah
Kekentia
Hello!
You say the dough is a very sticky and high hydration. I used AP flour and also ended up adding about 1/4 rice flour after the autolyse with the starter and it is the consistency of a very thick pancake batter. Is this normal??? I’m assuming I will need to flour my hands when doing the folds. I’m pressing on but am wondering if I did something wrong!
Beth
Shoot. I added everything in one step. Will this be a problem?
Dena Ewing
I’m just about 4 months in on sour dough bread making. I have used this recipe mostly due to sweetness of honey love the taste. My problem is the dough is so wet I cannot form or Handel it I usually add flour and then again when trying to shape using up to 1 cup. I know I need more flour just not sure when it’s best to add.
Dena
I love this recipe it’s my go to. I do have to add more flour and less water to be able to work with the dough like 1 cup to 1 1/2 cup flour and 1/4 less water is there something I’m doing wrong. I do use bread flour instead of all purpose.
Dena Ewing
I love this recipe it’s my go to. I do have to add more flour and less water to be able to work with the dough like 1 cup to 1 1/2 cup flour and 1/4 less water is there something I’m doing wrong. I do use bread flour instead of all purpose.
Sarah Baumeister
Dena, nothing you are doing wrong. It could be the differences in our starters, as mine is rather thick. I am going to put a note in the recipe, as other readers have said the same as you. Thank you for taking the time to comment.
Cornelia Jeffery
Like several others have said this is very wet sticky dough and I had to add flour in order to work with it. It was hard to know how much to add since the ingredients list is not all in grams. Also I am not sure how much the overnight rise should be? Warmer climate and thinner starter makes a difference. Getting ready to bake and hoping for good results but not sure.
Sarah Baumeister
We love how soft this bread is. It's great for sandwiches but also as a side with soups and stews for dinner.
Tay
Should you cover when you put on the fridge?
Sarah Baumeister
Yes, so it doesn't dry out or form a skin.