


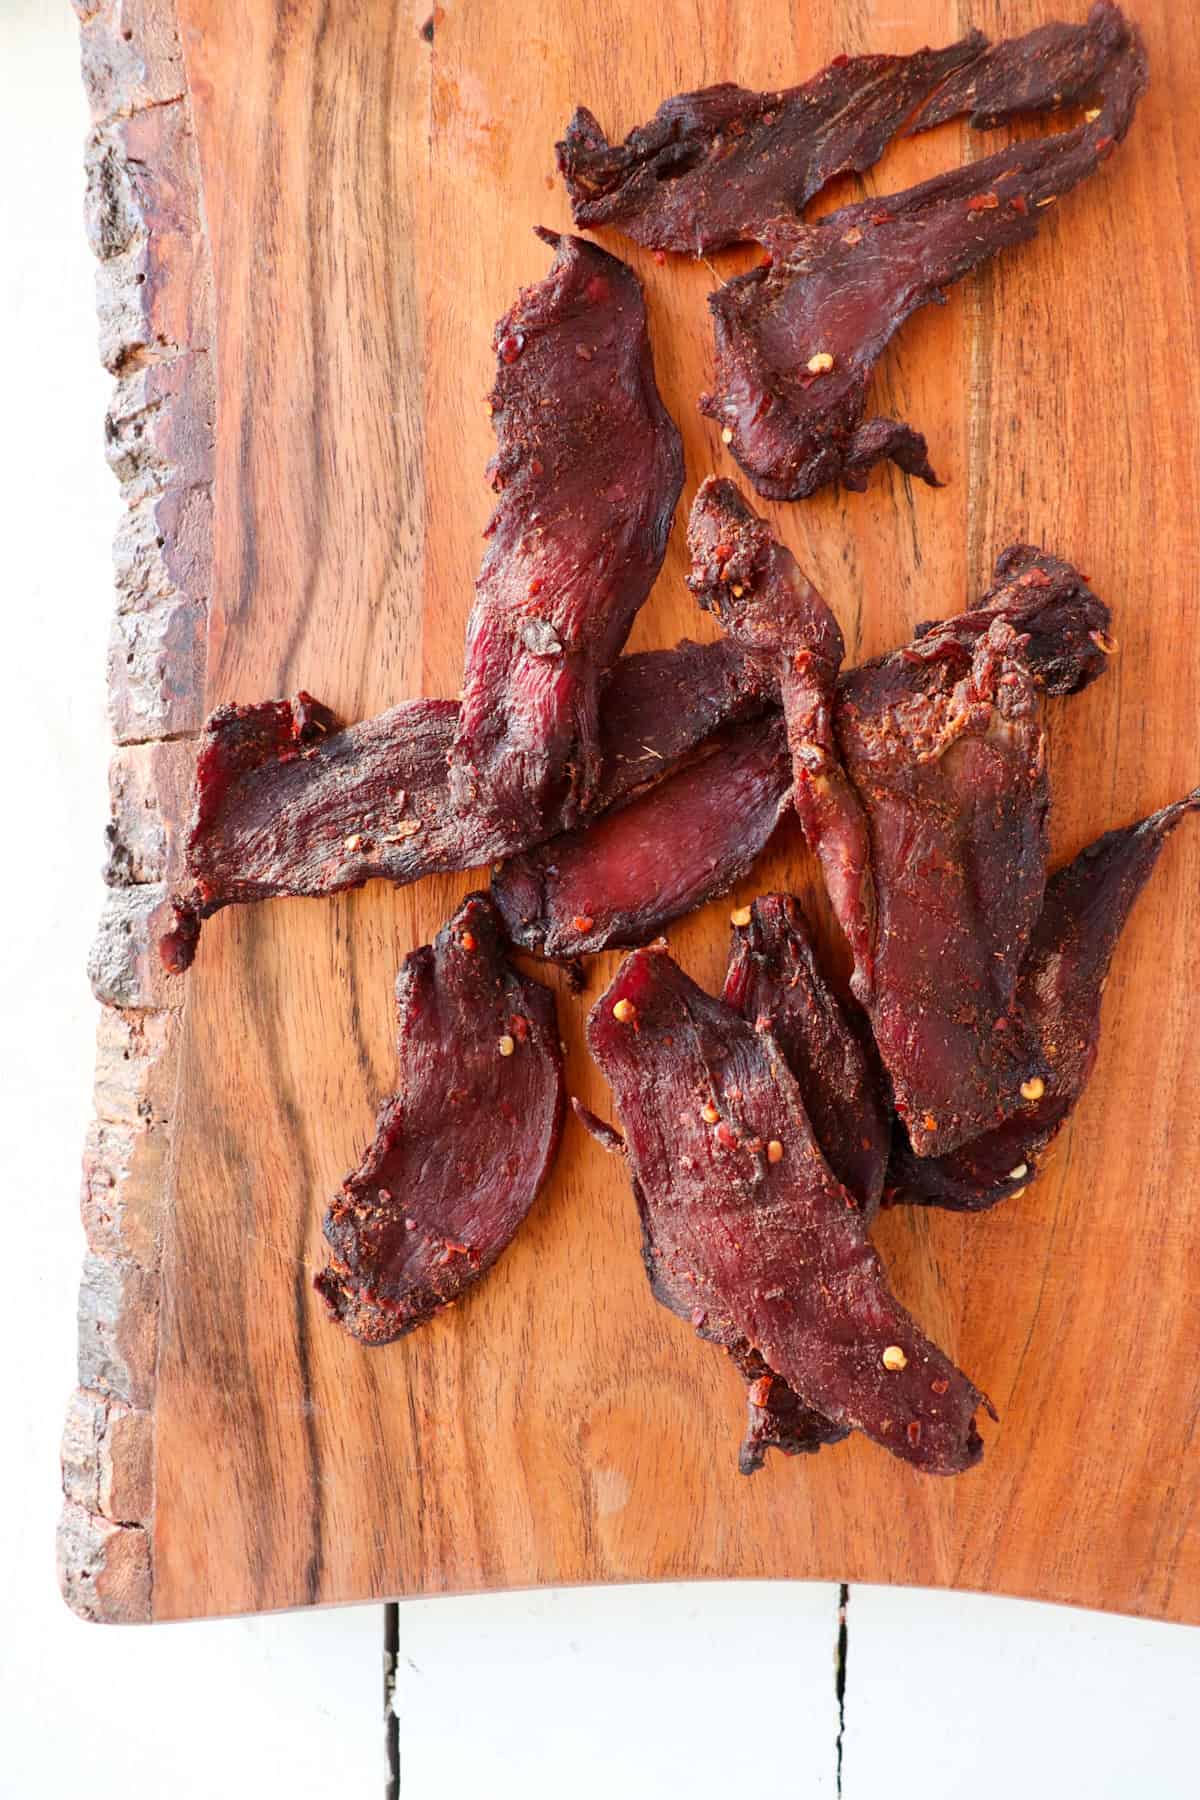
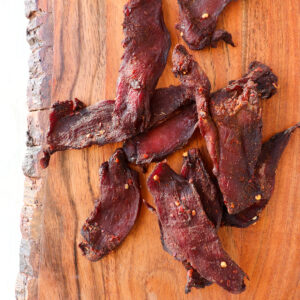
Homemade Venison Jerky is easy to make and requires no special tools and minimal ingredients. Follow along for step by step instructions for making jerky from deer meat.
Whenever my husband harvests a deer, the first cuts that get used up are always the grounds and the backstraps and innerstraps. To us, those are the best cuts. The grounds are very versatile. I use them in anything that I would use ground beef, such as Venison Ragu, Venison Meatloaf, Venison Meatballs, you get the idea. Back straps are basically the filet mignon of venison so those cuts are used quickly as well.
We end up having roasts left over, but not because they aren’t delicious. We like them in Venison Pot Roast, Slow Cooker Venison Roast, and Shredded Venison Sandwiches, especially. They just aren’t our go to. A great use for any leftover roasts is venison jerky. It’s super simple to make you don’t need any special equipment and you can adjust the seasonings to whatever you’d like.
Follow along for step-by-step instructions for how to make this homemade venison jerky recipe.
Ingredients
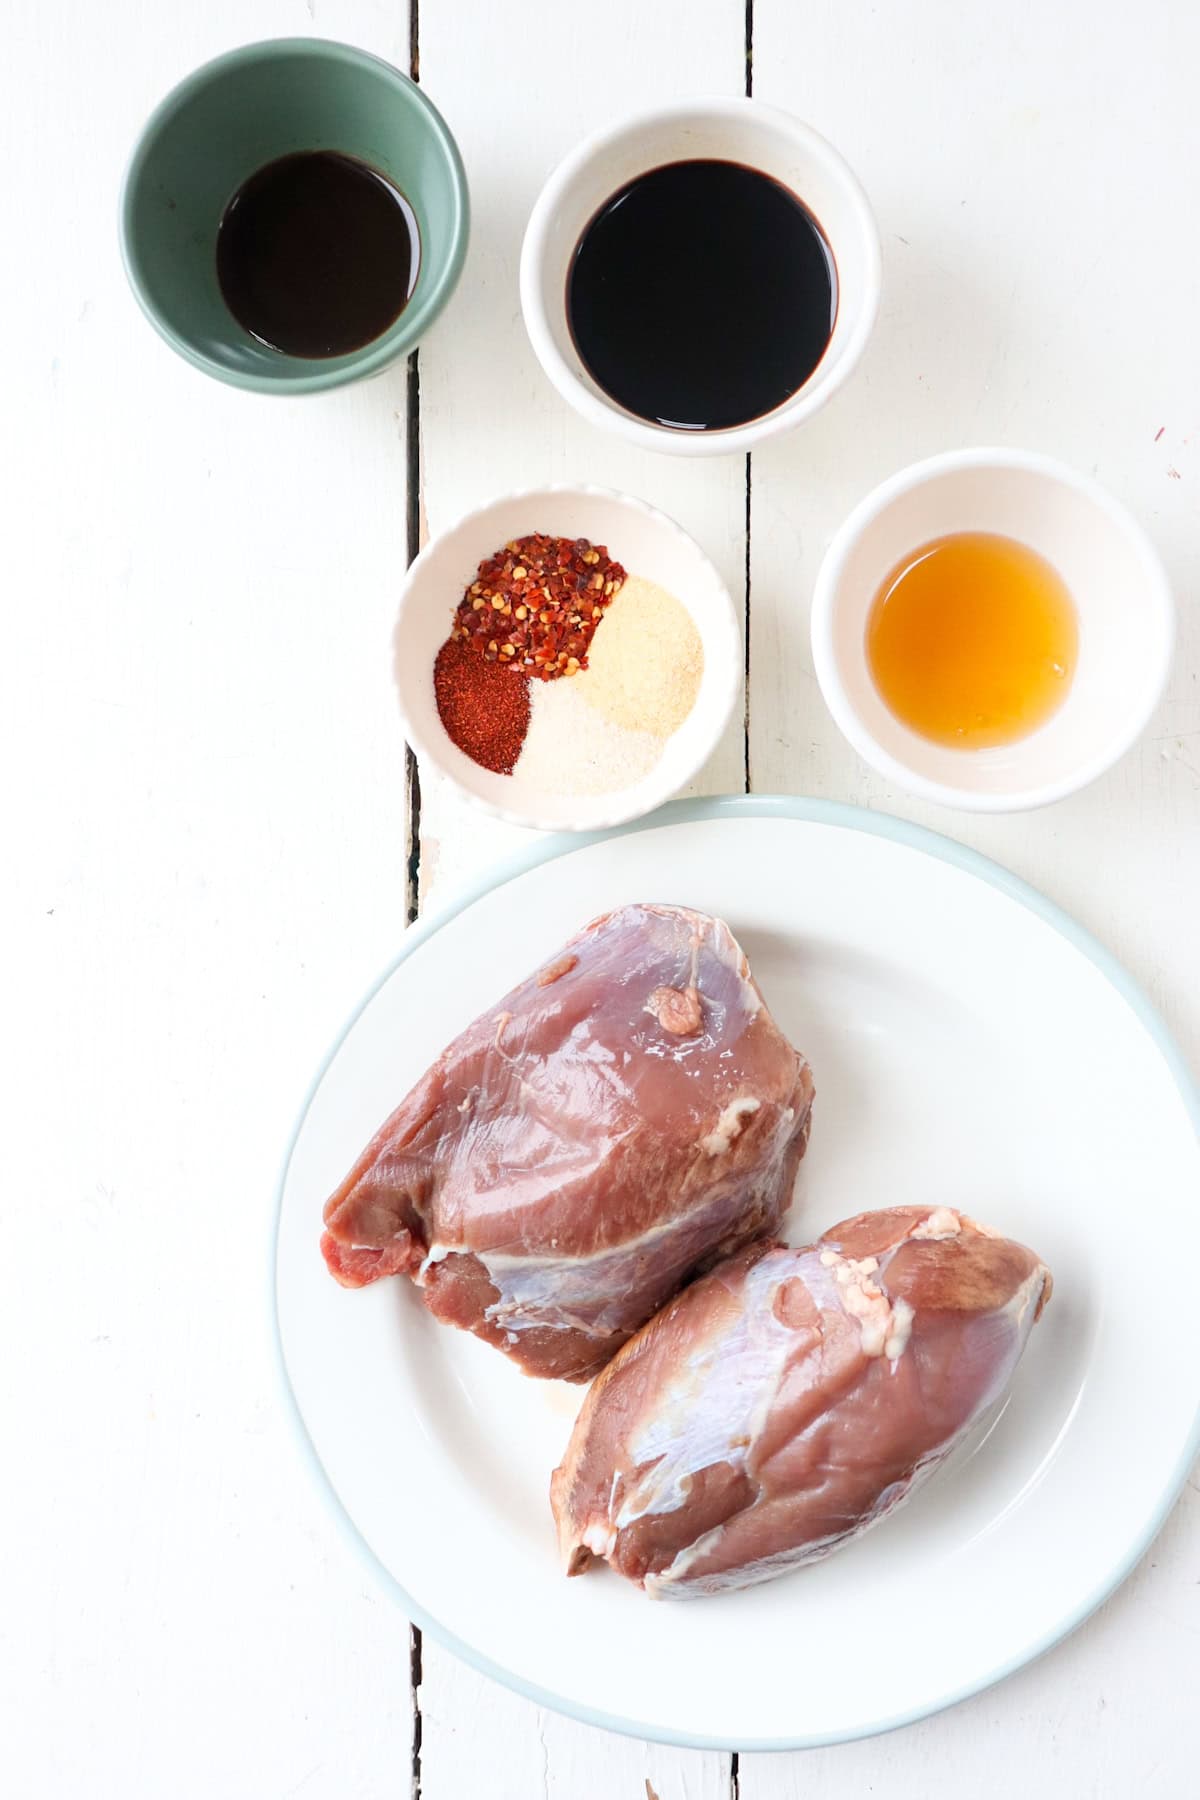
- Venison roast: A lean cut that works well for jerky.
- Soy sauce: This adds salt and a rich flavor to the venison. You can use coconut aminos or liquid aminos as well. For a less salty version, use low sodium soy sauce.
- Balsamic vinegar: This is a little bit of nuance to the flavor and a hint of sweet sweetness.
- Honey: For more sweetness add honey. Brown sugar would work as well.
- Seasonings: This is where you can get creative. I added paprika, garlic powder, onion powder, and red pepper flakes because we like our jerky a little bit spicy, but you can use different seasonings.
Step by step instructions

Step 1. Combine ingredients for marinade in a small bowl reserve ¼ of the marinade to the side for basting later on.
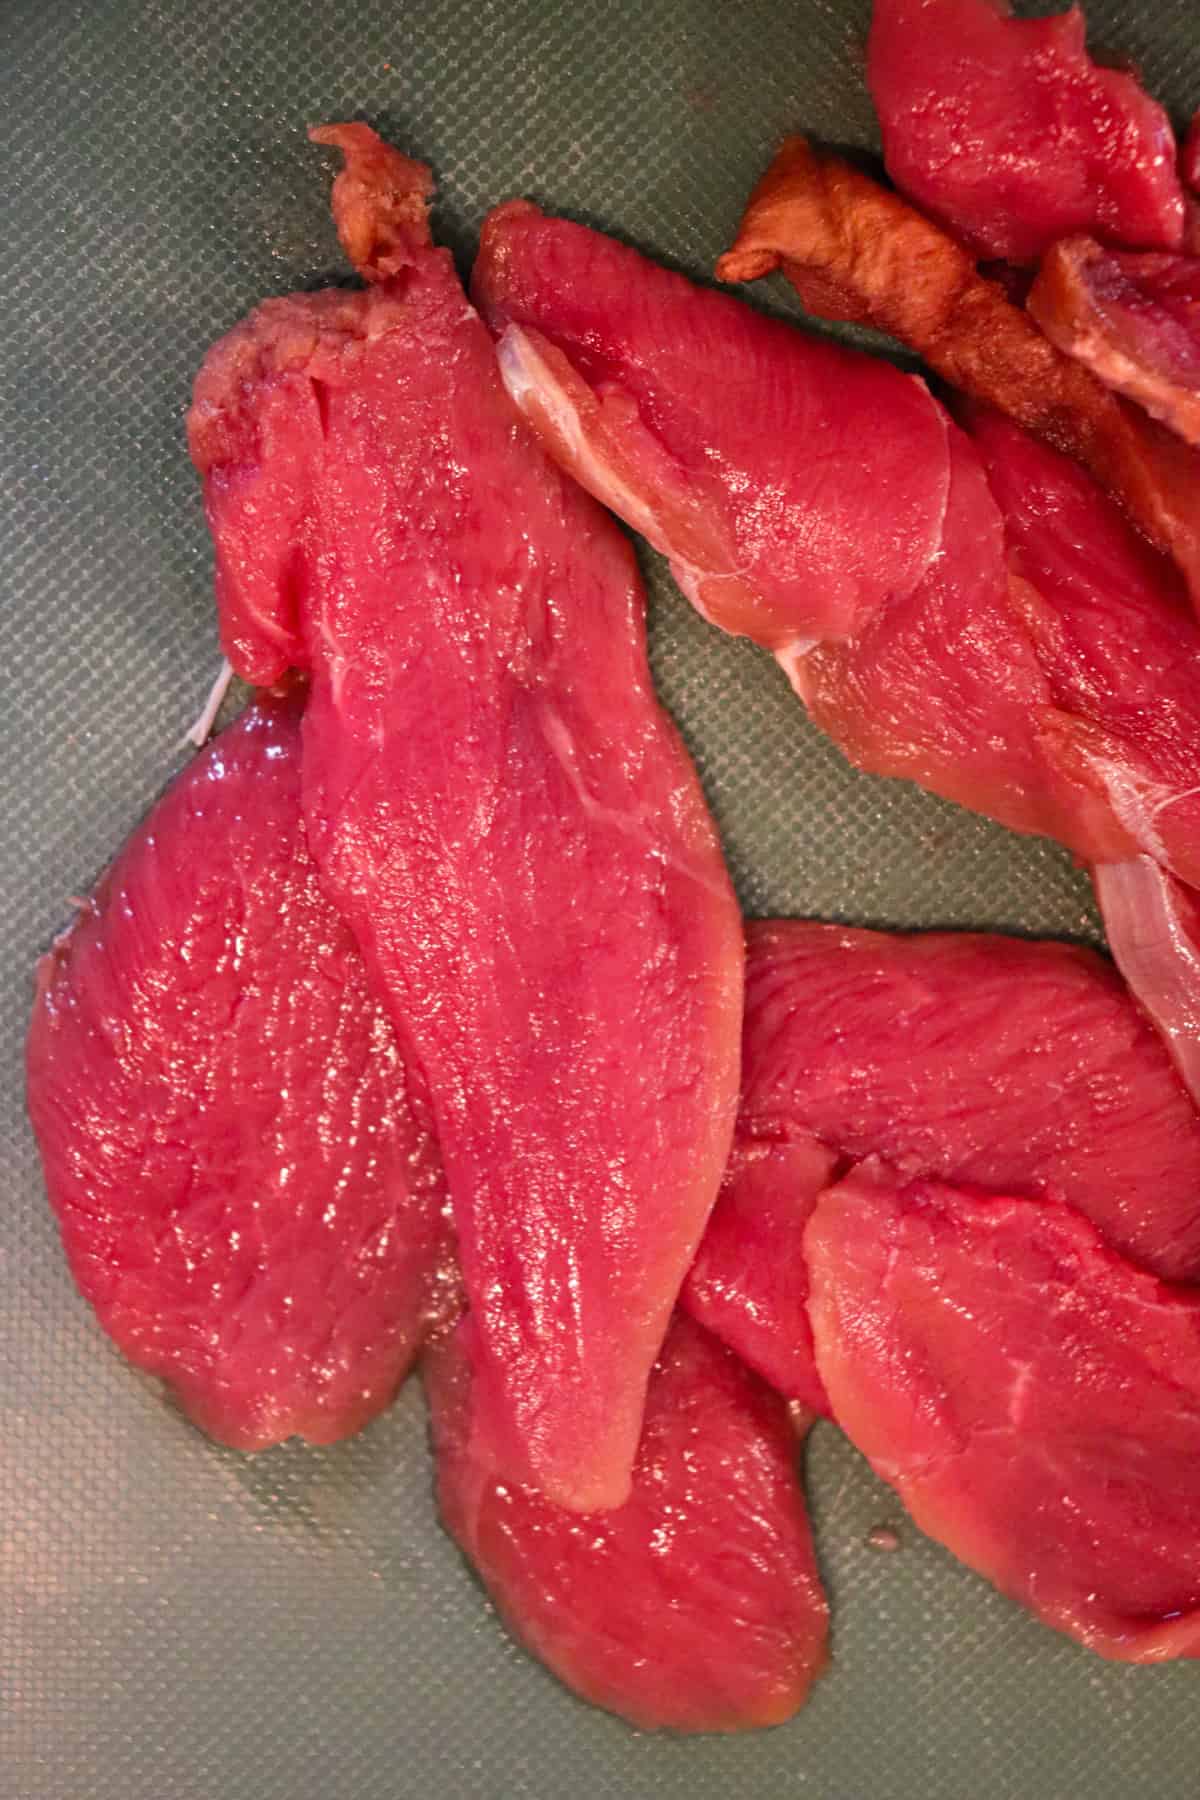
Step 2. Thinly slice venison, using a sharp knife and transfer to a bowl .
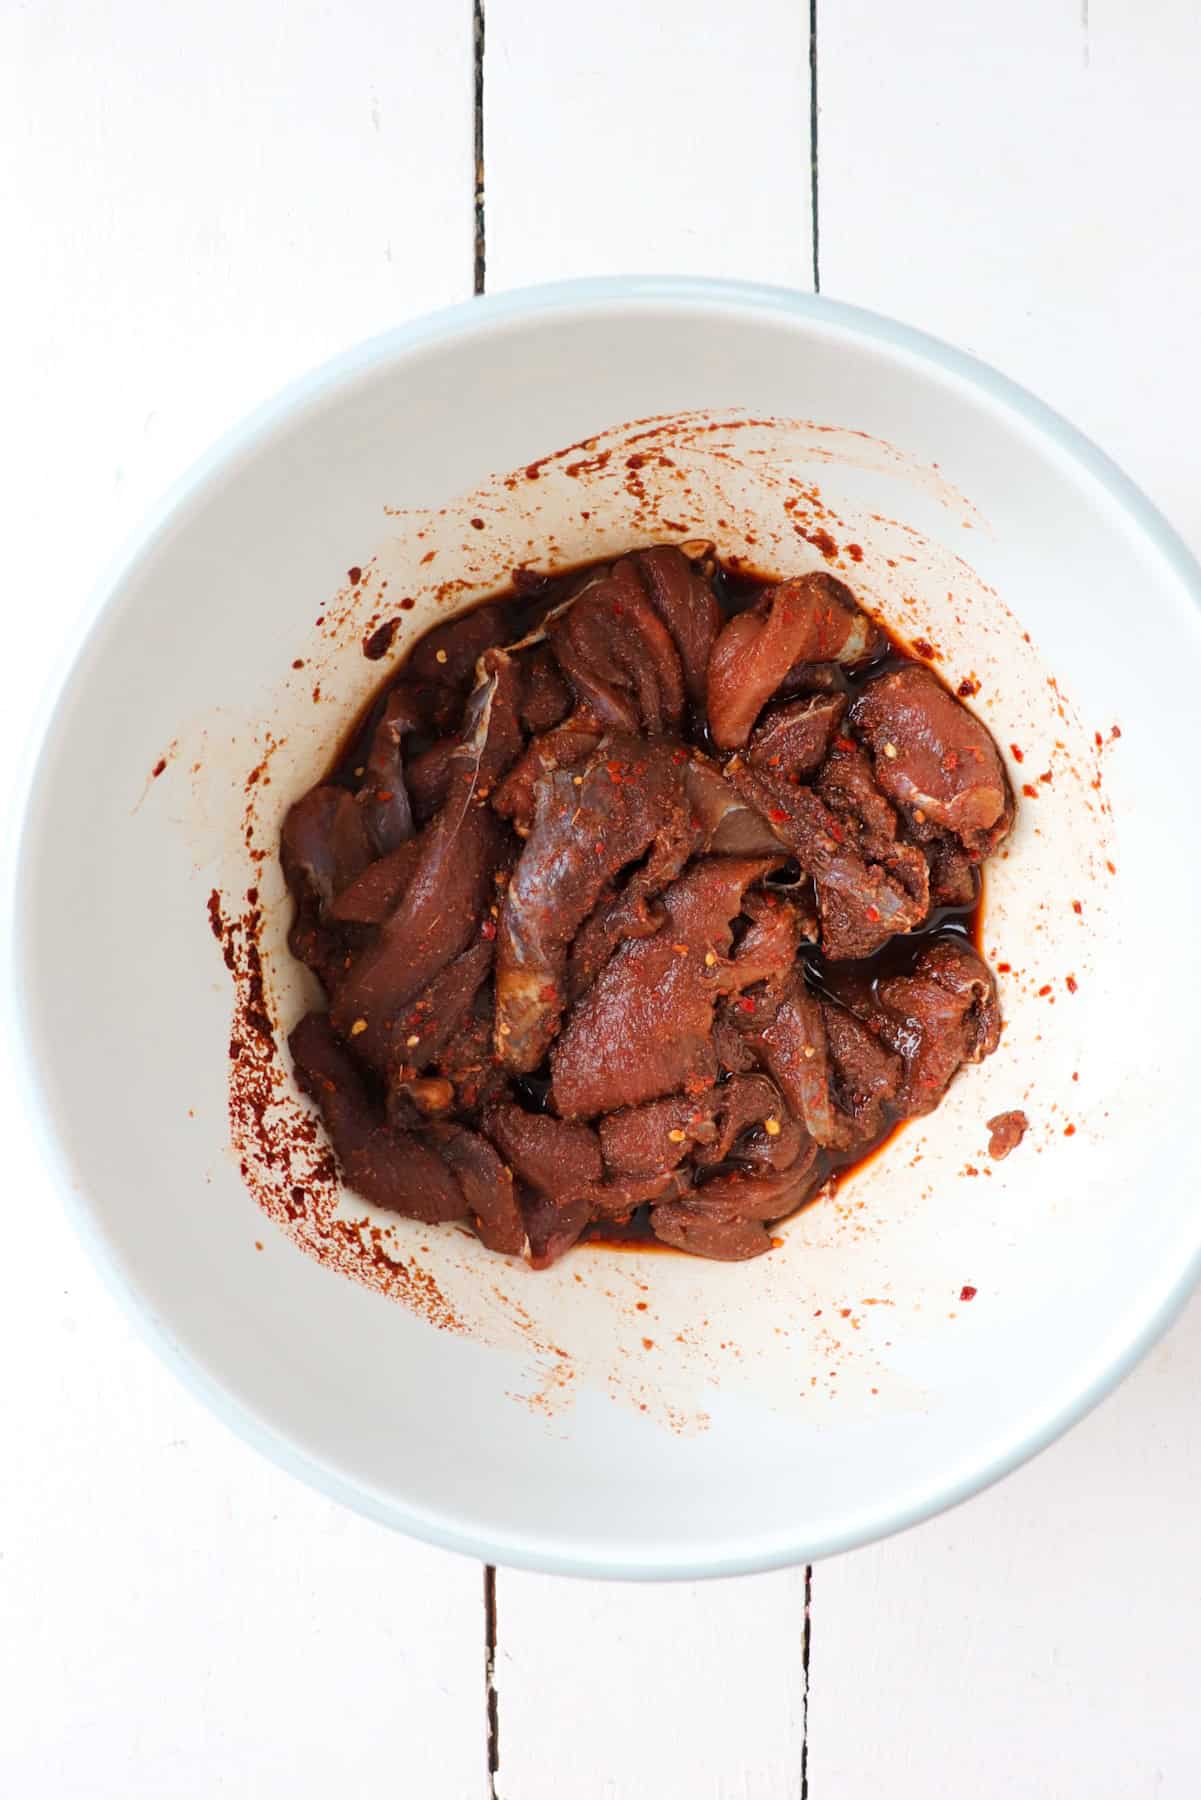
Step 3. Add marinade and mix to coat. Cover bowl in place in fridge for at least 12 hours and up to 24 hours.
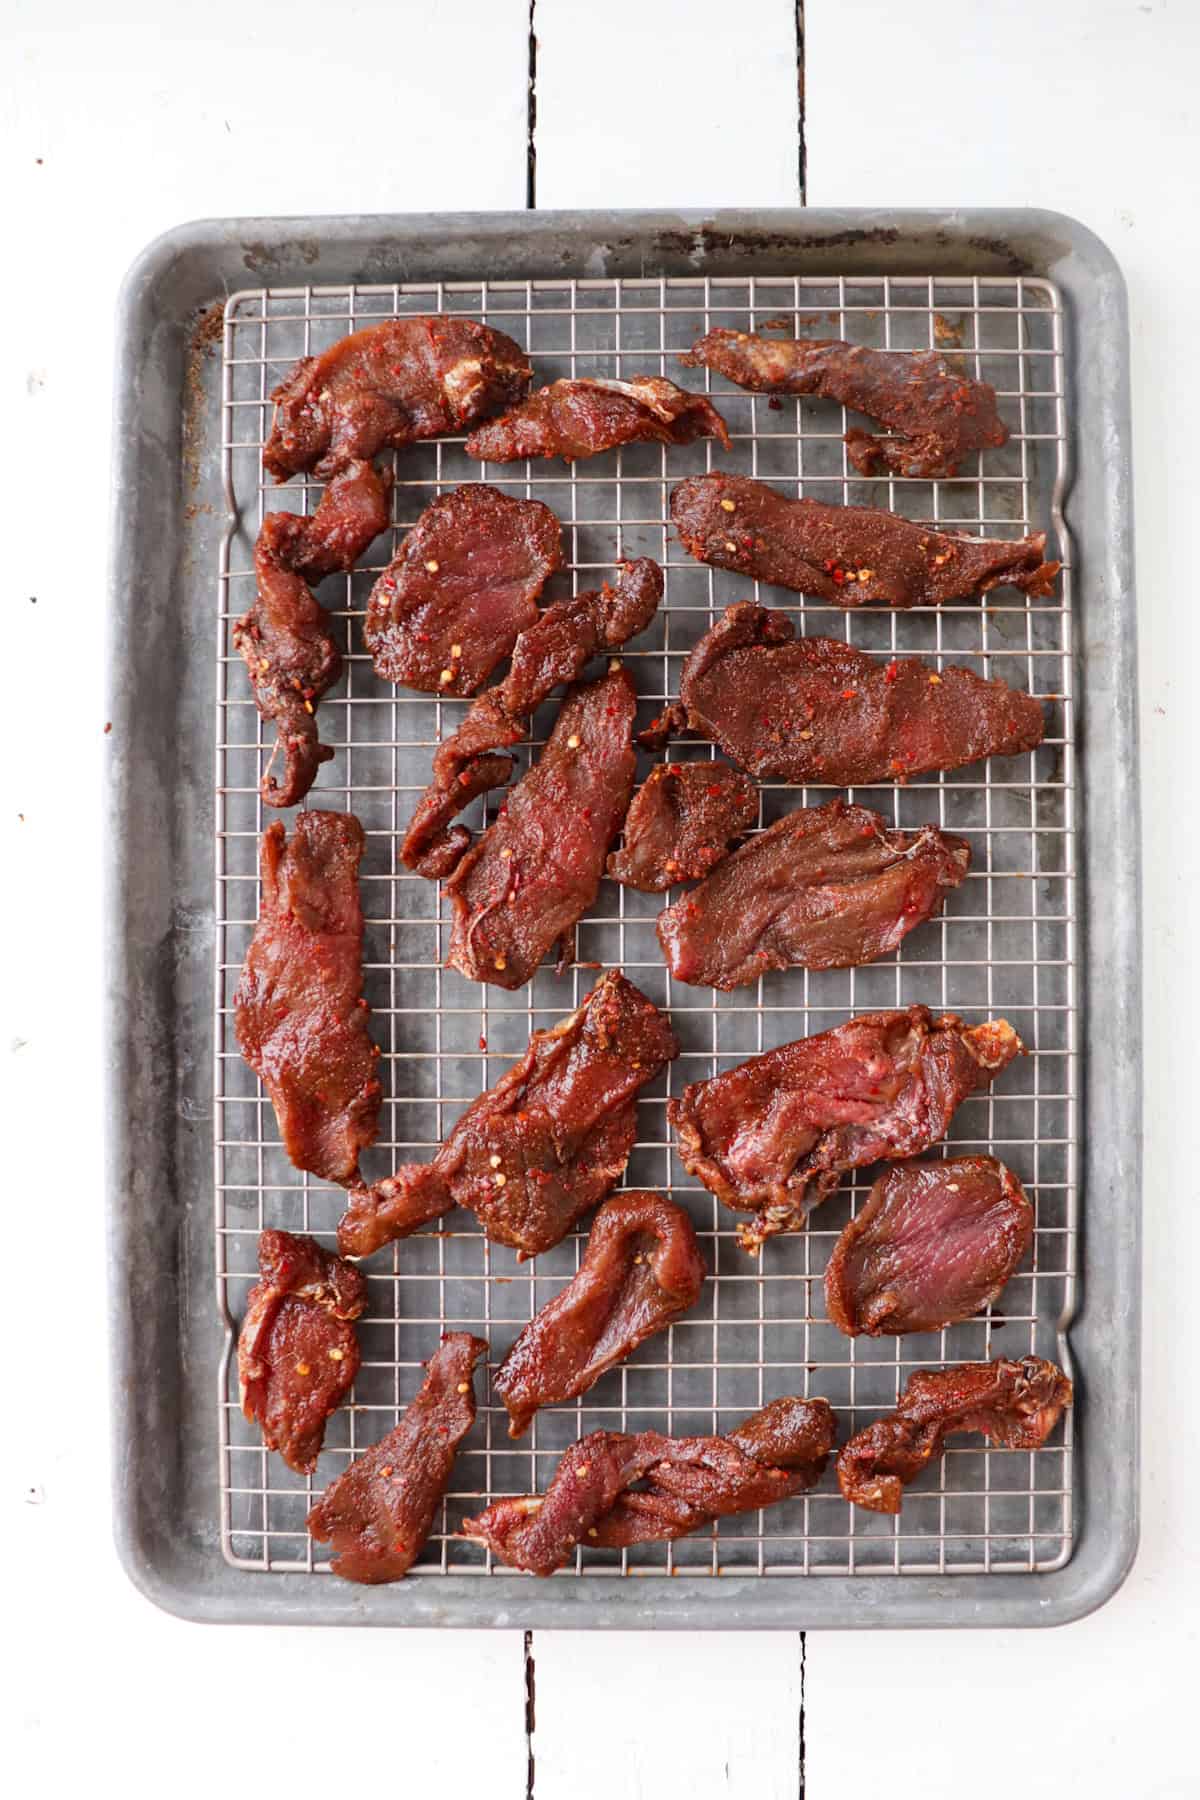
Step 4. Preheat oven to 170°F. It’s the lowest temperature many ovens will go. If you have a dehydrator or a smoker, you could use those instead. Remove the venison slices from the marinade and place on a baking sheet that has a metal cooling rack on top. This will help ensure even dehydrating.
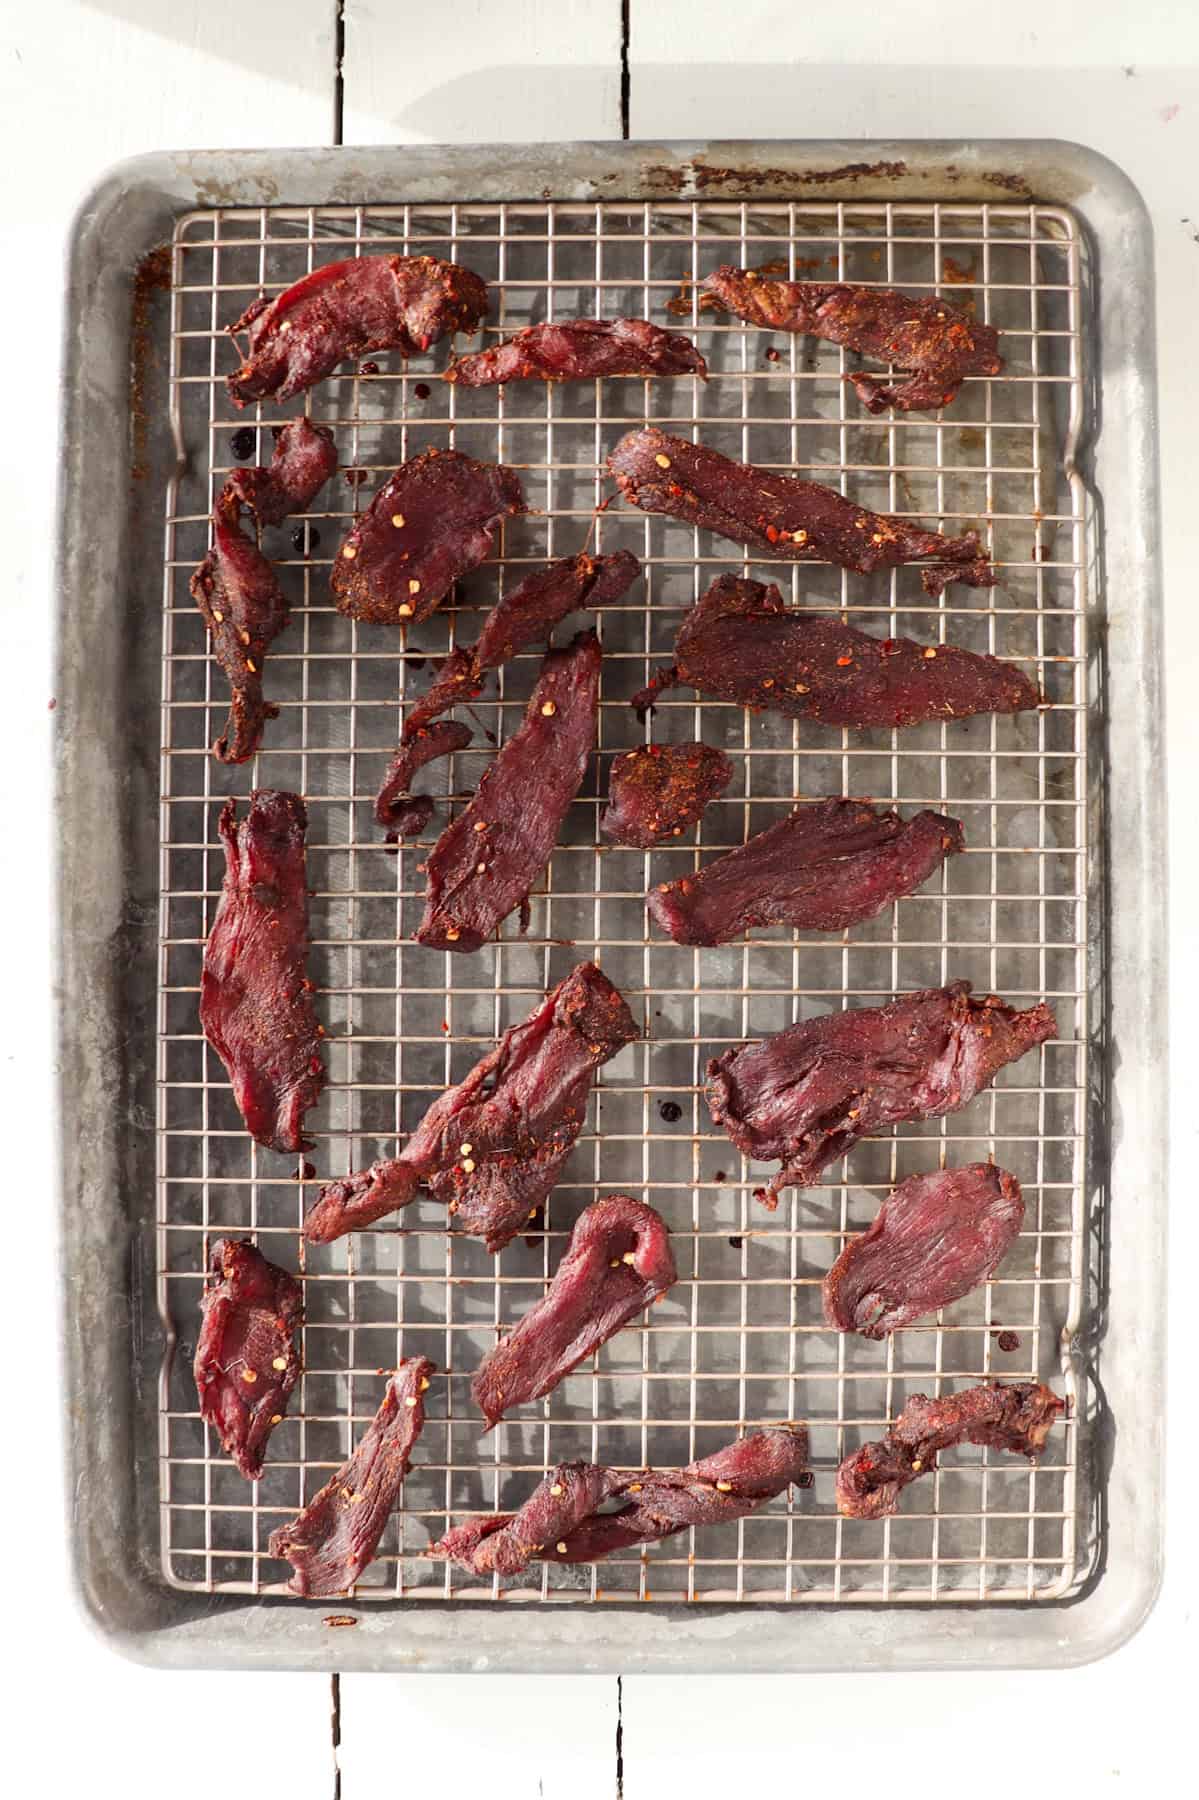
Step 5. Place in the oven for approximately 2 ½ hours. At the two hour point, carefully remove pan from the oven and baste each piece front and back with the reserved marinade using a baiting brush before placing back in the oven for the final 30 minutes.

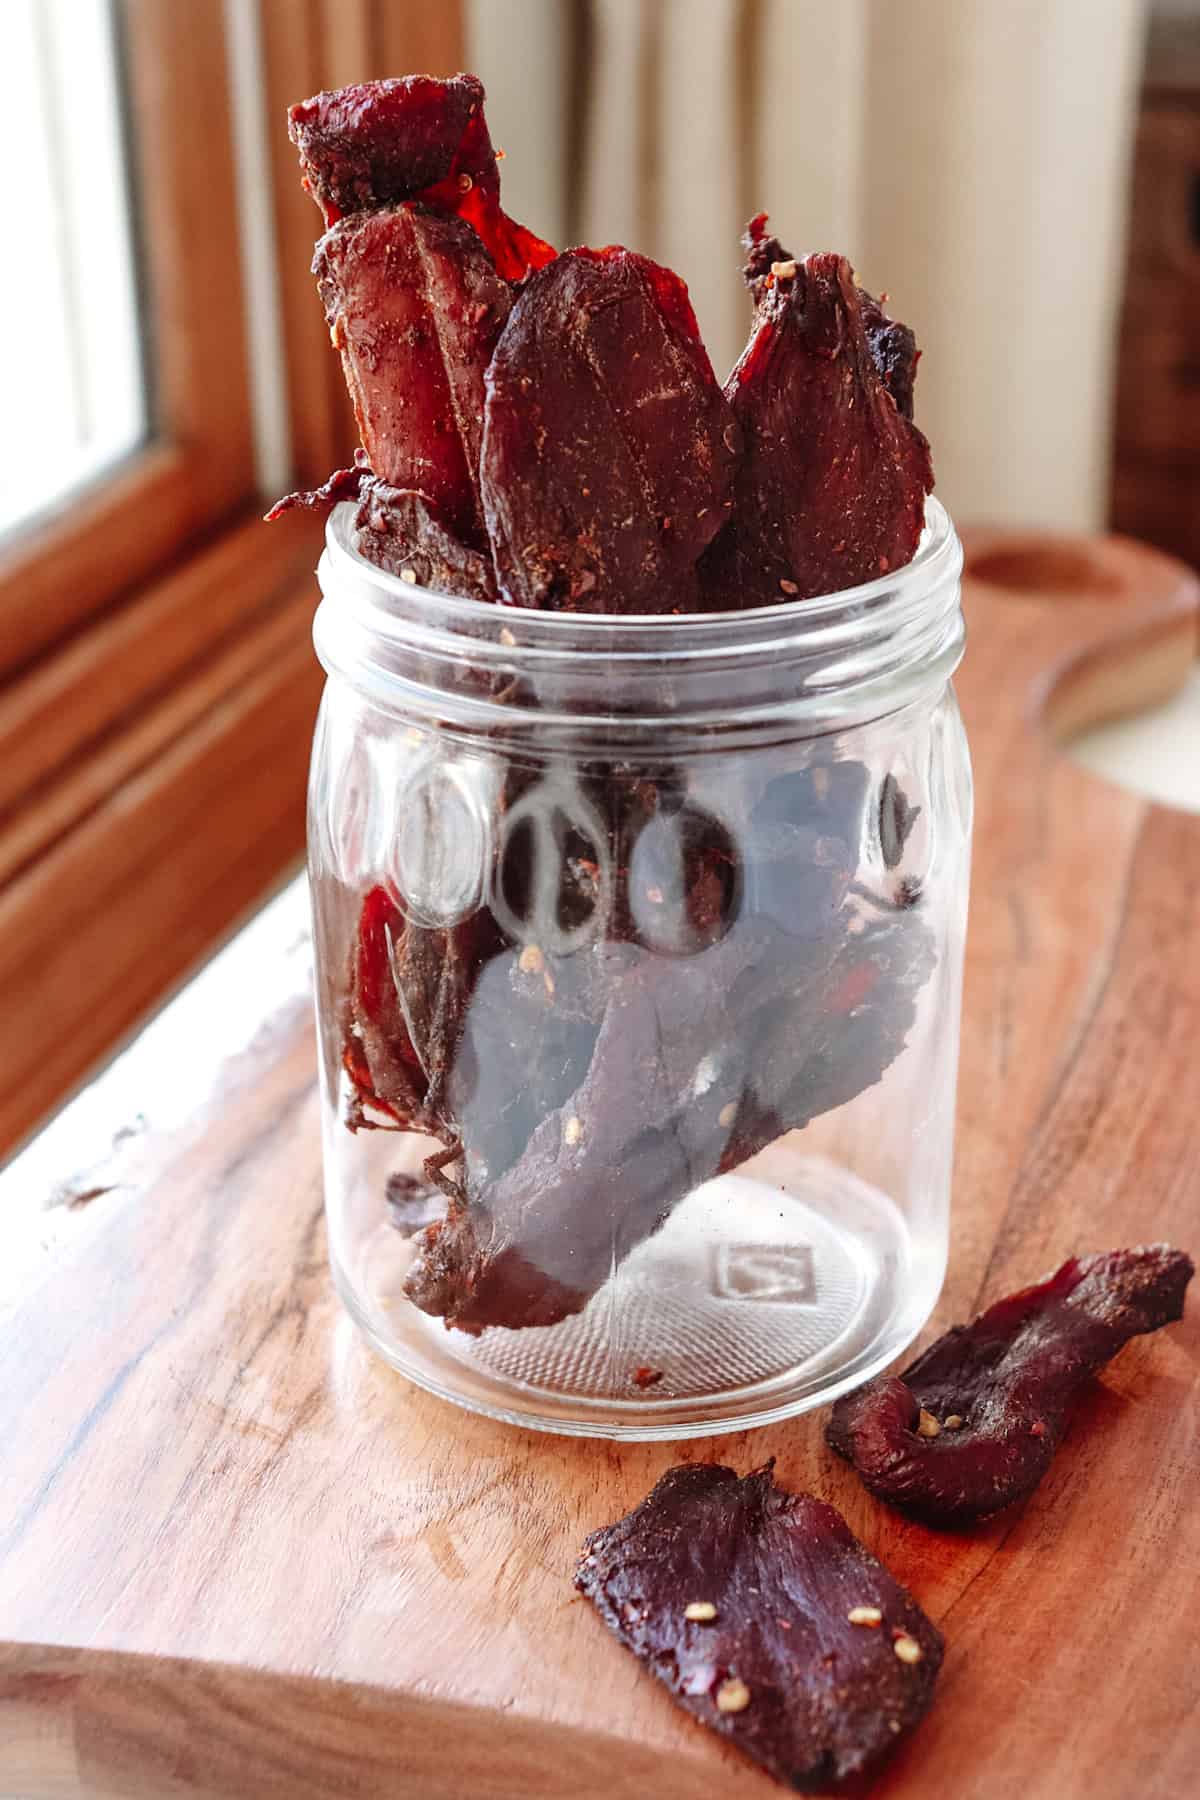
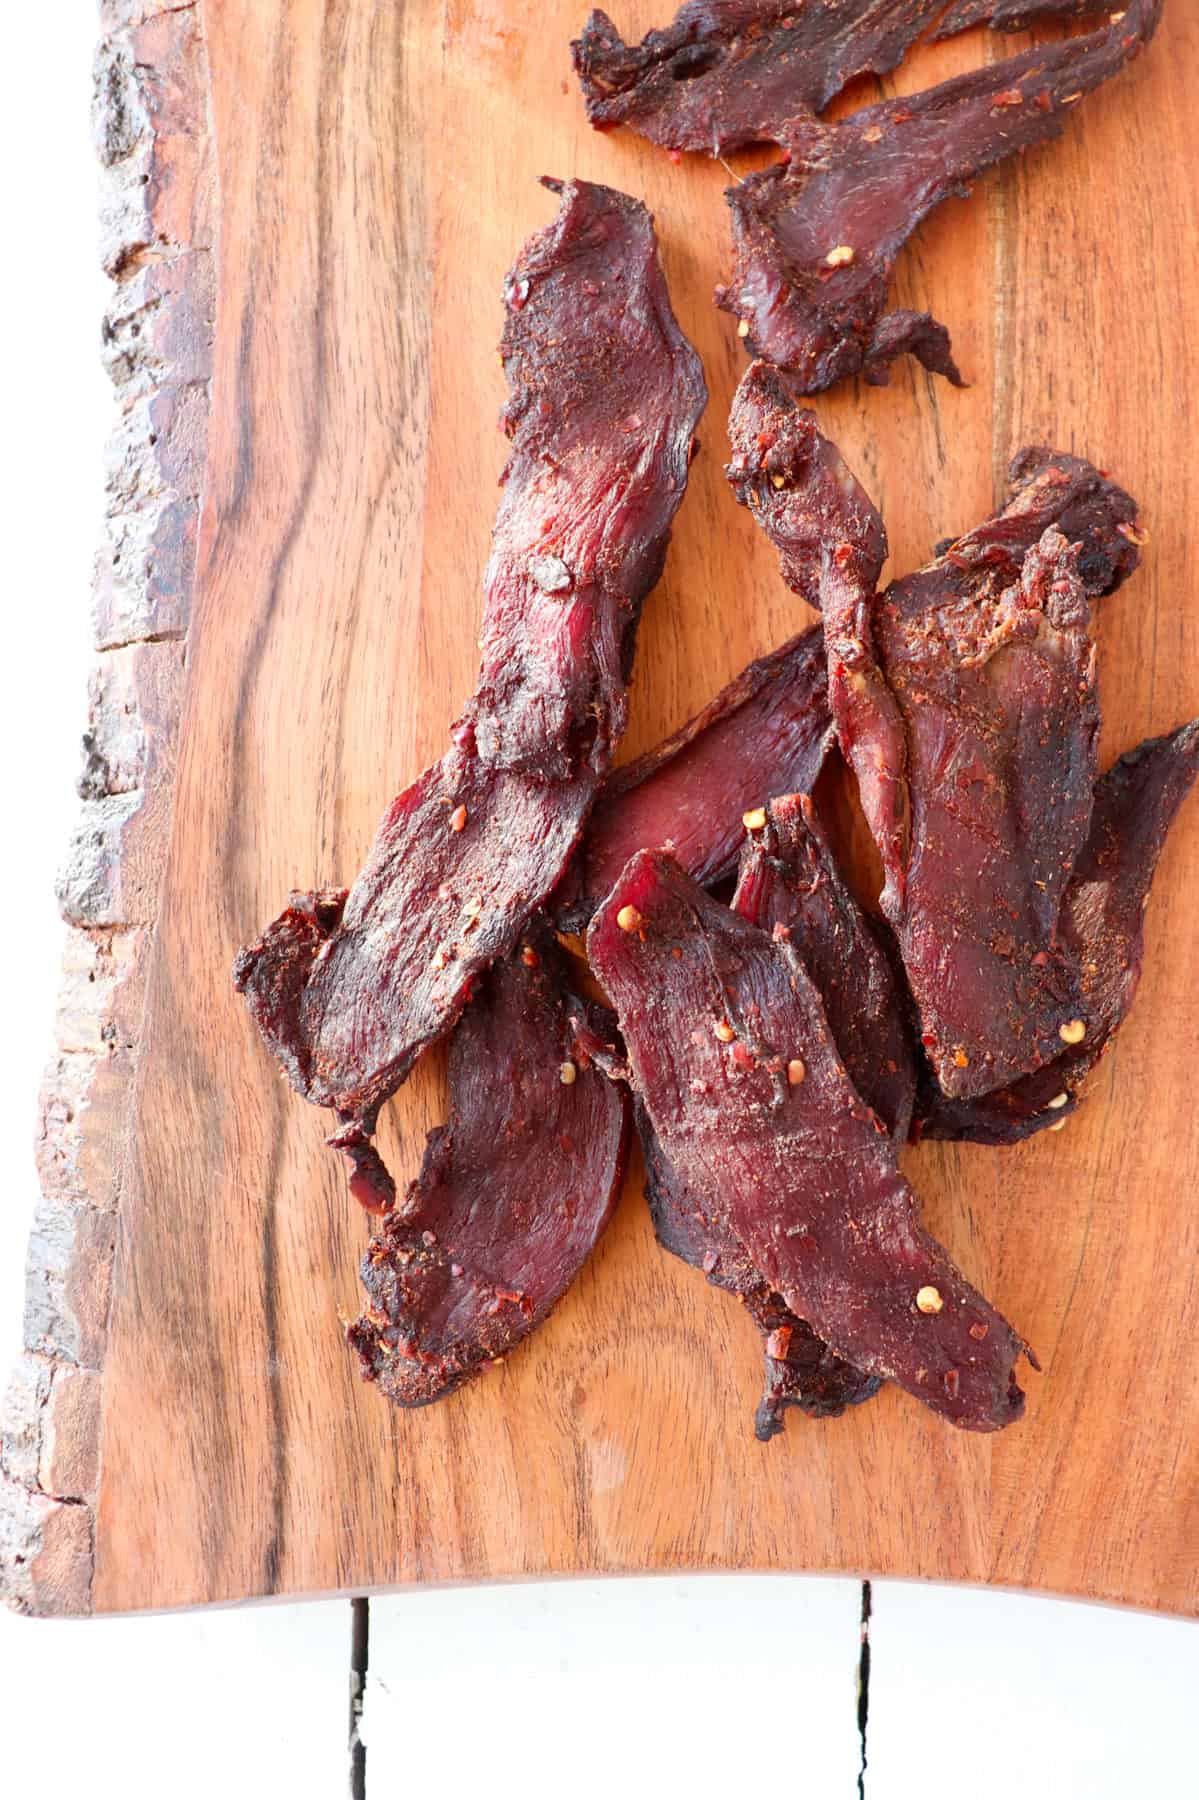
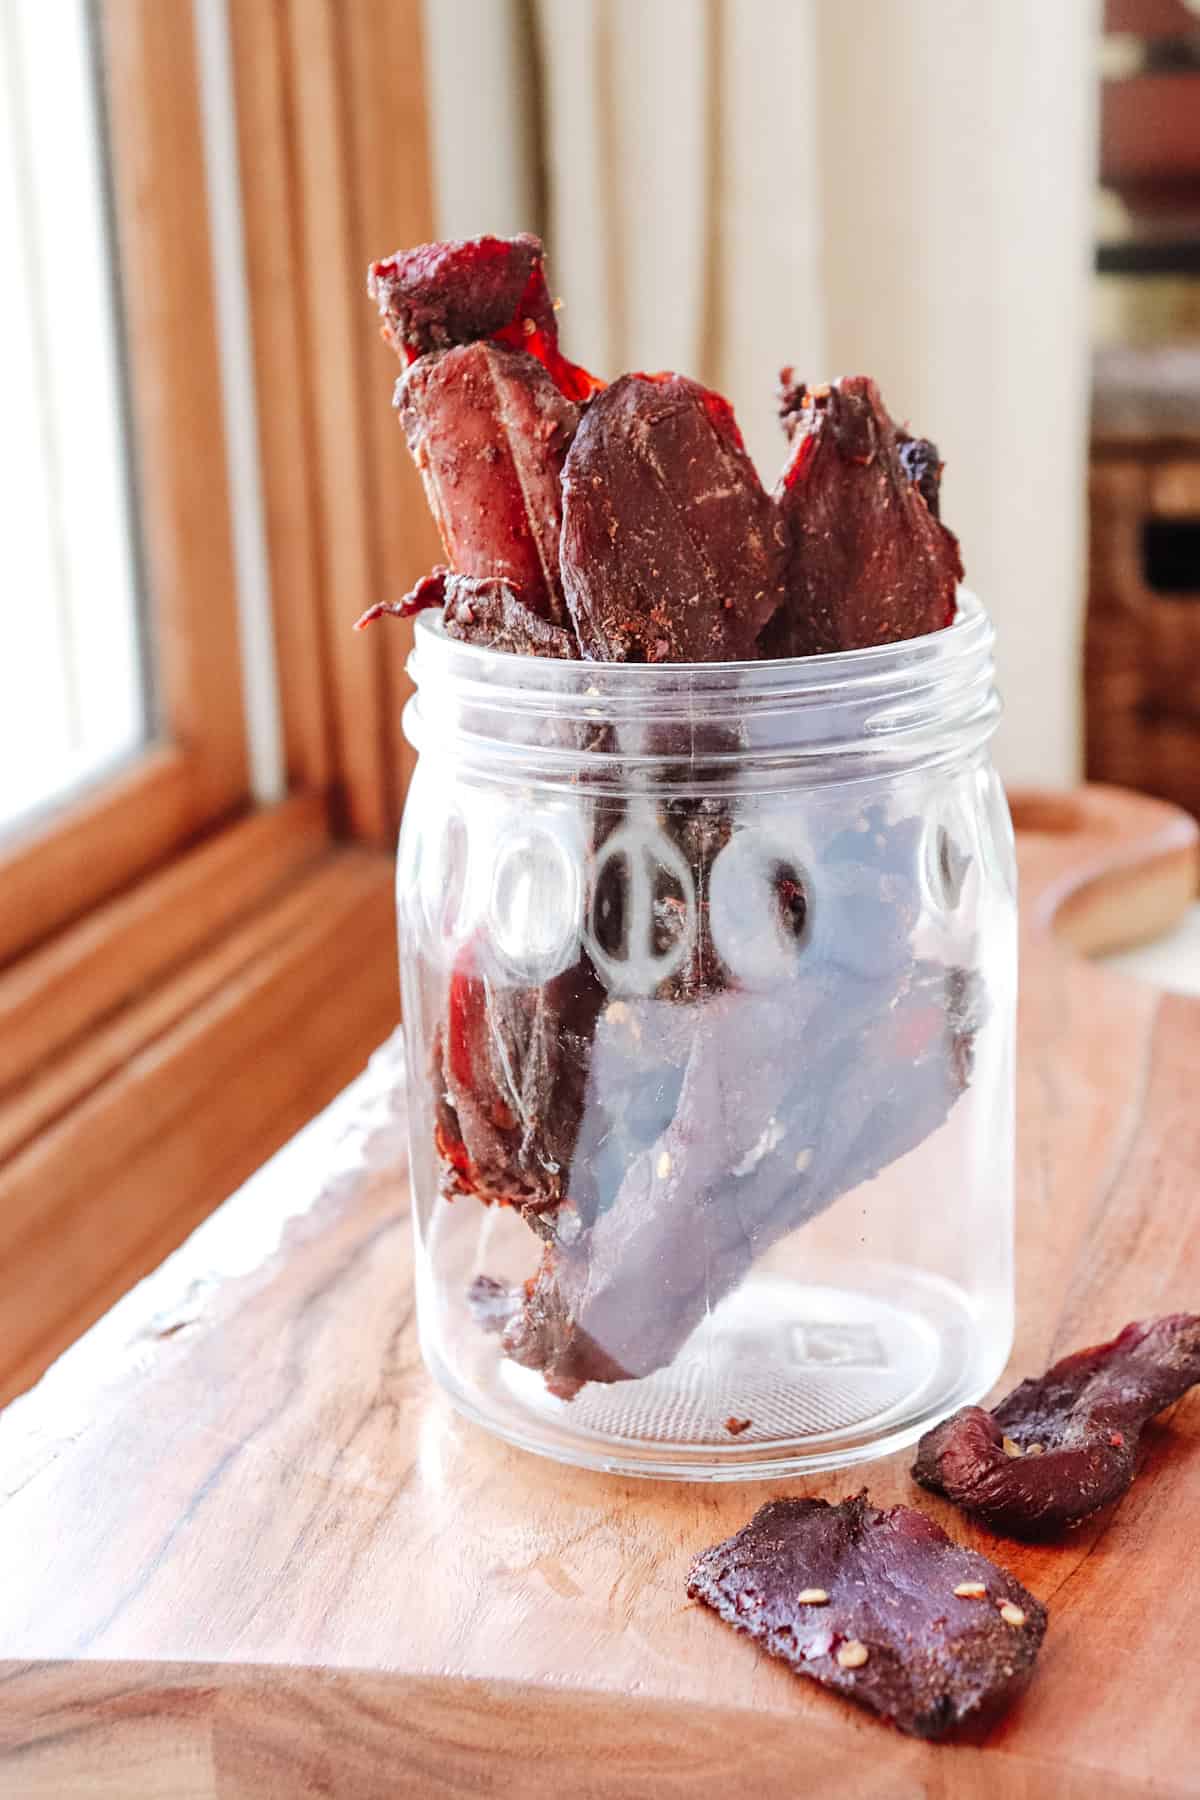
Step 6. Remove from oven and place the finished jerky in a gallon size bag or glass container with a lid. Leave bag unsealed or place lid slightly off top without completely sealing it to steam the jerky. Allow it to steam until cooled and then place in the refrigerator until you’re ready to enjoy.
Recipe tips
- Be sure to remove all of the silver skin before placing meat strips in your marinade. It’s very hard to remove once coated in the marinade and the silver skin is tough not savory to eat once a jerky is made.
- For enhanced flavor, reserve some of the marinade liquid before coating your venison. For the last hour of dehydrating carefully remove sheet pan from oven and use a basting brush to coat each piece of jerky with an additional layer of seasoning.
Recipe FAQs
Nope! You can if you want, but a standard oven at a low temperature works just as well. Our oven goes down to 170 F., and that's perfect for dehydrating.
You could use any cut you like, but my favorite is a standard roast.
Did you enjoy this Homemade Venison Jerky? I would love for you to let me know by leaving a comment and star rating. I can't wait to hear from you!
Homemade Venison Jerky
Ingredients
- 2 lbs. venison roast
- ½ cup soy sauce
- 2 tbsp. balsamic vinegar
- 2 tbsp. honey
- 2 tsp. paprika
- 2 tsp. onion powder
- 2 tsp. garlic powder
- 2 tsp. red pepper flakes or more if you like it spicy
Instructions
- Combine ingredients for marinade in a small bowl reserve ¼ of the marinade to the side for basting later on.
- Thinly slice venison, using a sharp knife and transfer to a bowl . Add marinade and mix to coat. Cover bowl in place in fridge for at least 12 hours and up to 24 hours.
- Preheat oven to 170°F. It’s the lowest temperature many ovens will go. If you have a dehydrator or a smoker, you could use those instead.
- Remove the venison slices from the marinade and place on a baking sheet that has a metal cooling rack on top. This will help ensure even dehydrating.
- Place in the oven for approximately 2 ½ hours. At the two hour point, carefully remove pan from the oven and baste each piece front and back with the reserved marinade using a baiting brush before placing back in the oven for the final 30 minutes.
- Remove from oven and place the finished jerky in a gallon size bag or glass container with a lid. Leave bag unsealed or place lid slightly off top without completely sealing it to steam the jerky. Allow it to steam until cooled and then place in the refrigerator until you’re ready to enjoy.


Anita
Thanks for sharing this delicious treat! It was tasty and exceeded my expectations. It definitely has a little bit of a kick to it. We are looking forward to some more goodies to try!😀
Sarah Baumeister
I am so glad to hear you enjoyed it! I will have to start sending in more things with Mikey!